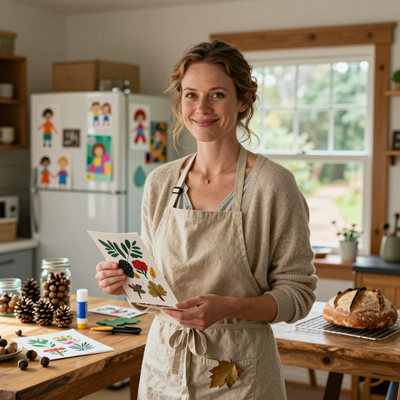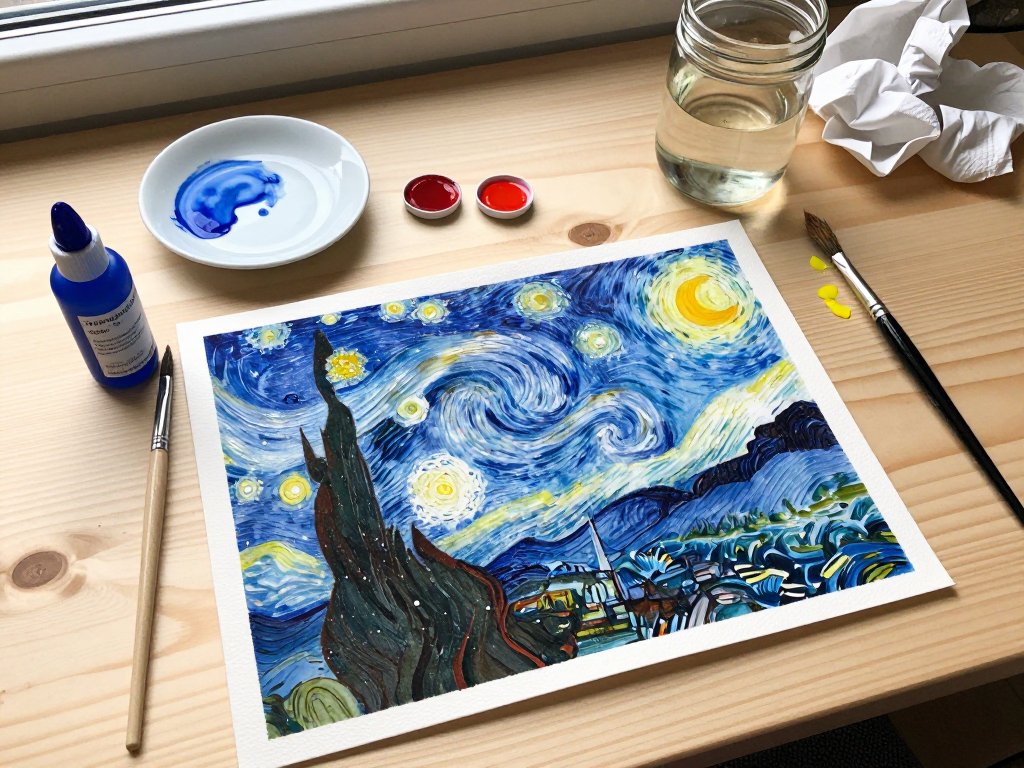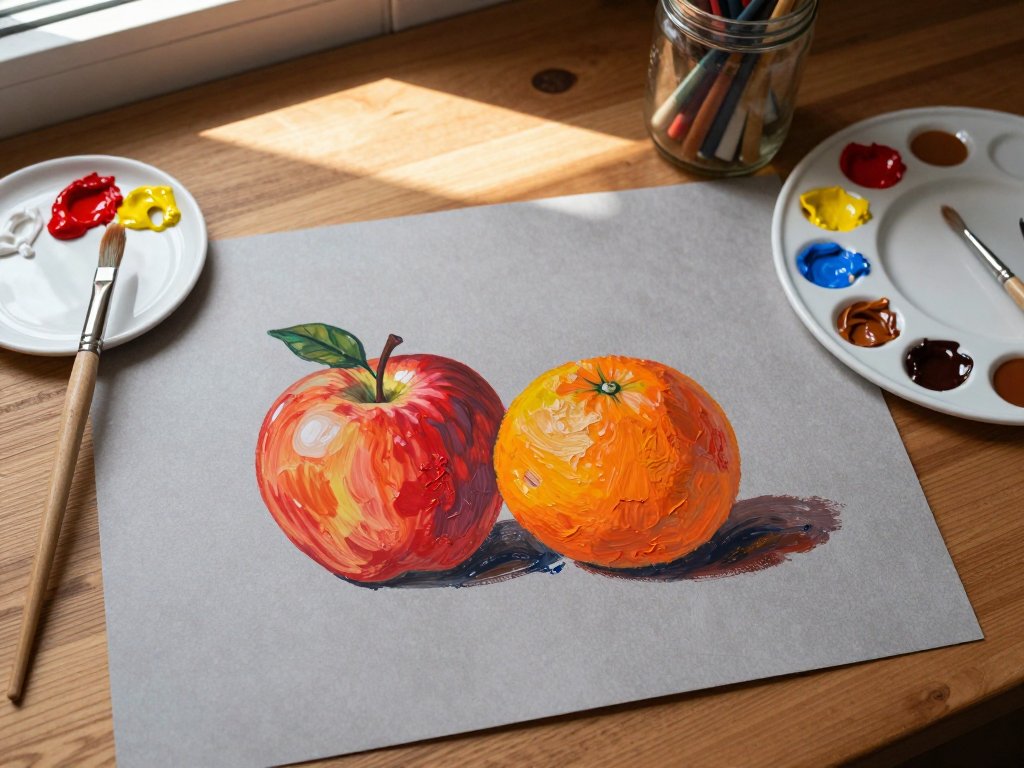
Introduction
The first time I tried to paint outdoors, I packed enough gear for a weeklong expedition.
I hauled a full easel, half a dozen canvases, a tackle box overflowing with tubes of paint, and a folding stool that weighed more than my carry-on luggage.
I set up in a sunny meadow, arranged my palette with painstaking care, and proceeded to spend the next twenty minutes fighting a gust of wind that turned my canvas into a sail.
My brushes rolled into a patch of clover. A curious cow wandered uncomfortably close. And when I finally put brush to canvas, the light I had been so eager to capture had shifted completely, casting long afternoon shadows across the scene I had meant to paint in bright midday sun.
I went home with a dirty palette, a slightly lopsided sketch, and a sunburn. And honestly? I could not wait to do it again.
That is the magic of plein air painting. It strips away the control and predictability of the studio and replaces them with something far more alive: the shifting light of real summer days, the breeze that carries the scent of freshly cut grass, the sounds of birds and distant lawnmowers.
It is messy and unpredictable and utterly wonderful. If you have ever stood in a beautiful outdoor space and thought, "I wish I could capture this," this guide is for you.
We will start with what you actually need (which is far less than you think), learn a few simple techniques to work with nature rather than against it, and build the confidence to take your paints outdoors this very summer.
Why Paint Outdoors? The Joy of Capturing Real Light
There is a reason artists have been setting up their easels in fields and gardens for centuries.
Studio light is controlled, steady, and artificial. Outdoor light is alive. It changes moment by moment as clouds drift across the sun, as the angle shifts through the day, as shadows lengthen and colors deepen.
When you paint outdoors, you are not just making a picture of a place. You are recording a specific moment in time — the exact quality of light on a particular Tuesday afternoon in July.
For beginner painters, this sounds intimidating. But it is actually one of the best possible ways to learn.
Painting outdoors forces you to work quickly, make bold decisions, and let go of perfectionism.
You cannot endlessly fuss over a single leaf when the light that made you notice that leaf in the first place is already fading.
And there is something deeply freeing about that.
Hannah, my friend and fellow artist, once told me that her favorite plein air piece was a thirty-minute sketch of a lavender field at golden hour.
She had been so focused on capturing the warm glow that she left half the canvas unpainted.
"It is not a finished painting," she said. "It is a feeling. And every time I look at it, I am right back in that field." That is what plein air offers — not a polished gallery piece but a connection to a real, lived moment.
What You Actually Need to Start (Less Than You Think)
When I tell beginners they can start plein air painting with a trip to the art supply store and about fifty dollars, they typically look at me like I have suggested they could bake a cake with a spoon and a campfire.
But it is true. The biggest barrier to painting outdoors is the belief that you need professional-grade gear.
You do not. Here is exactly what you need to get started.
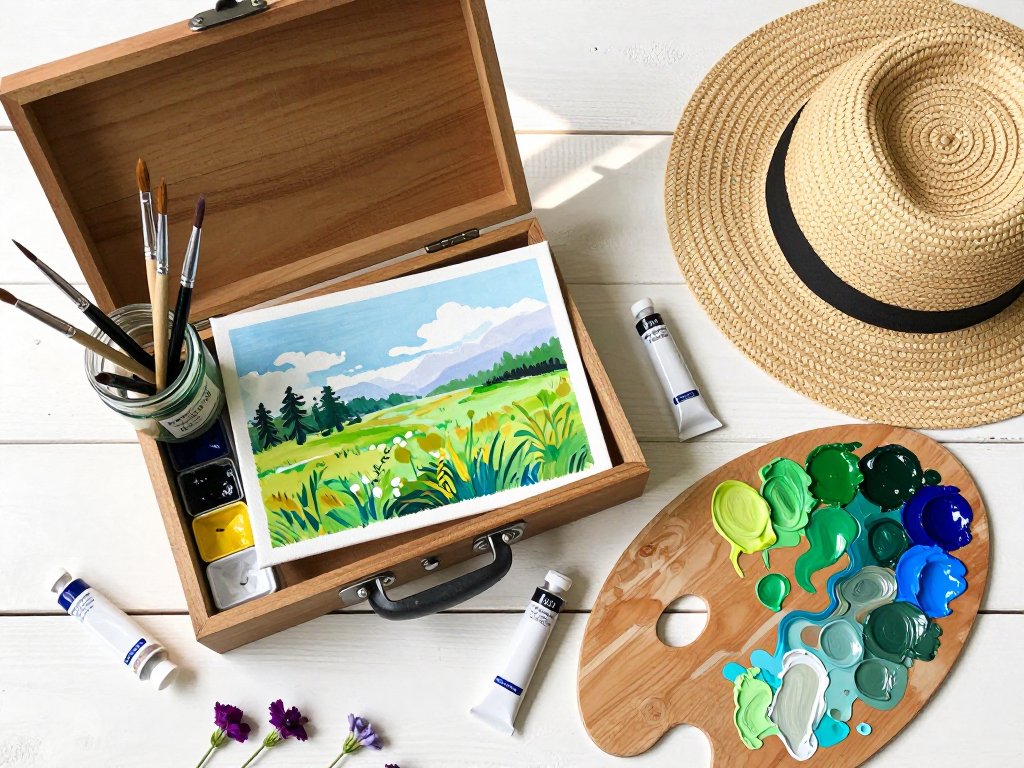
The Portable Palette
A small pochade box is the gold standard for plein air painters, but you do not need one to begin.
A simple wooden cigar box or a plastic art bin with a hinged lid works beautifully.
Line it with a piece of wax paper or a disposable palette sheet, squeeze out a small amount of each paint color you plan to use, and close the lid.
Your paints stay fresh for a day or two, and the box doubles as your mixing surface.
Look for something roughly the size of a paperback novel — compact enough to fit in a tote bag but large enough to mix a decent wash.
The Easel (or Lack Thereof)
Full-size French easels are beautiful pieces of equipment, and I will admit I still get a thrill from unfolding mine.
But they are heavy, expensive, and completely unnecessary for a beginner. For your first handful of outdoor sessions, try this: bring a sturdy piece of foam core board or a clipboard.
Tape your paper or canvas to the board. Then either hold it in your lap while sitting on a portable stool or lean it against a tree, a fence post, or a park bench.
This costs nothing extra and takes up almost no space in your bag.
If you find yourself falling in love with plein air painting, a lightweight aluminum box easel or a simple tripod easel can be found for around thirty to forty dollars at most craft stores or online. But do not let the lack of an easel stop you from starting today.
The Paint
For plein air work, less is genuinely more. A limited palette of five to six colors is not only sufficient — it will teach you more about color mixing than a full set of thirty tubes ever could. Start with these:
- Titanium white
- Cadmium yellow (or a warm yellow)
- Alizarin crimson (or a cool red)
- Ultramarine blue
- Yellow ochre
- Viridian green (or sap green)
With these six colors, you can mix nearly any hue you encounter in a summer landscape. The limitation will push you to observe colors more carefully rather than reaching for the perfect premixed shade.
Acrylics are an excellent choice for beginners because they dry quickly and clean up with water. Watercolors are portable and require minimal setup. Oils give you more working time but require solvents and longer drying. Choose the medium that feels most inviting to you. There is no wrong answer.
Surface and Brushes
Bring three to five surfaces with you — small canvases, canvas panels, or heavy watercolor paper cut to size.
Eight by ten inches or nine by twelve inches are manageable sizes that fit easily in a bag.
Pre-prime them with a thin layer of gesso if you are using acrylics or oils.
For watercolor, tape the paper to a lightweight board.
For brushes, you need only four: a large flat brush for blocking in shapes, a medium round brush for detail and line work, a small filbert for blending, and a rigger brush for fine lines and signature. A roll-up brush holder keeps them organized and protected in your bag.
The Non-Art Supplies You Will Thank Yourself For
Here is the packing list that experience has taught me never to skip:
- A wide-brimmed hat and sunscreen (you will be outside longer than you think)
- A bottle of water and a small snack
- A lightweight camping stool or a plastic grocery bag to sit on (damp grass is a surprisingly persistent discomfort)
- Painter's tape or binder clips to secure your surface if it is breezy
- A spray bottle for keeping acrylics wet or for softening watercolor pans
- A small rag or paper towels (you will use these constantly)
- A plastic bag to carry home your trash and any soiled supplies
Finding Your Spot: Where to Paint Outdoors
The perfect plein air location is not a postcard-perfect vista. It is any place that makes you want to stop and look.
Start close to home. Your own backyard, a community garden, a quiet corner of a local park, or even a view from a shaded porch all offer rich subjects without the logistical challenge of hiking to a remote location.
I have a personal rule for beginners: choose a spot within a ten-minute walk of your car or home.
The less energy you spend getting there, the more energy you have for painting. And if the weather turns or you forget a crucial supply, you can retrieve it quickly rather than abandoning your session in frustration.
Look for scenes with clear light and shadow contrast. A tree casting a long shadow across a sunny lawn gives you a natural composition.
A row of flowers against a fence provides structure. A pond reflecting the sky offers built-in color harmony.
Avoid scenes that are overwhelmingly busy — a tangle of branches, a crowded street market, or a field of wildflowers that all blend together can be overwhelming for a first attempt.
Simplify. A single tree, a garden gate, a weathered barn door facing the afternoon sun.
One strong subject is worth more than a dozen competing details.
The Plein Air Method: Five Steps to Your First Outdoor Painting
Here is a simple workflow that has saved me from countless frustrated starts. It takes the guesswork out of the first fifteen minutes, which is when most beginners get stuck.
Step One: Arrive and Observe (Five Minutes)
Do not pull out your paints immediately. Sit or stand quietly and look at your scene for a full five minutes.
Notice where the light is coming from. Watch how the shadows fall. Identify the main shapes — the dark mass of a tree, the bright patch of sunlit grass, the curve of a path.
This observation time will shape everything you paint.
Step Two: Sketch the Composition (Ten Minutes)
Using a soft pencil or a thin brush with diluted paint, sketch the basic shapes onto your surface.
Do not worry about details. You are mapping the major elements — the horizon line, the largest shapes, the points of highest contrast.
Keep it loose. Think in terms of big shapes, not objects. A tree is not a tree; it is a dark oval against a lighter background.
A path is not a path; it is a diagonal line leading the eye.
Step Three: Block in the Darkest and Lightest Values (Fifteen Minutes)
Start with your darkest darks and your lightest lights. This establishes the value range of your painting and gives you a roadmap for everything in between.
Use a large brush and thin paint. Do not worry about staying inside the lines of your sketch.
Coverage is more important than precision at this stage.
Step Four: Add the Mid-Tones and Color (Twenty Minutes)
Mix your mid-tones and begin filling in the remaining areas. Work from large shapes to small details.
Keep your brushstrokes bold and directional — follow the form of what you are painting.
Grass gets horizontal strokes, tree trunks get vertical ones. Do not over-blend. The freshness of plein air painting comes from visible brushwork and the energy of quick decisions.
Step Five: Finish with Details and Highlights (Ten Minutes)
In the final minutes, add your brightest highlights and a few carefully chosen details. A sliver of white where the sun hits a leaf.
A thin dark line where a branch meets the sky. A tiny bright spot on a flower petal.
These finishing touches make the painting feel alive. Then stop. A plein air painting is finished not when every inch is covered, but when the feeling of the moment has been captured.
Working with Nature Instead of Fighting It
Nature does not care about your painting schedule, and the sooner you make peace with that, the more you will enjoy outdoor art. Here is how to handle the most common outdoor challenges.
Changing Light
The light that inspired you at 10 AM is gone by 10:30. Accept this and work quickly.
If the light shifts dramatically while you are painting, adjust your plan. You can either chase the new light (move your easel, change your palette) or commit to the original lighting conditions and paint from memory for the shadows.
Both are valid. The key is making a conscious decision rather than trying to paint both at once, which produces muddy, confused work.
Wind
Clip everything down. Use binder clips on your canvas. Weigh down your palette with a rock.
Position yourself with your back to the wind if possible. If the gusts are strong enough to rattle your easel, switch to a smaller surface — a six by eight inch panel is much more manageable in a breeze than a twelve by sixteen inch canvas.
And accept that some days, the wind simply wins. That is okay. There will be other days.
Bugs and Critters
Insect repellent is your friend. Apply it before you start, not after the mosquitoes find you.
A light, long-sleeved shirt in a neutral color helps. If a curious animal approaches, enjoy the encounter.
I have painted alongside cows, squirrels, and an extraordinarily bold chipmunk who seemed to be critiquing my color choices.
They add to the memory, even if they do not improve the painting.
Too Much or Too Little Sun
If you are painting in direct sunlight, your canvas can become uncomfortably bright and your colors may look different than they will indoors.
A portable umbrella attached to your easel or a wide-brimmed hat that also shades your canvas helps enormously.
If the day is overcast, embrace the soft, diffused light — it is actually ideal for painting subtle color transitions and atmospheric scenes.
Building a Plein Air Habit: From One Session to a Summer Practice
The single most important thing you can do as a beginner plein air painter is to go outside and paint regularly, even if each session is short.
A twenty-minute sketch every other day will teach you more than a single six-hour marathon once a month.
Your eye learns to see faster. Your hand learns to move with confidence. Your brain learns to translate the three-dimensional world onto a flat surface with less and less effort each time.
Set a small, achievable goal. Paint the same tree in your backyard once a week for a month and watch how differently it looks in early morning light versus late afternoon, in the bright sun of June versus the softer haze of July.
You will start to notice more than you ever imagined — the way leaves catch light at their edges, the subtle color of shadows on green grass, the way the sky changes from blue to lavender near the horizon.
Join a local plein air group if one exists in your area. Many towns have informal gatherings where painters of all skill levels meet weekly at a designated location.
The camaraderie is wonderful, and watching other artists interpret the same scene in completely different ways is one of the best learning experiences I know.
If there is no group near you, start one. Post on a community board or a local social media group.
You might be surprised how many people are waiting for the same invitation.
Keep a small journal alongside your paints. After each session, jot down a few notes: the date, the time, the weather, what you learned, what frustrated you, what surprised you.
This practice helps you see your progress over time and turns each painting session into a small story.
And storytelling, as any Hannah Mercer reader knows, is what makes art meaningful.
What to Do with Your Plein Air Paintings
The first few paintings you complete outdoors may not be gallery-worthy, and that is exactly right.
They are studies, experiments, captured moments. Do not judge them by the standards of a finished studio piece.
Instead, think of them as pages in a visual diary. Tape them to your wall.
Arrange them chronologically and see how your confidence grows. Use them as reference material for larger studio paintings.
Give them as gifts to friends who shared that day with you.
I still have my very first plein air attempt — the lopsided, wind-tossed sketch from that chaotic afternoon in the meadow.
It is not a good painting by any objective measure. But when I look at it, I remember the warmth of the sun, the smell of wildflowers, the sound of that cow lowing in the distance.
And somehow, that is worth more than a hundred technically perfect studio pieces.
Conclusion
Plein air painting is not about creating masterpieces. It is about stepping outside on a summer morning, setting up your simple pochade box or your clipboard and tape, and paying attention to the way light falls on the world.
It is about the breeze on your skin and the satisfaction of mixing the exact green of a sunlit leaf.
It is about letting go of perfection and embracing the impermanent, the fleeting, the beautiful moments that will not hold still for anyone.
This summer, I hope you will give yourself the gift of painting outdoors. Start small.
Pack light. Choose a spot that makes you want to linger. And when the wind blows your canvas or the light shifts or a curious cow wanders over to investigate, smile.
You are a plein air painter now. Welcome to the most joyful kind of mess.