Introduction
Let me tell you about the day I threw away three hundred dollars.
It was spring cleaning, and I filled two garbage bags with the usual stuff. Cardboard boxes from deliveries.
Glass jars from pasta sauce. An old wool sweater that had shrunk in the wash.
A stack of t-shirts with collar stains. I hauled it all to the curb without a second thought.
A week later, I priced out the materials for a craft fair order I was working on. Cardboard for packaging. Glass for a display. Fabric for a sewn accent. The total made my stomach drop — and most of it was sitting at the dump by then.
That was the day I stopped seeing trash as trash. This article is the result: the upcycled craft projects I actually make, the math on why they are worth your time, and exactly what to collect so your trash bin becomes a free craft supply store.
Why Upcycling Is the Smartest Craft You Can Do
Let us talk numbers first, because that is how my brain works.
A sheet of craft-grade cardboard costs about two dollars. A pack of blank glass jars runs eight to twelve dollars.
A ball of wool yarn for felting? Five to eight dollars. Now look in your recycling bin and your closet.
You are probably holding ten to fifteen dollars of materials, every single week, without counting it.
Over a year, that is five hundred to seven hundred dollars of free crafting material. That is not a rounding error. That is a whole craft budget.
There is a second number that matters even more: cost per piece. If you sell at craft fairs or on Etsy, your profit margin is material cost subtracted from price.
Upcycled materials drop your cost per piece toward zero. A jar vase that costs you nothing to make can sell for eight dollars.
An old sweater turned into mittens sells for fifteen. The material cost is zero. The margin is the whole price.
And there is a bonus number most people forget: the landfill. Every jar and box you turn into something is one less item buried. Your hobby gets cheaper, and the planet gets a little quieter. That is a rare win-win, and it costs you nothing to start.
What to Collect (and What to Skip)
Here is the thing about upcycling: not all trash is treasure. The secret is collecting the right items, in the right condition, and knowing when to say no.
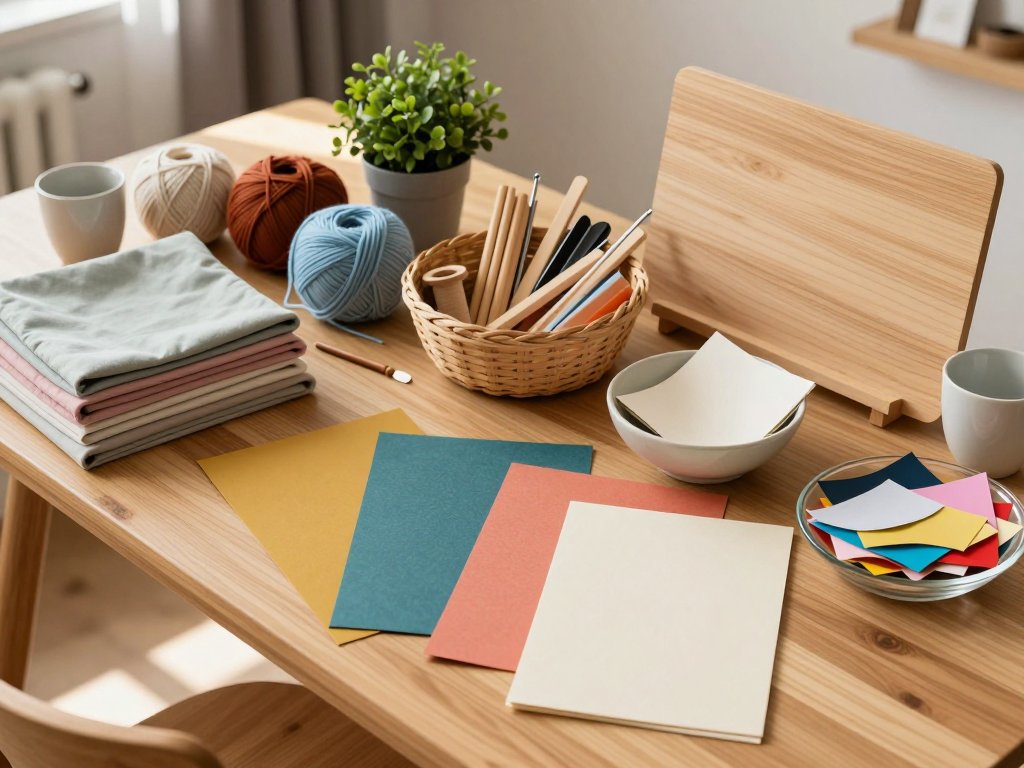
Build your starter stash from these five categories:
- Glass jars and bottles. Pasta sauce, jam, pickles, olive oil. Soak off the labels, and you have vases, storage, candle holders, and gift containers.
- Cardboard. Shipping boxes, cereal boxes, toilet paper tubes. The flat, clean pieces are gold for organizers, book covers, and templates.
- Old sweaters. Wool sweaters that felted or shrunk are perfect for mittens, coasters, and bags. They do not unravel the way knits do.
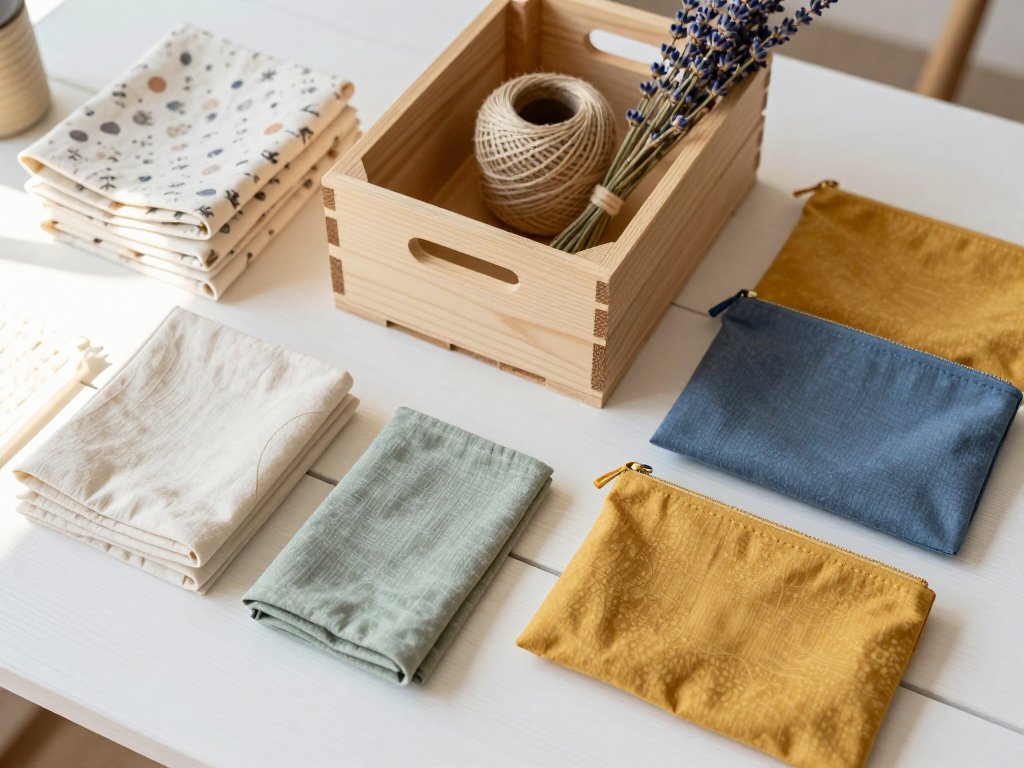
- T-shirts. Cotton tees turn into t-shirt yarn, which becomes rugs, baskets, and market bags. Stains and holes do not matter — you are cutting strips.
- Denim. Jeans with worn knees are still full of good fabric for tote bags, coasters, and patchwork.
And here is what to skip. Broken glass. Anything with food residue that will not wash clean. Moldy fabric. Electronics. And cardboard that is greasy — the oil never really leaves. If you would not store it in your kitchen, do not store it in your craft room.
One rule keeps the stash from becoming its own hoard: collect only what you have a project for. When you finish a project, add one new item to the stash to replace it. The bin stays full, but it never overflows.
Project 1: Jar Vases and Lanterns
This is the easiest win in the whole upcycled catalog, and it takes about ten minutes.
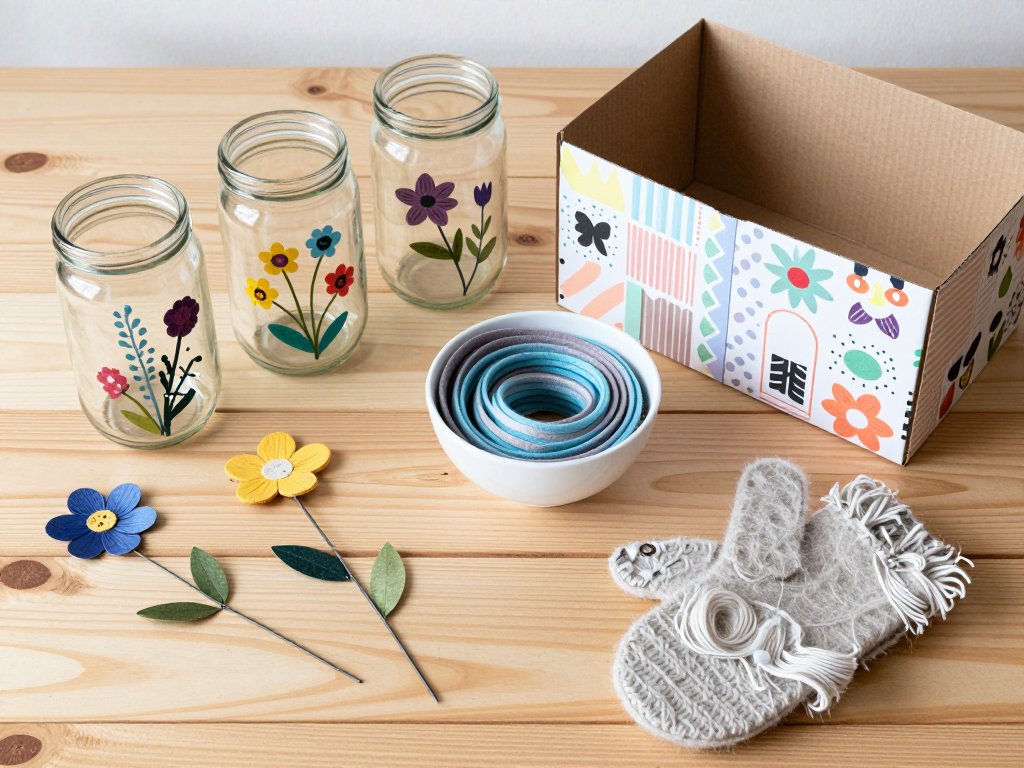
Wash a jar thoroughly and soak off the label in warm, soapy water. Dry it completely. Then you have three roads you can take:
- Plain and honest. Fill it with wildflowers from the yard or the farmer's market. Nothing else needed.
- Painted. A coat of acrylic craft paint — or better, glass paint — turns it into a colored vase that looks like it came from a boutique.
- Twine-wrapped. Wrap the jar in jute twine with a dab of hot glue every few inches. Add a tea light, and you have a lantern for the porch.
Group three jars of different heights on a table and you have a centerpiece that cost you zero dollars. I sold painted jars at a craft fair for eight dollars each, and the materials — paint and twine — cost me about forty cents per jar.
That is a ninety-five percent margin. Try finding that anywhere else.
Project 2: Cereal Box Organizers
Cereal boxes are the most underrated craft material in your house. The cardboard is thin enough to cut cleanly, but sturdy enough to hold real weight.
Cut the top off a cereal box, wrap it in scrapbook paper or fabric, and you have a desk organizer.
Stack two or three on a shelf for mail, craft supplies, or the kids' artwork.
For a sharper look, cut the front panel into a shallow angle so the box reads as a magazine holder.
The same cardboard makes excellent bookmarks: cut a strip, round the corners, and decorate with washi tape. They take three minutes each and make great little gifts for teachers and neighbors.
My favorite trick is using cereal box cardboard as a template material. It is thick enough to trace around but cheap enough to cut fearlessly. Every stencil and pattern in my shop started as a cereal box.
One flat box, a roll of wrapping paper, and a glue stick. That is an organizer, three bookmarks, and two templates. All of it free.
Project 3: The Felted Sweater Transformation
Here is the sweater problem in one sentence: wool shrinks in the wash, and a shrunken sweater is useless to wear but perfect for crafting.
The science is simple. Agitation and heat make wool fibers lock together into felt. Felt does not fray, does not unravel, and cuts cleanly at the edges. That makes it one of the best sewing materials you will ever work with.
Cut the sweater apart at the seams, and you have panels of felted wool. From those panels you can make:
- Mittens. Trace your hand with room to spare, cut two layers, and sew around the edge. Line them with fleece for cold mornings.
- Coasters. Cut circles or squares and sew or felt the edges. They absorb condensation beautifully.
- A patchwork bag. Sew the panels together into a tote. The felted wool is thick enough to hold books.
- Potholders. Two layers of felted wool sewn together protect hands from hot dishes.
If you do not have a shrunken sweater in your closet, every thrift store has a rack of them for a dollar or two. Felted wool at that price is the cheapest quality fabric on earth.
Project 4: T-Shirt Yarn and What to Make with It
T-shirts are the most common clothing item in any house, and the least useful once stained or holey. But cut a t-shirt into strips, and you have yarn.
The method is almost too simple. Lay the shirt flat, cut off the hem and sleeves, then cut the body into one continuous spiral strip about an inch wide. Stretch the strip gently, and it curls into a soft, sturdy cord. That is t-shirt yarn.
With a big crochet hook or even just your fingers, that yarn becomes:
- A braided rug. Braid three strips and coil them into a round rug, stitching as you go. A bath mat or entry rug for nothing.
- A market bag. Crochet a simple mesh bag in an evening. It folds to pocket size and carries a week of groceries.
- A storage basket. Coil and stitch the yarn into a basket that holds toys, yarn, or fruit.
One bag of old t-shirts from a clothing drive gives you enough yarn for a rug and two baskets. Retail t-shirt yarn runs ten to fifteen dollars per ball. Your version costs the time it takes to cut.
That is the whole upcycling pitch in one project: the material is free, the skill is simple, and the result looks like it came from a boutique.
Project 5: Egg Carton Flowers and Seed Starters
Cardboard egg cartons are the quiet workhorses of the upcycled world. They are free, they come in steady supply, and they do two very different jobs beautifully.
The first job is gardening. Each cup is a perfect biodegradable seed starter. Fill with soil, plant a seed, and when the seedling is ready, cut the cup apart and plant the whole thing — cardboard and all.
It breaks down right in the soil. Garden centers sell the same thing for a few dollars a tray.
The second job is crafting. Cut the cups apart, trim the edges into petals, and you have flower shapes. Paint them, layer them, and glue them onto a stem made from a skewer or a wire. A handful of egg cartons becomes a bouquet that never wilts.
Kids love this project because every flower is different, and the paint does most of the work. It is also one of the cheapest classroom or rainy-day activities you will ever run — the materials are already in your fridge drawer.
Project 6: Denim Tote Bags
Every pair of jeans eventually loses the knees, the thighs, or the zipper. The good news: the legs are still perfectly good fabric.
Cut the legs off a pair of jeans, open the seams, and you have two large panels of sturdy cotton twill.
Sew the panels into a tote bag with the hem of the leg as the top edge — that gives you a finished opening with zero extra sewing.
Add handles from an old belt or a strip of the same denim.
Denim totes are rugged enough for groceries, library books, or beach days. They also patch beautifully: a worn spot becomes a pocket or a patch instead of a hole.
If you quilt, save the smaller pieces. Denim patchwork quilts are heavy, warm, and nearly indestructible, and they use up every scrap of every worn-out pair of jeans in your house.
One pair of jeans, one afternoon, one bag that would cost twenty-five dollars in a store.
The Tools That Make It Easy
You do not need a workshop for any of this. But five tools turn upcycling from a chore into a pleasure, and they are worth owning even if you buy nothing else.
- A hot glue gun. The fast-setting version with a trigger. It joins cardboard, fabric, and glass in seconds.
- A sharp craft knife. The retractable kind with snap-off blades. Clean cuts make upcycled projects look intentional instead of scrappy.
- Good scissors. One pair for fabric, one for paper, and never the two shall meet. Fabric scissors stay sharp for years if you treat them right.
- A cutting mat. Even a small one protects your table and keeps your cuts straight.
- Acrylic craft paint. A handful of colors transforms jars, cardboard, and fabric into something you would pay money for.
Every item on this list is under fifteen dollars, and each one pays for itself in the first two projects.
Upcycling for Profit: The Seller's Angle
If you sell your crafts, upcycling changes your business math in three ways, and all three are good.
First, your material cost drops to almost nothing, so your margin on every item goes up. A jar lantern priced at eight dollars with forty cents of materials is not an eight-dollar sale. It is a seven-dollar-and-sixty-cent profit.
Second, upcycled products have a story, and stories sell. "Made from a repurposed wool sweater" or "hand-thrown jar, recycled glass" gives buyers a reason to choose your booth over the identical item next door. Put the story on a small tag. It works.
Third, the eco angle is a genuine market. Shoppers increasingly look for sustainable, handmade goods, and they will pay more for them. "Upcycled" is not just a craft word — it is a selling point.
One honest warning: price for your time, not just your materials. Free materials do not mean free labor. If a project takes two hours, charge for two hours of skilled work. The savings should go in your pocket, not get given away.
Conclusion
That spring cleaning day taught me something I still use every week: the line between trash and treasure is just a decision.
You already have the supplies. The jars in your recycling bin, the sweater in the back of your closet, the t-shirts your kids outgrew — they are not waste. They are a free craft store waiting to be opened.
Start with one jar. Paint it, fill it with flowers, and set it on your table. That single finished piece will do more for your confidence than any article, including this one, ever could.
And when someone asks where you got it, you get to say the best sentence in crafting: "I made it. From stuff we were going to throw away."
That sentence never gets old. Neither does the money you save.