Introduction
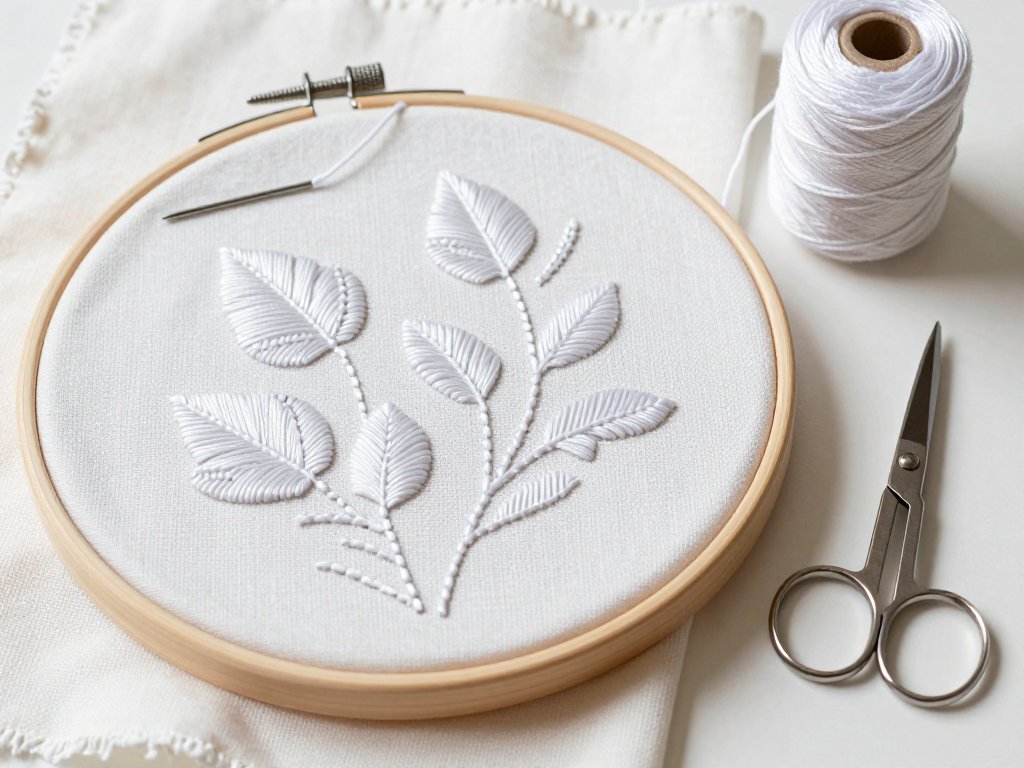
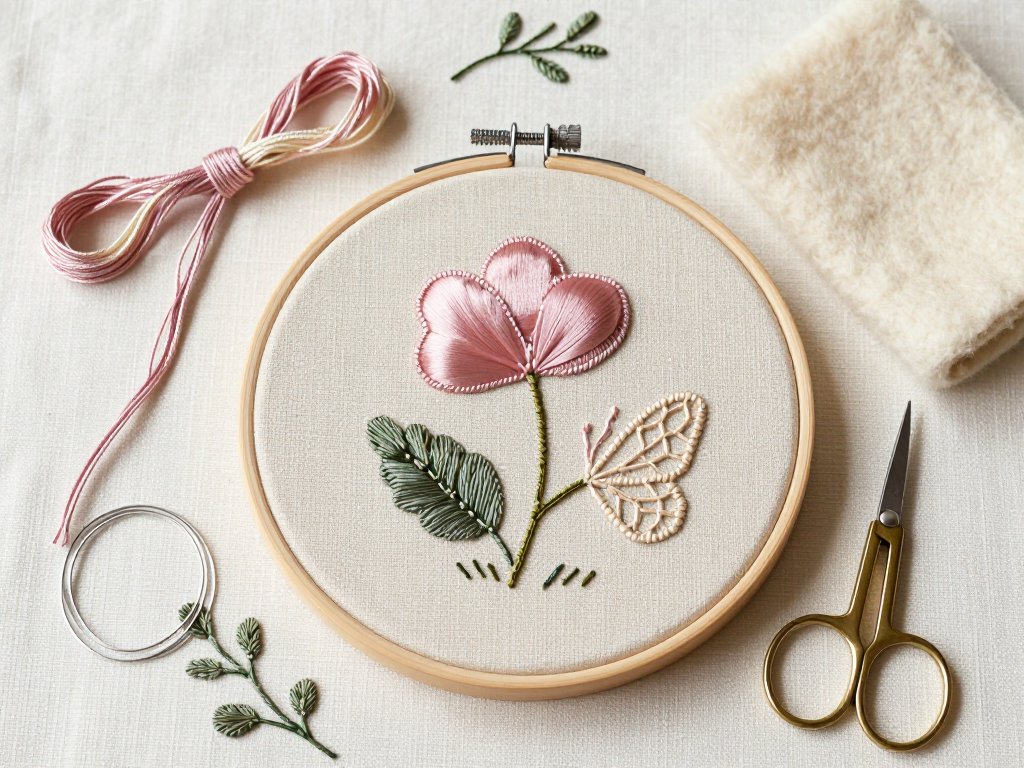
Flat embroidery draws a picture. Stumpwork builds one. Run your thumb across a seventeenth-century panel and the surface answers back: petals with a spine of wire, a figure's sleeve standing a few millimetres above the ground, a butterfly wing that lifts at the tip.
That lift is the whole idea. You stitch a shape on its own scrap of cloth, edge it with wire, cut it free, and fasten it down so it stands proud of the surface. Nothing is glued, and nothing is stuffed through a slit.
The technique flourished in English households in the middle of the 1600s and has never quite left us. This guide follows the order your hands will meet it: materials, a first wired slip, padding, needlelace, a small figure, and the finishing that keeps it safe.
One caution before we begin. Stumpwork is slow, and it is meant to be. A six-centimetre flower can take an evening. Read the whole method once, then thread a needle.
What Stumpwork Actually Is
Stumpwork is stitched relief. A shape is embroidered, supported, and then raised above the ground fabric so that it casts a small shadow of its own. The height is built in, not implied by shading.
It is not applique. Applique lays a piece of cloth flat on the surface and stitches its edges down; needle-turn applique turns a narrow allowance under as it goes, and the result lies smooth against the ground. Stumpwork uses the same cutting and turning, then refuses to lie flat.
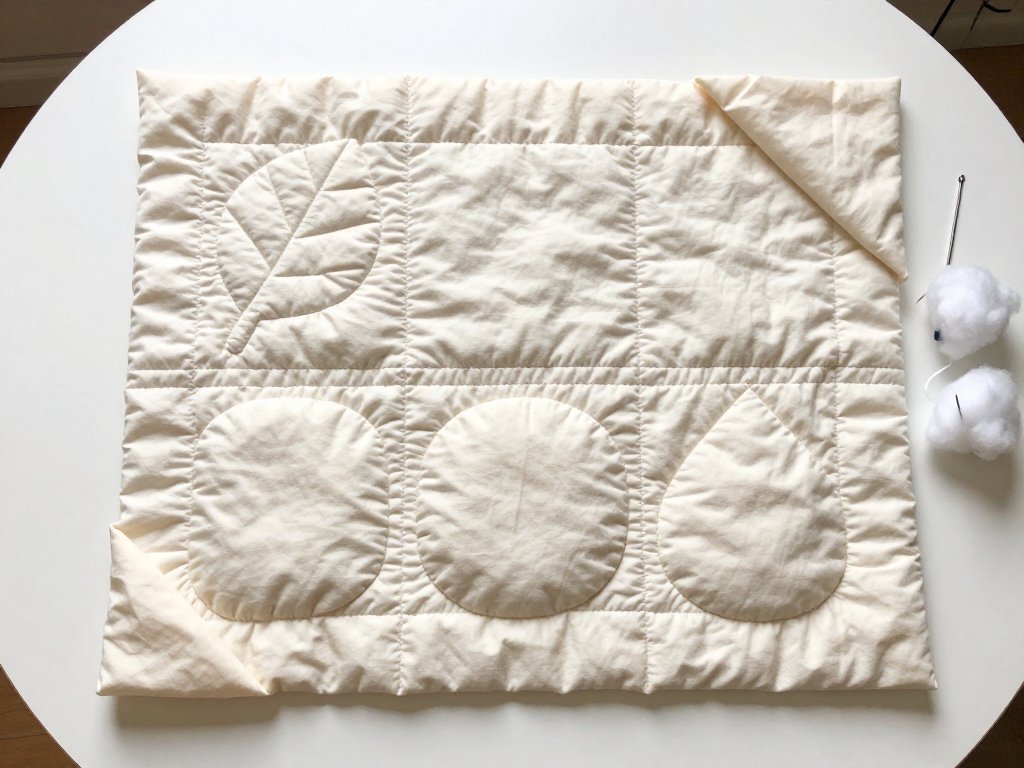
It is not quilting either. Trapunto and its relatives stitch two layers together and fill the pocket from behind. Stumpwork adds its height in front, on the surface, one element at a time.
Three things do the raising: a wire edge that keeps a shape stiff once it leaves the hoop, felt padding beneath satin stitch, and detached needlelace that has no ground cloth under it at all. Almost every effect in the craft comes from one of those three.
The vocabulary, briefly
- Slip — a shape stitched on separate cloth, cut out, and applied to the panel.
- Raised work — the seventeenth-century name for the whole technique.
- Couch — to lay a thread or wire on the surface and hold it with tiny cross stitches.
- Detached buttonhole — looped rows worked without fabric beneath, forming needlelace.
- Corded buttonhole — buttonhole stitch worked over laid threads, giving a raised rope edge.
A Short History of Raised Work
The impulse is medieval. English Opus Anglicanum, the embroidered church vestments of the twelfth to fourteenth centuries, already treated figures as sculptural things, built up in silk and silver-gilt thread and modelling the body beneath the drapery.
Stumpwork as we recognise it belongs to the Stuart period. From roughly 1630 to 1700, girls in comfortable English households stitched raised panels as part of their education, alongside samplers and plain whitework.
They worked caskets, mirror frames, bookbindings and small cabinets. The subjects were flowers, insects, birds, and figures from scripture, Ovid and the court: a queen's eye in silk, a king's cloak in seed pearls.
Materials came from the house and the haberdasher: silk thread, wire, mica for windows, beads, coral, and pearls unpicked from old jewellery. Nothing was wasted, and nothing was too small to stitch.
The name is later. Victorian collectors, charmed by the raised stumps of padding they found under worn satin, called the work stumpwork. The seventeenth century called it raised work, and the older name is the more accurate one.
It shares a workshop history with goldwork, both relying on couched threads over a prepared ground, but the aims differ: goldwork is about metal and light, stumpwork about structure and depth.
What You Need
You need less than the antique examples suggest. This list will make a small panel or a brooch, and most of it is inexpensive.
- Ground fabric. A closely woven cotton muslin for the slips, and a medium linen or cotton twill for the panel itself.
- Thread. Fine cotton or filament silk. Silk gives the sheen the old panels have; cotton is more forgiving of uneven tension.
- Wire. 30-gauge for petals and wings, 32-gauge for fine leaves. Both bend by hand without tools.
- Felt. 2–3mm wool or wool-blend felt for padding, in a colour close to the thread that will cover it.
- Needles. Size 9–10 crewel for silk and fine cotton; chenille in sizes 18–22 for heavier cotton and for tacking padding through felt.
- Scissors. Small sharp embroidery scissors with fine points, for cutting close to a wire edge.
- Also. An 8-inch hoop, a fine marker or a prick-and-pounce pad, and a blunt tapestry needle for nudging padding into place.
Buy wire on a spool rather than in precut lengths. You want to shape one continuous outline, not join short pieces with a lump in the middle.
Wash and press the muslin before you use it. Shrinkage after stitching is one of the commoner causes of a puckered ground, and it cannot be corrected once the work is done.
Making Your First Wired Slip
A slip begins as a drawing and ends as an object. Start with a single petal about three centimetres long, on muslin stretched drum-tight in the hoop.
- Trace the petal onto the muslin with a fine line. Keep the outline simple; a lobed edge is harder to wire than it looks.
- Cut a length of 30-gauge wire roughly one centimetre longer than the outline all round.
- Lay the wire along the drawn line and couch it down with small stitches in matching thread, every 2–3mm.
- Bend the wire around curves with your fingers. At a sharp turn, make one firm bend rather than several small ones.
- Work the petal in satin stitch or long-and-short shading, covering the couching stitches and taking the thread over the wire at the edges.
- Finish the fill, then run a fingertip around the wire to check for burrs or sharp ends before you cut anything.
The wire is what lets the shape survive leaving the hoop. Without it, a cut petal collapses into a rag the moment the tension goes.
Use 32-gauge for a fine leaf; it bends more easily and gives a thinner edge. Petals and wings can carry 30-gauge, which holds a curve with more authority.
Leave the two wire ends meeting at the base of the petal, never at the tip. The base is where they can be tucked out of sight.
Cutting Free and Couching Down
Cut the petal out with a seam allowance of 2–3mm all round. Cut slowly, with small sharp scissors, and never cut the wire itself.
Turn the allowance to the back, over the wire, and whip it down with fine matching thread. The wire now sits inside a neat folded edge, and the petal has a firm outline you can feel.
Place the slip on the panel and hold it with a pin or a dab of tacking. Bring a fine silk thread up at the edge, from underneath.
Slip stitch over the folded edge, catching only a thread or two of the ground each time. Stitches 2mm apart hold firmly and disappear into the edge.
Work around the shape in one direction rather than jumping across it. At corners, take two stitches in the same place instead of pulling hard.
Never stitch across the middle of a slip. The satin surface is the whole point of the exercise, and a stitch laid over it will catch the light and show.
Lifting a tip
If a petal should curl away from the ground, leave the last few millimetres uncouched and slide a narrow roll of felt beneath the tip. Two stitches at the base hold the curl without flattening it.
Padding a Domed Petal
Padding turns a flat slip into a dome, and it is the second of the three raising tricks. The material is felt, cut smaller than the shape and stacked beneath the stitching.
Cut two or three felt pieces 2–3mm thick, each a little smaller than the last, and tack them to the ground inside the outline. The smallest goes on top.
The stack should rise perhaps a third of the petal's width at the centre and taper to nothing at the edges. A cliff at the edge reads as a mistake, however neat the satin.
Work satin stitch across the dome, perpendicular to its length, laying threads side by side with no ground showing between them. Bury the felt completely.
Take the needle down just outside the felt at each side and keep the tension even. Pulled tight, satin stitch cups the padding; left loose, it sags and dulls.
For a softer dome, use loose cotton padding teased into a flat disc instead of felt. Cotton gives a rounder shoulder; felt gives a crisper edge and holds a shape better under framing.
On thickness: 4mm of padding under a three-centimetre petal already looks like a cushion. Two millimetres is usually enough, and the eye reads the difference as weight, not height.
Needlelace Fillings and Corded Edges
Needlelace is stitching with no fabric beneath it. In stumpwork it fills petals, wings and leaves where you want air and shadow rather than solid silk.
The stitch is detached buttonhole, sometimes called buttonhole lace. Each row loops into the row before, and the ground cloth is only a scaffold to begin from.
Work it over a foundation of three or four long stitches laid across the shape, or from a wire edge already couched to the muslin. The first row is worked over the foundation; the rest hang from it.
Keep the loops loose and even. Tight loops pull the rows together and the lace narrows as it grows, which is difficult to correct once three rows are set.
Corded buttonhole is the firmer cousin. Two laid threads are held along the edge and buttonholed over, giving a raised, rope-like border with a definite ridge.
Use corded buttonhole for stems, insect bodies and the leading edge of a wing. Use open detached buttonhole for the wing membrane itself, so light passes through the gaps and the piece reads as translucent.
Before cutting a needlelace shape free, run a tiny anchoring stitch at each point where it touches the outline. Cut, then couch it down like any other slip.
Building a Raised Figure
A face at this scale is rarely more than two centimetres high. That is the central fact of the work: you are not drawing a portrait, you are suggesting one, and the suggestion has to survive being seen from a metre away.
The padded base
Cut a felt oval slightly smaller than the face and tack it down. Two layers at 2–3mm each give a gentle dome, and one layer gives almost nothing.
Cover the felt with flat stitches in the skin tone, laid in the direction the light will fall. This layer is a foundation for shading, not the skin itself, so keep it smooth and slightly darker than you think.
Long-and-short shading
Work long-and-short stitch from the edge inward: alternating long and short stitches in the first row, then rows that interlock with the one before until the shading blends.
Place the shadow colours at the sides of the nose, under the jaw and along the temple. The lightest thread belongs on the cheekbone and the bridge of the nose, where the padding is highest.
Keep the features minimal. One straight dark stitch for each eye, a single stitch for the mouth, a hint of colour on the lips and the cheek.
At two centimetres, an elaborate eye becomes a smudge. Restraint reads as skill, and the padding does most of the work of making a face look alive.
Hands and arms as wired slips
Hands and arms are made separately, on muslin, over wire. A hand is a small shape with a wrist attached; an arm is a narrow strip with a bend at the elbow.
Trace the outline, couch 32-gauge wire around it, and stitch the shape in long-and-short or satin stitch. Cut out with a 2–3mm allowance, turn it over the wire, and whip the edge.
Tuck the ends under at wrist and shoulder. Fold the last few millimetres of the slip beneath itself so the raw edge and the wire ends vanish into the fold.
Couch the arm down along its length, then slide the hand under the sleeve edge so the join is hidden. A cuff stitched over the wrist finishes the junction.
This tucking is the trick that makes a figure look assembled rather than pasted on. Do it before the sleeve goes on, not after, because the sleeve is what hides it.
The Order of Work, and Why It Matters
The order is not a matter of taste. Raised work cannot be hooped once it exists, so every flat element has to be finished before the first slip goes down.
- Transfer the design and work all flat background stitching: ground, hills, foliage, any line that sits on the surface.
- Add the padding stacks and their satin covers, since these attach directly to the ground and would be crushed by a hoop later.
- Make every slip and needlelace piece separately, and keep them flat in a shallow box until needed.
- Couch the slips down from the furthest back to the nearest front, largest last, so the overlaps fall the way the picture demands.
- Add the small details last: beads, a couched antenna, a stitched highlight on a wing.
The reason is mechanical. Every time you re-stretch the ground, a wire edge takes the strain and a padded dome flattens a little. You get one hooping, so use it well.
There is a pictorial reason too. A leaf behind a flower must be couched before the flower covers it, and a sleeve before the hand goes under it. Lay the pieces out dry on the panel and photograph the arrangement before you sew.
Troubleshooting: Four Things That Go Wrong
Wire poking through
A cut wire end will find its way through silk within a season. Run a fingertip around every edge before couching, and if you feel a point, lift the fold and bend the end back on itself.
Puckered ground
Usually too much tension: either the hoop was over-tightened or the couching stitches were pulled hard. Loosen everything, damp the ground slightly, and let it dry flat in the hoop.
Washing and pressing muslin before you begin prevents the other common cause, which is shrinkage after the work is finished and the panel is backed.
Shapes too thick
Too much felt, almost always. Lift the satin and remove a layer, or accept a flatter dome and call it a young flower. Stumpwork reads best when the highest point is three or four millimetres above the ground.
Thread shredding
Shorten your working length to about 40cm, use a needle with a larger eye, and check the wire for a burr. Silk also shreds if it is stripped roughly; separate the strands slowly, one at a time.
If a thread breaks repeatedly at the same point, the eye of the needle is too small or its plating has worn. Change needles before you blame the thread.
Finishing, Backing and a Brooch
A finished panel is usually backed or framed, which is why the reverse matters. Work without knots, weave ends under existing stitches, and never carry a thread across open ground.
Trim the ground leaving a 3cm margin. Cut a backing of linen or firm cotton the same size, place right sides together, and stitch around three and a half sides.
Turn it right side out, press the seam only — never the embroidery — and slip stitch the opening closed. A padded panel should never meet an iron face down.
If the panel will hang, lace it over an acid-free board with strong thread, pulling from opposite sides in turn so the tension stays even. Then frame it, or leave it unframed in a simple box.
A brooch version
Work a single flower or insect within a 5cm oval. Back it with firm linen and a layer of felt, then cut the oval with sharp scissors, following the stitched line.
Whip the edges together closely, or bind them with a narrow strip of silk. Attach a brooch pin to the felt with strong thread, stitched through a small patch of felt for support.
Keep the pin at least 5mm from the edge, where the wire cannot reach it. A brooch is worn and knocked against things; the finishing has to be more robust than a framed panel's.
A Last Word of Reassurance
Your first slip will have a lumpy edge. Your first face will look slightly wrong, and you will not be able to say exactly why. Both are normal, and both improve faster than you expect.
The seventeenth-century girls whose work survives were not beginners. They had years of practice, and even their panels have wobbly petals, mismatched hands and a saint with one eye higher than the other.
Judge your work from an arm's length, where the relief does its job. Up close, every handmade thing shows its working, and that is part of what distinguishes it from a print.
Start with one flower and one leaf. When those satisfy you, add the butterfly, then the figure. The order in this article is the order of the craft, and it can be taken one element at a time.
Stumpwork is slow because the height is real. That is the pleasure of it: at the end you have not a picture of a flower, but a flower you can feel with your eyes closed.