Introduction
There is something deeply satisfying about taking a piece of clothing that is worn, torn, or simply tired and giving it a second life with nothing more than a needle and thread.
Sashiko, the traditional Japanese art of decorative mending, does exactly that — and it does it with quiet beauty.
If you have ever felt a small pang of sadness when a favorite pair of jeans finally wore through at the knee, this craft is for you.
Sashiko turns that little hole into a canvas. Instead of hiding the repair, you celebrate it with neat rows of white stitches that catch the light and tell a story.
The best part? You do not need years of embroidery experience. Sashiko is one of the most forgiving needlecrafts there is.
If you can sew a straight running stitch, you can learn sashiko this afternoon. Let us walk through its history, its simple tools, and the first stitches you will ever make.
A Stitch Born of Necessity
To understand sashiko, you have to travel back to Edo-period Japan, when cloth was precious and nothing was wasted. Cotton was expensive and hard to come by, especially for farming and fishing families who worked the land and the sea in the northern regions of the country.
Indigo-dyed cotton, prized for its deep blue color and its ability to hide the dirt of hard work, was kept and reused for years.
When a garment wore thin, it was patched with scraps and stitched with whatever thread was available — most often white cotton, which stood out beautifully against the blue.
The word sashiko itself means "little stabs," a perfect description of the short, even running stitches that make up the craft. What began as pure necessity slowly became an art form. Women developed geometric patterns passed down through families and villages, each region with its own beloved designs.
Those patched, re-patched, and lovingly stitched garments became known as boro — literally "rags" — and today they are prized by collectors and museums around the world. What was once a mark of poverty is now celebrated as a testament to resourcefulness and beauty.
Why Visible Mending Matters Now
Fast fashion has changed the way we think about clothes. A torn knee or a frayed elbow often means a trip to the store rather than a trip to the mending basket.
But there is a growing movement of makers, sewists, and everyday crafters who are choosing a slower, kinder path.
Visible mending is exactly what it sounds like: repairs that are meant to be seen. Instead of trying to make a mend invisible, you make it intentional. A sashiko patch becomes a design feature, a conversation starter, a quiet protest against waste.
For many of us, the appeal is practical as well as philosophical. Good jeans are expensive. A well-loved linen shirt has a fit you cannot buy off the rack. When you can repair them yourself, you save money and keep the pieces you love out of the landfill.
And there is an emotional side, too. There is real joy in wearing a garment that carries your own stitches — a reminder that you are not just a consumer but a maker.
Getting to Know the Sashiko Stitch Family
Before you pick up a needle, it helps to know that sashiko is not one single technique but a family of styles. Do not let that intimidate you, though. They all share the same humble foundation: the running stitch.
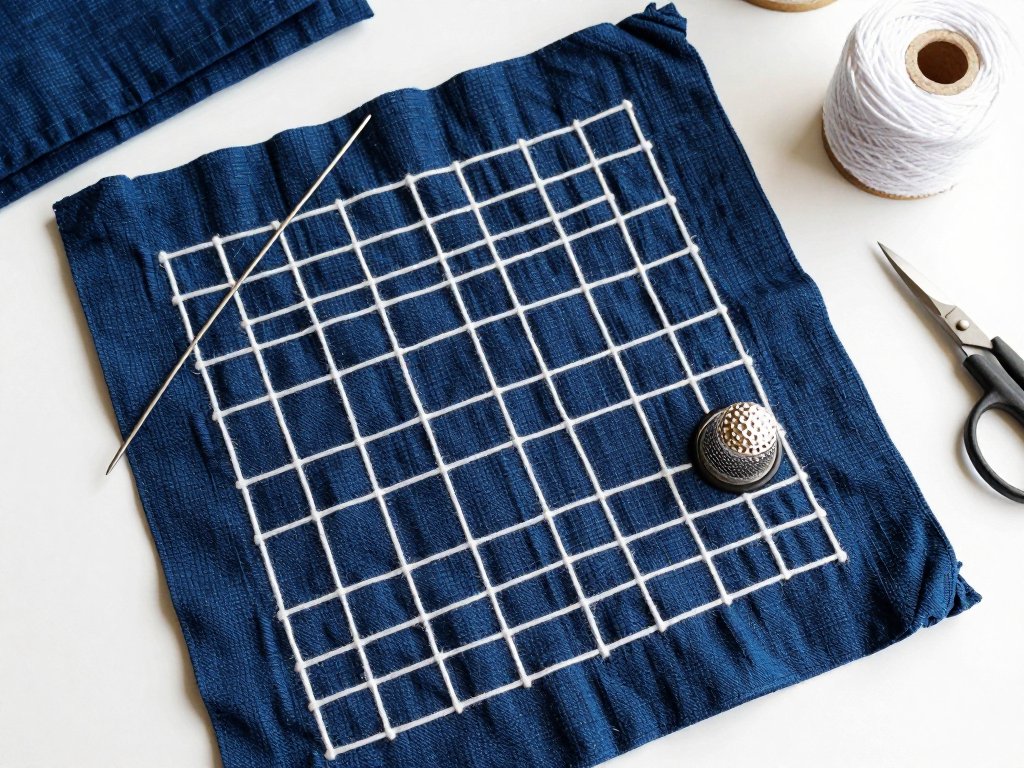
Hitomezashi is the style most beginners meet first. Its name means "one-stitch sashiko," and it uses rows of single running stitches to build geometric grids. Patterns like the hemp leaf (asanoha), the ocean waves (seigaiha), and the interlocking circles of shippo all belong to this family.
Moyozashi is pattern sashiko, where continuous lines of stitching flow across the fabric to create larger designs. It is a little more advanced because you plan the path of the thread as it curves and turns, but it builds directly on the same skills.
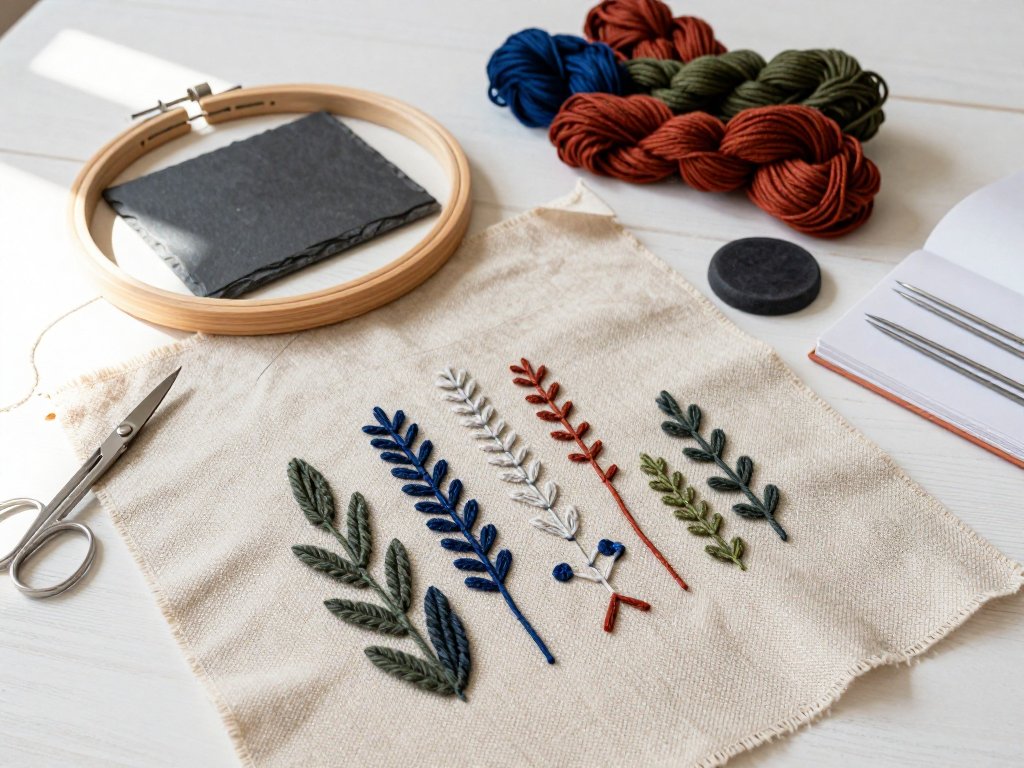
Kogin comes from the Tsugaru region in northern Japan. It is a counted-thread style, worked on loosely woven fabric where you count the threads to place each stitch precisely. Kogin produces dense, almost woven-looking bands of pattern.
For your very first project, hitomezashi is the perfect starting point. It is forgiving, it looks impressive quickly, and it teaches you the rhythm of the stitch that everything else builds on.
What You Need: A Gentle Starter Kit
One of the loveliest things about sashiko is how little it asks of you. Here is everything you need to begin, most of which you can find at a craft store or online for very little money.
Sashiko thread. This is thicker and looser-twisted than regular embroidery floss, which gives your stitches that soft, rope-like texture. If you cannot find true sashiko thread, a size 5 pearl cotton is a very good substitute.
Sashiko needles. These are long — often two to three inches — and sharp, with a slightly larger eye. The length lets you pick up several stitches at once, which is the heart of sashiko's efficient rhythm.
Fabric. Traditional sashiko uses indigo-dyed cotton, but do not feel you must start there. Medium-weight cotton, linen, or even an old denim jacket all work beautifully. The main rule is that the fabric should be woven firmly enough to hold neat stitches.
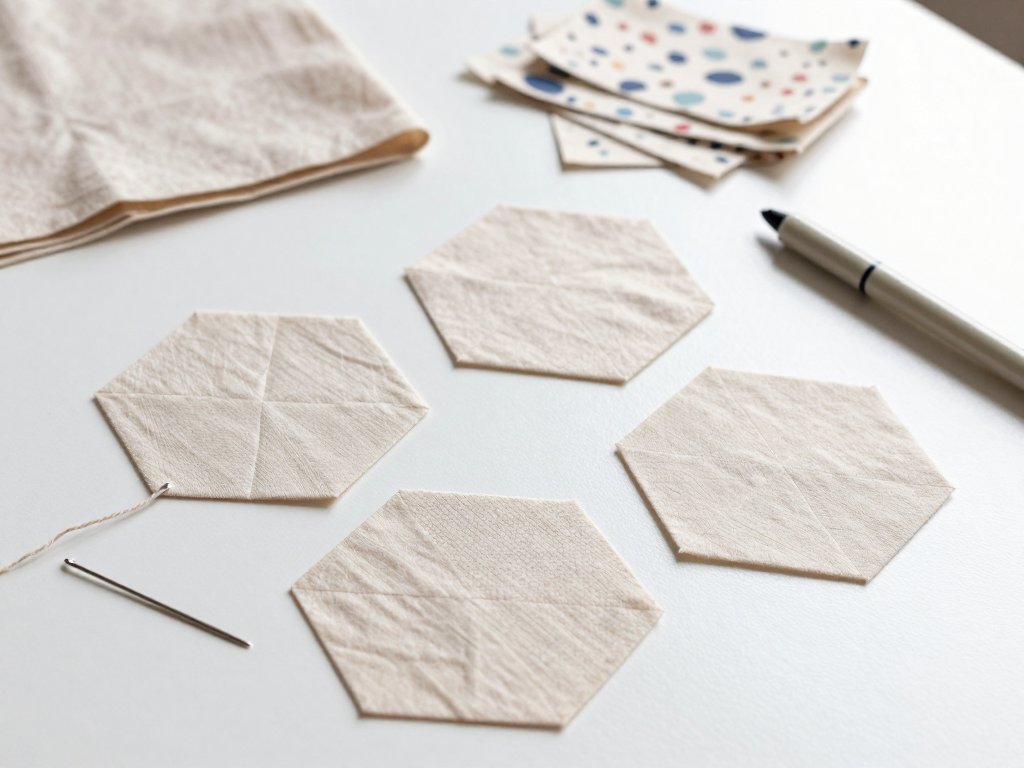
A hera, or creasing tool. This small bone or plastic tool is used to press fold lines when you are preparing patches. A butter knife from your kitchen drawer works in a pinch.
A thimble. A leather or metal thimble worn on the middle finger of your stitching hand protects it as you push the needle through multiple layers.
That is genuinely it. No hoop is required — most sashiko is worked with the fabric held loosely in the hand, which makes it wonderfully portable. You can stitch on the sofa, in the car, or while the kids are at soccer practice.
Choosing Fabric and Thread Colors
Part of sashiko's charm is the striking contrast between thread and cloth. The classic combination is white thread on indigo cloth, and there is a reason it has endured for centuries: the dark blue makes every stitch pop, and the white thread shows off the texture beautifully.
That said, modern sashiko is wonderfully free. Ecru and cream threads on natural linen give a softer, more muted look.
Red thread on indigo is a traditional favorite for special pieces. And if you are mending a pair of jeans, you can choose a thread that matches the denim wash or one that deliberately contrasts with it.
For your first project, choose a fabric and thread with strong contrast. It makes it much easier to see your stitches as you practice, and the finished piece looks more dramatic. Save the tone-on-tone combinations for when you are comfortable with the rhythm.
One more tip: when you are mending, consider how the patch will sit in the finished garment.
A sashiko patch on the knee of jeans will be seen up close, so a detailed pattern works well there.
On a shoulder or elbow, you might prefer a simple grid that reads from a distance.
Marking Your Grid
Sashiko patterns are built on grids, and marking those grids clearly is the secret to tidy, even results. Take your time here — the marking is half the craft.
Traditional stitchers use sashiko stencils, which are thin plastic or paper templates with the pattern cut out. You rub chalk or a special water-soluble marker over the stencil to transfer the design onto your fabric. The patterns wash out easily, so do not worry about permanent marks.
For a simple grid, you can mark dots directly with a water-soluble fabric pen and a ruler. A spacing of about half an inch between lines is comfortable for beginners. Mark dots along each line at regular intervals, or simply draw the lines themselves.
If you are working with a hera, you can even crease gentle guidelines into the fabric without any marking tool at all — a traditional technique that leaves no trace once you are done.
Whatever method you choose, mark lightly. You want guidelines you can see, not heavy lines that will peek out around your stitches.
The Basic Sashiko Stitch, Step by Step
Now for the moment you have been waiting for. Find a comfortable seat, thread your needle with a strand about the length of your arm — no longer, or it will tangle and fray — and follow along.
Step 1: Thread and knot. Thread the needle and tie a small knot at the end. Bring the needle up from the back of the fabric at your starting point, pulling the knot snug against the wrong side.
Step 2: Take several small stitches. Here is where sashiko differs from ordinary hand sewing.
Instead of one stitch at a time, you rock the needle to pick up four or five stitches at once, like a gentle wave.
Push the needle down through the fabric, then back up a short distance ahead, then down again.
Step 3: Pull through. Once you have loaded several stitches onto the needle, pull the thread through. Do not pull too tight — the fabric should lie flat, not pucker. Your stitches should sit relaxed on the surface.
Step 4: Keep the rhythm. Aim for stitches of about a quarter inch, with gaps of about a quarter inch between them. The evenness matters more than the size. Some stitchers count a rhythm in their heads: in-out-in-out, in-out-in-out.
Step 5: Turn and continue. When you reach the end of a row, take a tiny stitch to turn the corner or bring the thread to the back, knot it, and start again. For hitomezashi grids, you will work row by row.
That is the entire stitch. Simple, yes — but do not underestimate it. Repeating this rhythm across a grid, row after row, is where the magic and the meditative calm live.
Keeping Your Stitches Even
Every sashiko stitcher's first few rows are wonky. That is normal, and it is fine. Evenness comes with practice, but a few tricks will speed you along.
Match the gap to the stitch. If your stitches are a quarter inch long, aim for quarter-inch gaps. The relationship between the two is what creates the pattern's rhythm.
Let the fabric rest. If you stretch the fabric taut while you stitch, your tension will be too tight when you release it. Keep the fabric relaxed in your non-stitching hand.
Work in good light. Sashiko is gentle on your hands but not on your eyes. Sit near a window or use a bright lamp, and take breaks to rest your neck.
Practice on a scrap first. Before you touch your precious jeans, stitch a small practice grid on a piece of muslin or an old pillowcase. Ten minutes of practice will teach your hands the rhythm.
Use a sashiko frame or hoop if you like. Traditional stitchers often work without one, but a frame that holds the fabric taut can help beginners keep tension even. Try both and see which feels better to you.
What to Do When You Make a Mistake
You will make mistakes. Everyone does. The good news is that sashiko is one of the most forgiving needlecrafts in existence.
If you pull a stitch too tight and the fabric puckers, simply loosen your tension on the next few stitches and gently ease the fabric flat with your fingers. The puckering usually settles.
If you skip a stitch or land off the grid, you have two choices. You can carefully pull out the offending stitches — sashiko thread slides out easily — or you can simply adapt.
In sashiko, slight irregularities are part of the handmade charm. Traditional stitchers believed a small imperfection was a sign of humility and humanity.
If you knot your thread too early and run out mid-row, do not panic. Finish the row, knot off, and start a fresh thread at the next gap, weaving the ends to the back. The join will be nearly invisible.
The most important rule is this: do not rip out a whole row over one imperfect stitch. Finish the project, wash it, wear it. You will be amazed at how much more beautiful it looks once it has lived a little.
Your First Project: Mending a Worn Knee
Ready to mend something real? A worn knee on a pair of jeans or a thin spot on a favorite linen shirt are ideal first projects. Here is a simple, satisfying way to begin.
Step 1: Choose your patch. Cut a piece of medium-weight cotton or denim a couple of inches larger than the worn area on all sides. If you are using a contrasting color, it will look like a deliberate design choice — which it is.
Step 2: Prepare the edges. Use your hera (or the edge of a butter knife) to crease the patch edges under by about half an inch. Press them flat with your fingers or an iron.
Step 3: Pin the patch. Place the patch inside the garment, under the hole, with the right side of the patch facing the wrong side of the garment. Pin it securely in place so it does not shift.
Step 4: Mark your grid. On the outside of the garment, mark a simple grid over the patched area with a water-soluble pen. Keep the lines within the patch so your stitches anchor through both layers.
Step 5: Stitch. Work your sashiko rows across the patch, stitching through both the garment and the patch beneath. As you stitch, the patch will be securely attached and the worn area will be reinforced.
Step 6: Finish and admire. When you are done, knot off, wash the garment to remove the marks, and admire your handiwork. You just turned a pair of dying jeans into a one-of-a-kind piece.
If you would rather practice without the pressure of a garment, stitch a small square of fabric, sew it into a simple drawstring pouch, and gift it to a friend. Either way, your first finished piece will make you grin.
Caring for Your Mended Clothes
Sashiko is meant to be lived in, and your mended garments will last for years with a little care.
Wash mended items gently, either by hand or on a delicate machine cycle in cold water. Turn garments inside out before washing to protect the stitches from abrasion. Skip the dryer if you can — air-drying is gentler on both the fabric and the thread.
If a thread end works loose over time, simply thread a needle and weave it back through the back of the stitching. Sashiko repairs are easy to touch up, which is exactly the point. A mended garment is never finished; it is simply well loved.
As you wear and wash your piece, the stitches will soften and settle into the fabric. This is a good thing. Sashiko looks its best after it has lived a little, when the thread has taken on the same gentle patina as the cloth itself.
Where to Go Next
Once you have completed your first grid, a whole world of patterns opens up. The hemp leaf (asanoha), with its diamond shapes, is a wonderful second project and one of the most beloved sashiko motifs. The interlocking circles of shippo are another favorite, said to represent good fortune.
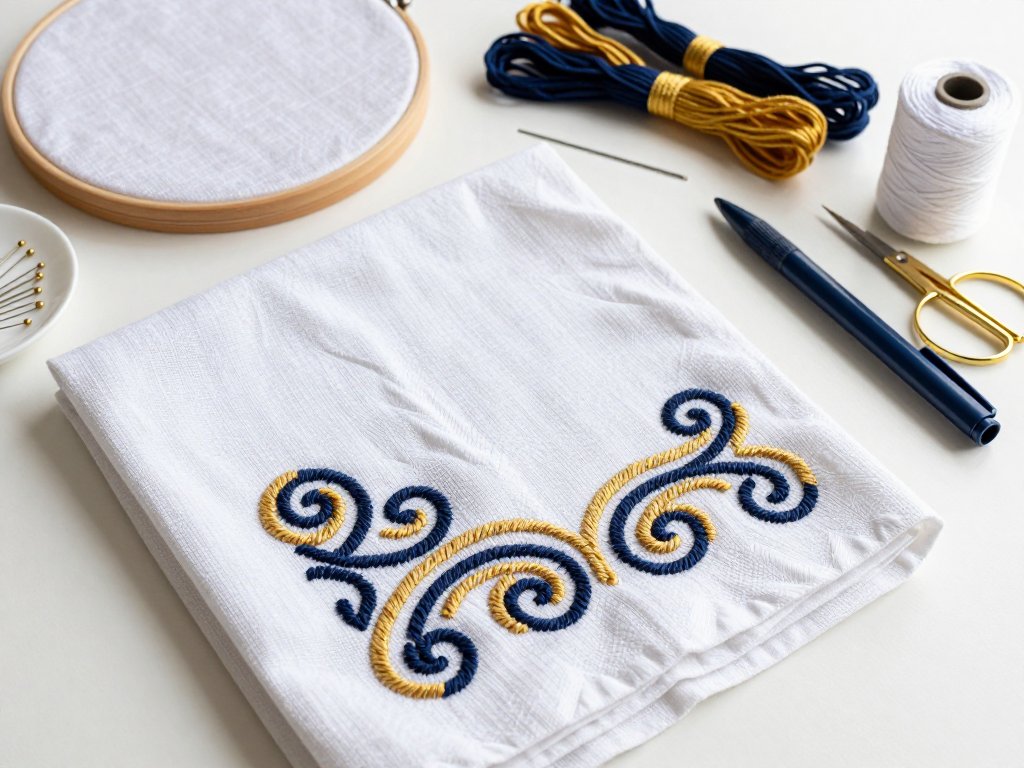
You might also explore kogin, the counted-thread style from northern Japan, or try sashiko on new garments — a plain apron, a tote bag, or the collar of a linen shirt. Stitching a small design onto a brand-new piece is a lovely way to make it unmistakably yours.
Many stitchers find that sashiko changes the way they see their whole wardrobe. Once you know you can mend, you start choosing clothes for their quality and fit rather than their disposability. It is a small shift with a surprisingly big effect.
And if you have children, consider inviting them to watch or even try a few stitches. Sashiko is slow, quiet, and satisfying — a beautiful counterpoint to screens and schedules, and a gentle way to teach patience and care.
Conclusion
Sashiko asks very little of you: a needle, some thread, a scrap of cloth, and a willingness to go slowly. In return, it offers a quiet hour of calm, a wardrobe that lasts, and the deep satisfaction of wearing your own careful work.
Start small. Stitch a practice grid, mend one knee, fix one collar. Your stitches do not need to be perfect — they need to be yours. Every row you add is a small act of care, for the garment, for your wallet, and for the planet.
So thread your needle, take a deep breath, and make those little stabs. Your jeans will thank you, and so will your heart.