Introduction
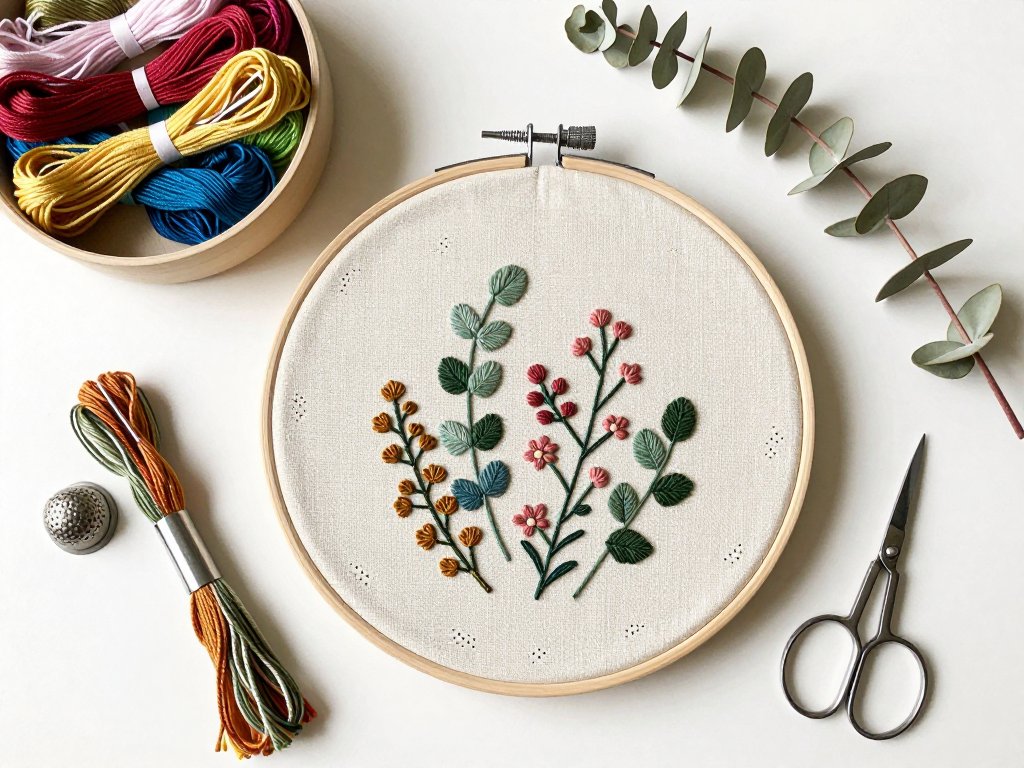
There is something quietly magical about a finished piece of embroidery stretched inside a wooden hoop.
It is art you made with your own hands, and it costs very little to begin.
You may have a hoop tucked away in a drawer, bought on a whim, with a half-finished flower still threaded on the needle.
This guide will show you how to turn that simple circle of wood and fabric into framed wall art that looks lovely in a nursery, a hallway, or a cozy reading corner.
Embroidery hoop wall art is one of the friendliest crafts for a busy mom. You can pick it up for fifteen minutes while the kettle boils, set it down when the children call, and return to it without losing your place.
There are no messy paints to clean up, no complicated machines to thread. Just you, a needle, and a calming rhythm of stitches.
In this guide, you will learn how to choose the right hoop, prepare your fabric, master a handful of simple stitches, and finish the back so your art hangs beautifully.
By the end, you will have a framed project you are genuinely proud of — and the confidence to make many more.
A Stitch in Time: The Humble History of the Hoop
Before we thread a needle, let us appreciate the tool at the heart of this craft.
The embroidery hoop has a longer and more storied history than you might imagine. Its earliest ancestor, the tambour frame, was used in the eighteenth century for tambour lace work.
The word "tambour" comes from the French word for drum, and you can see why: the stretched fabric resembles the taut skin of a small drum.
Tambour work arrived in Europe through trade routes from the East, and it quickly became fashionable among ladies of the court.
Early hoops were often made of wood, bone, or even ivory, and they were prized possessions.
The larger ring of the pair carried a tightening device — usually a small metal screw — so the artisan could keep the fabric drum-tight as she worked.
Today's hoops are more democratic. You can buy a perfectly good wooden hoop at a craft store for a few dollars, and plastic versions cost even less.
Yet the basic design has barely changed in two hundred years. Two concentric rings, a screw, and a stretch of fabric: that is the whole elegant invention.
When you hang your finished hoop on the wall, you are continuing a tradition that reaches back through centuries of needleworkers.
Choosing Your Hoop: Wood, Plastic, and Sizes
Your hoop is your frame, so choose it with a little thought. Wooden hoops are the classic choice.
They have a warm, natural look that suits most homes, and they take stain or paint beautifully if you want to customize them.
Bamboo hoops are lightweight and inexpensive, though their finish can be a little uneven. Plastic hoops are practical for beginners: they are easy to wipe clean, and their smooth surface grips fabric reliably without snagging.
Size matters more than you might expect. A small hoop, around four to six inches, is perfect for a first project or a sweet gift.
An eight-inch hoop is the most versatile size — large enough for a simple design with breathing room, small enough to hold comfortably in one hand.
Ten and twelve-inch hoops make a bold statement on a gallery wall, but they require larger fabric and more patience to keep perfectly taut.
Here is a tip that will save you frustration: when you buy a hoop, unscrew it and inspect the inner ring.
The inner ring should be smooth and free of splinters or rough seams, because it sits directly against your fabric.
A rough inner ring can snag your linen and leave permanent marks.
Gathering Your Supplies
One of the joys of hoop embroidery is how little you need. You probably already own most of the supplies, and the rest are inexpensive. Let us walk through the short list together.
Fabric. Linen and cotton are the traditional choices, and both work beautifully. For your first project, choose a light-colored fabric with a tight, even weave.
A plain cotton quilting fabric from the craft store is perfect, and you can often find remnants at a discount.
Avoid stretchy fabrics like jersey, which distort as you stitch.
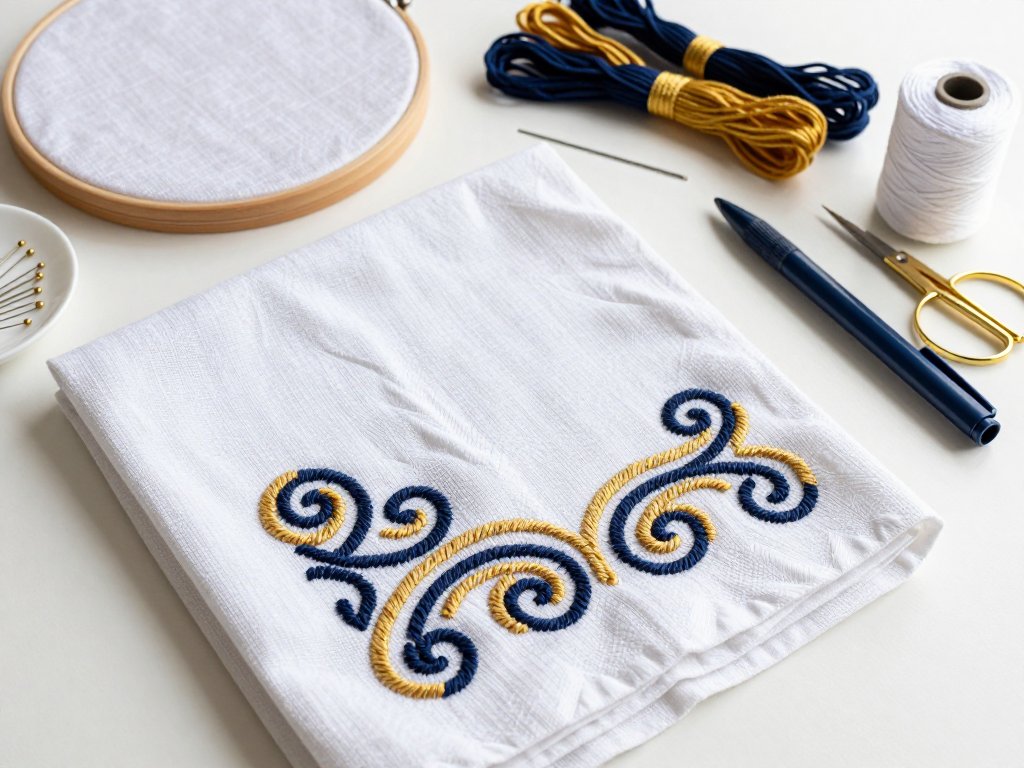
Embroidery floss. Six-strand cotton floss is the standard, and it comes in hundreds of colors.
For most stitches you will separate the strands and use two or three at a time.
Choose a small palette that makes your heart happy — a handful of colors is all you need for a lovely design.
Needles. A crewel needle, size 5 to 7, is ideal. It has a sharp point for piercing fabric and a large eye that is easy to thread. If your eyes struggle with threading, a needle threader costs a dollar and will change your life.
Scissors. Small, sharp embroidery scissors with pointed tips are worth their weight in gold. Keep them just for thread — you will be amazed how much smoother your work feels when your blades are truly sharp.
Extras. A water-soluble fabric pen or chalk pencil for marking your design, a thimble if you like one, and felt or fabric for finishing the back of the hoop. That is genuinely all you need to begin.
Preparing Your Fabric and Hoop
Good preparation makes stitching a pleasure instead of a struggle. Start by ironing your fabric so it is smooth and crease-free. If you are using a dark or richly colored fabric, consider pre-washing it to remove any excess dye that could bleed onto your floss later.
Now let us mount the fabric in the hoop. Loosen the screw on the outer ring, then separate the two rings.
Lay the fabric flat over the inner ring, and press the outer ring down over it, sandwiching the fabric between the two.
Gently tug the fabric all the way around the circle, pulling it evenly, until it is drum-tight.
Tighten the screw, and check the tension once more.
Here is the secret to a professional-looking result: the fabric should be taut enough that it does not wrinkle or sag, but not so stretched that the weave distorts.
You should be able to press lightly on the center and feel a firm, springy surface.
If the fabric puckers around the screw area, loosen, adjust, and try again. It takes most people two or three attempts before it feels just right — and that is completely normal.
If you plan to frame the finished piece in the same hoop, you can leave the fabric mounted and simply trim it later. Many hoop artists stitch with the fabric mounted the whole time, which keeps the tension steady and makes the finishing steps much easier.
Stitches That Shine in a Hoop
You do not need a vast stitch vocabulary to create beautiful hoop art. A handful of classic stitches, used with care, will carry you through dozens of projects. Here are the ones that beginners love most.
Backstitch. The backstitch is your drawing line — perfect for outlines, stems, and lettering. Bring the needle up at point A, down at point B, then back up at point C, just ahead of B.
Each stitch overlaps the previous one slightly, creating a continuous, sturdy line. It is the stitch that feels most like drawing with a pen, and it is wonderfully forgiving.
Satin stitch. The satin stitch fills shapes with smooth, solid color. Bring the needle up at one edge of your shape and down at the opposite edge, laying each thread neatly beside the last.
Keep the stitches parallel and the tension even. For large shapes, work the satin stitch over a foundation of split stitch or backstitch to give it a padded, dimensional look.
French knot. The French knot is a tiny, charming knot that adds texture and detail — the center of a flower, the eye of a bird, the seeds in a pomegranate.
Wrap the thread around the needle twice, hold the wrap taut, and push the needle down close to where it came up.
The first few attempts may be frustrating; everyone's first French knots wander. Keep your wrap snug but not tight, and they will soon behave.
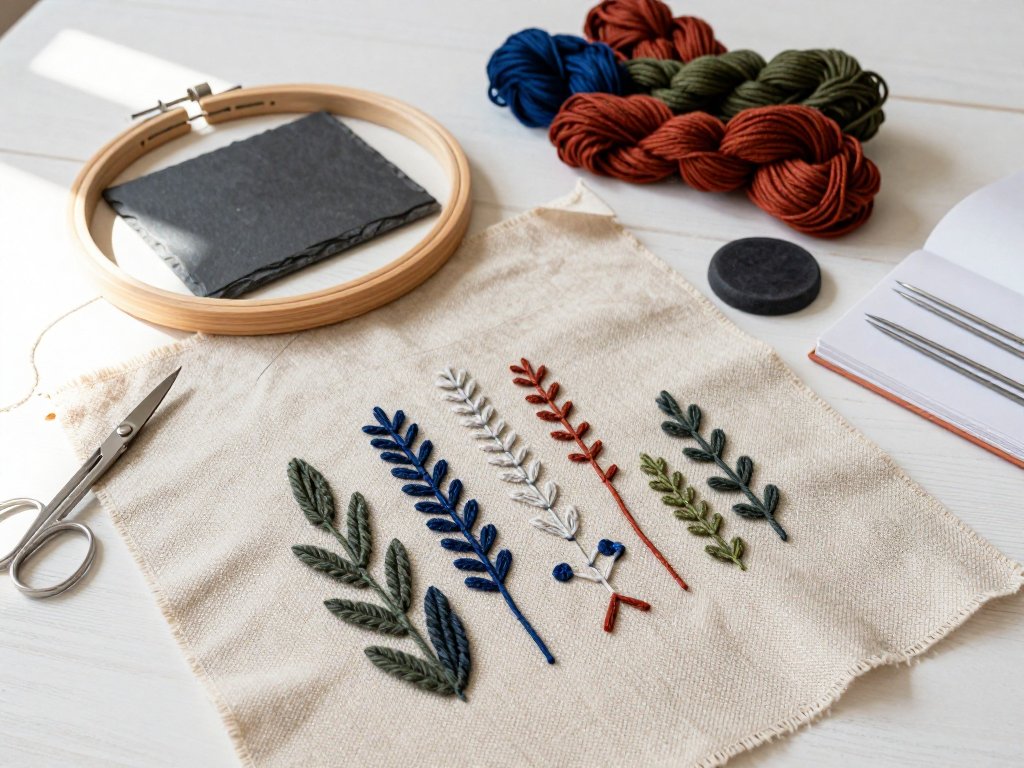
Lazy daisy. The lazy daisy, or detached chain stitch, makes delicate petals and leaves. Bring the needle up, form a small loop, and anchor it with a tiny stitch at the end of the loop.
Each petal is a loop anchored at its tip. It is quick, forgiving, and endlessly useful for floral designs.
Begin with just these four stitches. Practice each one on a scrap of fabric until your hand remembers the rhythm, then combine them in a small design. You will be surprised how professional a piece looks when it is built from simple stitches used with confidence.
Finding or Designing Your Pattern
Now for the fun part: choosing what to stitch. As a beginner, you have three good paths, and you can mix them freely.
The easiest path is a printed pattern or kit. Craft stores sell embroidery kits with the design already printed on the fabric, and they are an excellent way to build confidence. Look for kits marked "beginner" — they use a small palette and simple stitches.
The second path is a free pattern from the internet. Many lovely designers share downloadable patterns that you transfer to your fabric yourself. Printing a pattern, tracing it with a lightbox or against a bright window, and transferring it with a water-soluble pen is a simple, satisfying process.
The third path is designing your own. You do not need to be an artist.
Start with a single motif that means something to you: a eucalyptus sprig you saw on a walk, your child's first initial, a simple house shape.
Draw it large and simple on paper, refine it, and transfer it to fabric. A design that holds personal meaning will keep you stitching when a generic pattern might not.
Whatever path you choose, keep the design appropriate to your hoop size. A detailed design that suits a ten-inch hoop will look cramped in a six-inch one. Aim for one clear focal point and generous breathing room around it — negative space is your friend in hoop art.
Finishing the Back: The Framed Look
When your stitching is complete, you have a lovely piece of embroidery — but the framed look comes from the finishing. A well-finished back turns a craft project into a piece of wall art. Let me show you a method that is tidy, sturdy, and beginner-friendly.
First, remove the fabric from the hoop, trim your loose threads, and give the front a gentle press with an iron, using a pressing cloth so you do not flatten the stitches.
Then re-mount the fabric in the hoop, this time paying extra attention to centering your design and getting the tension just right.
Tighten the screw firmly.
Now flip the hoop over so you are looking at the back. Trim the excess fabric to leave a border of about an inch and a half all the way around the inner ring.
Run a gathering stitch around the edge of this border, then pull it gently to gather the fabric toward the center of the back, like a drawstring bag closing over the hoop.
This creates a neat, smooth back with no visible raw edges.
Cut a circle of felt slightly smaller than the hoop and stitch or glue it over the gathered fabric to hide the raw edges completely.
If you like, you can glue a small wooden or cardboard disc over the center to create a clean canvas for a signature or date.
Finally, add a small hanging loop at the top of the hoop — a short length of ribbon, twine, or even a metal ring glued or stitched at the twelve o'clock position.
If your hoop has a screw at the top, many artists choose to position it at the top and hang the hoop directly from it, which works beautifully and requires no extra hardware.
Displaying Your Hoop Art
A single finished hoop is lovely, but hoop art truly shines when you display it with intention. Here are some ways to make your stitched pieces look like a curated collection.
The gallery wall. Group several hoops of mixed sizes in a loose cluster on a wall.
The circular shapes contrast beautifully with rectangular picture frames, adding softness and movement to a gallery arrangement.
Lay the hoops out on the floor first and play with the arrangement before you commit to hanging them.
The themed trio. Three matching hoops in a horizontal row make a calm, orderly statement above a sofa or crib.
Use the same background fabric and a consistent palette, with each hoop featuring a different element of one theme — a moon, a star, and a cloud, or three different flowers from the same garden.
Seasonal swaps. Because hoops are lightweight and easy to hang, they are perfect for seasonal decorating.
Stitch a spring wreath for March, a pumpkin for October, a snowflake for December, and swap them as the year turns.
It is a small change that keeps your home feeling fresh without a major redecorating project.
Unexpected places. A small hoop looks charming in the bathroom, in a kitchen nook, or propped on a shelf against a stack of books. Do not limit yourself to the living room — embroidery hoop art is friendly and portable, and it brings warmth to any corner.
Troubleshooting Common Hoop Frustrations
Every embroiderer meets a few snags, especially at the beginning. Here is how to handle the ones that come up most often.
The fabric goes slack. Fabric stretches as you stitch, so it is normal for the tension to loosen over time. Simply loosen the screw, tug the fabric evenly all around, and re-tighten. Make this a small ritual every time you pick up your hoop.
Hoop marks remain after finishing. A crease where the hoop pressed into the fabric is common, especially on linen. Gently steam the finished piece and the marks usually relax away. In the future, you can wrap the inner ring with cotton bias tape to cushion the fabric and prevent marks.
The fabric puckers around my stitches. Puckering usually means your tension is uneven or your stitches are too tight.
Try to keep a relaxed, even pull on each stitch, and check that your fabric is drum-tight in the hoop.
Satin stitch is the most prone to puckering, so keep the thread tension light.
My French knots come out lopsided. You are in excellent company — every embroiderer has a graveyard of wobbly early knots.
Hold the wrapped thread firmly until the needle has fully passed through the fabric, and do not pull the knot too tight against the fabric surface.
With a little practice they will sit round and even.
My design is off-center. Before you tighten the screw for the final time, hold the hoop up at arm's length and check the placement. Adjusting before you finish is a two-second job; adjusting after finishing means starting over.
Conclusion: Your Turn
You now have everything you need to turn a humble embroidery hoop into framed wall art: a little history to appreciate, the right supplies, four trusty stitches, and a tidy method for finishing the back. The most important ingredient is the one you already have — the willingness to try.
Start small. Choose a six or eight-inch hoop, a design that makes you smile, and a quiet half hour.
Let the rhythm of the needle be your anchor at the end of a busy day.
And when you finish your first piece, hang it somewhere you will see it often.
Every time you glance at it, you will remember that you made something beautiful with your own two hands.
When you are ready for more, try a second hoop with a bolder palette, or stitch a matching pair for a friend. Hoop art is a craft that grows with you, one circle at a time — and every circle you finish is a small, stitched victory worth framing.