Introduction
There is a small panel in a side chapel I visited one winter, a Madonna no bigger than a serving platter, and I have never quite got it out of my head.
The paint had cracked into a fine net of lines, like ice on a puddle. The gold behind her head had worn thin enough to show the red clay beneath it.
But the blue of her robe was still blue. Not flat blue. It seemed to come from somewhere behind the surface, the way light comes through a curtain.
I assumed it was oil. I assumed it was something rare, expensive, and far beyond a kitchen table in a house with small children.
Then a volunteer near the door, an older woman with chalk on her sleeves, told me it was egg. Yolk, she said. Pigment and water.
I stood there a while after she walked away. A hen's egg. The same thing I had cracked into a frying pan that morning.
That is the strange gift of egg tempera. It is one of the most durable painting methods ever devised, and its binder comes in a carton.
A Short History
Egg tempera is older than oil painting in Europe, and for a long stretch it was simply what painting meant.
In the Byzantine world, icons were painted on wooden panels with pigment bound in yolk. The gold ground stood in for divine light, and the method travelled with the church.
By the late thirteenth century, Italian painters had taken it up. Cimabue, and then Giotto, used it to make figures that seemed to stand in real space rather than float against gold.
Giotto's faces have weight. That weight was built with yolk, one small stroke laid beside another, never with a loaded brush.
Through the fourteenth and fifteenth centuries the technique reached its height. Fra Angelico's pale, clear colour is tempera. So is much of Botticelli. The young Michelangelo trained in it.
Then oil arrived. Oil was slower to dry, easier to blend, and more forgiving of a changed mind. By the sixteenth century it had largely displaced tempera for panel painting.
Tempera did not vanish. It went quiet. Painters kept it at the edge of their practice, for a ground coat or a small, careful study.
In the nineteenth century the Pre-Raphaelites looked back at early Italian painting and began experimenting with the older methods again.
In the twentieth century Andrew Wyeth gave tempera a modern voice, using its dry, fibrous touch to paint grass and weathered boards as though he had grown them himself.
So the method you can set up on a kitchen table this weekend has a working history of roughly seven hundred years. That is a strange and cheering thing to hold in your hand.
Why Egg Yolk Works
An egg yolk is already an emulsion, and that is the whole trick.
Fat and water do not normally mix. In a yolk, lecithin holds tiny droplets of oil suspended in water, and the mixture stays smooth and golden.
That means the yolk can carry pigment. Stir dry colour into it and the particles are wetted and held apart instead of clumping into grit.
When you paint, the water evaporates. The film pulls tight, the pigment settles close against the chalk ground, and the yolk hardens around it.
Over days and weeks the film cures to something water-resistant. Not waterproof like a varnish, but tough enough to wipe with a barely damp cloth years later.
This is why old tempera panels survive. The binder does not yellow the way oil does, and it does not darken into that amber varnish look.
Two things follow from the chemistry, and you will notice both in the first hour.
Tempera dries lighter than it looks wet. A pool of colour on the tile will settle several shades paler on the panel.
And it dries matte. There is no gloss to make a colour look rich, so the luminosity has to come from thinness and from the white ground underneath.
That last point is the heart of it. In tempera the light does not bounce off the surface. It passes through the paint, hits the gesso, and comes back.
Which is why a thin layer of Terre Verte over white glows, while the same colour laid on thick looks like green mud.
What Egg Tempera Cannot Do
Egg tempera is a poor blender. Say that to yourself before you buy anything.
Oil stays open for hours. Acrylic stays open for minutes. Tempera sets in seconds, and once it has set, dragging a brush through it lifts the layer instead of merging it.
So you cannot push two wet colours together and expect a soft edge. You cannot model a cheek with one loaded brush the way you would in oil.
Form gets built instead. A rounded cheek is a series of narrow strokes, each slightly lighter than the last, laid beside its neighbour.
Hatching, stippling, and thin layering do the work that blending does elsewhere. This is not a limitation to overcome. It is the grammar of the method.
Thick paint is the other thing tempera will not forgive. A heavy ridge of impasto dries brittle, and on a panel that swells and shrinks it will crack and eventually flake.
Keep every layer thin enough that you can still feel the texture of the ground through it. Thin is not a compromise here. Thin is the technique.
And tempera wants a rigid support. Canvas flexes, and a cured egg film does not flex with it. Work on wood or a hardboard panel, never on stretched fabric.
Your Supply List
You do not need much, and most of what you need is inexpensive. Here is the list I would hand a friend, with the reason attached to each item.
- Dry pigments. Start with earth colours: yellow ochre, red ochre, burnt sienna, raw umber, Terre Verte, and titanium white. They are the most affordable pigments, the most lightfast, and the easiest to bind. Skip anything sold with a hazard warning for now.
- Fresh eggs. Supermarket eggs are fine. Buy a half dozen so a broken yolk is not a crisis.
- Distilled water. Tap water carries minerals that can affect the film. A bottle costs very little and lasts months.
- A true gesso panel. Whiting bound in rabbit-skin glue, applied in many thin coats, is the traditional ground. A commercial gesso board will get you started, though it is less absorbent and the paint sits on it a little differently.
- A palette. A plain white ceramic tile or a sheet of glass. White lets you judge colour honestly, and a non-porous surface will not drink the medium.
- Small round brushes. Sable is traditional; a good synthetic works well and costs less. Sizes 2 to 6 will cover most of a small panel.
- One flat brush. About an inch wide, for laying grounds and sweeping dust off the panel.
- Two jars of water. One for rinsing, one for clean water to thin the paint. Rinse water clouds with yolk quickly and will contaminate a fresh mix.
- A soft cloth. Lint-free, for drying the yolk and wiping brushes.
- A palette knife and small spoons. For measuring pigment and grinding it into paste. Keep these for painting only.
- A dust mask. Dry pigment is a fine airborne powder. Wear a mask while handling it, keep the jars closed, and work away from where children eat.
Making the Medium
This takes about five minutes, and it is the step people find intimidating. It is easier than separating an egg for a cake.
- Crack the egg and let the white run off. Keep the yolk in one half of the shell and pass it back and forth to leave more white behind.
- Tip the yolk into your clean cupped hand and let the last of the white drain through your fingers. This matters more than it sounds.
- Roll the yolk gently on a paper towel to dry the outside, so no slime clings to the sac.
- Hold the yolk over a small jar and pierce the sac with the point of the knife. Let the yolk run out, then discard the empty sac.
- Add a few drops of distilled water and stir gently. You want a smooth liquid, not foam.
- Optional: add one drop of clove oil as a preservative. More than a drop will smell like a dentist's waiting room and can interfere with drying.
- Write the date on the jar. Refrigerate it and use it within a few days.
Any white that gets into the jar is a problem. Egg white is a different protein, it dries hard and glossy, and it makes paint weak and cloudy.
If you see a stringy white thread in the jar, start again. One egg costs less than the panel you would ruin.
Bring the medium to room temperature before you paint. Cold yolk is thick and will not disperse evenly through the pigment.
Making Paint
Mix small amounts. This is the single habit that separates a calm session from a frustrating one.
- Put a mound of dry pigment on the tile, about the size of a lentil. Less than you think you need.
- Make a well in the centre and add medium a drop at a time.
- Work the mixture with the palette knife in a circular pressing motion until it is a smooth paste, like heavy cream. It should feel slick, with no grit under the blade.
- Add water a drop at a time to reach the consistency you want. Milk-like for thin hatching layers, cream-like for opaque passages.
- Test a stroke on a scrap of gesso before you commit it to the panel. Wet colour and dry colour are not the same colour.
- Keep the mixed paint workable with a drop of water as you go, and never let it dry on the brush.
Aim to mix only what you will use in the next twenty or thirty minutes. Tempera does not keep on the palette, and a skin will form on the surface within the hour.
Rinse the brush often, and rinse it thoroughly at the end. Dried yolk in the ferrule will splay the hairs permanently.
Preparing the Panel
The ground matters more in tempera than in any other medium, because you are painting into it as much as over it.
Chalk gesso is absorbent. It grips the egg film, gives the brush a slight tooth, and its whiteness reflects light back up through every thin layer you place on top.
That reflected light is the source of the glow. A sealed, slick surface sends less back, and the colour goes flat.
- Size the panel first. Brush warm rabbit-skin glue over the wood and let it dry. This seals the grain so the gesso does not sink in and the wood does not swell.
- Apply the gesso in thin coats, four to six of them, alternating the direction of the brush with each coat.
- Let each coat dry before the next. Rushing this is how you get a ground that chips.
- Sand lightly between coats with fine paper, just enough to knock down the ridges.
- After the final coat, let the panel cure for several days in a dry room.
- Give it one last light sanding to a smooth matte finish, then wipe away every trace of dust with a soft cloth.
A well-made ground feels cool and slightly chalky under the fingertip, like the back of a ceramic tile. If it feels slick, it is not ready.
The Painting Process, Layer by Layer
Work at a table with good light, and give yourself small sessions. Tempera rewards twenty minutes of attention more than two hours of trying.
Starting the picture
Draw the design lightly with a hard pencil or a fine brown ink line. Keep it simple and leave out the shading. The paint will do that work.
Then lay an underpainting in a single earth colour, thinned to a wash and brushed over the whole panel. Yellow ochre or raw umber are both good choices.
This first layer establishes your values and kills the glare of bare white. Wipe it back lighter where the light will fall, and leave it darker in the shadows.
Building the form
- Start with the darkest passages, not the lightest. Tempera is built from dark toward light, the opposite of oil.
- Hatch the shadow side with small, parallel strokes, following the curve of the form.
- Cross-hatch a second direction over the first to deepen the tone without adding thickness.
- Move to the mid-tones with a slightly lighter mixture, laying strokes beside the shadow strokes rather than over them.
- Build skin and cloth with parallel hatching, changing the direction of the strokes to describe the shape underneath.
- Reserve the white ground for the highest lights. Let it show through instead of painting white on top of colour.
- Finish with fine detail strokes, sharpened by a light touch and a small brush.
Let each layer dry fully before the next. Tempera dries fast on the surface, but the film underneath needs longer, and painting over a damp layer will lift it.
If a passage starts to look chalky, you are probably painting too opaquely. Thin the mixture and let more of the ground come through.
A First Project: One Pear
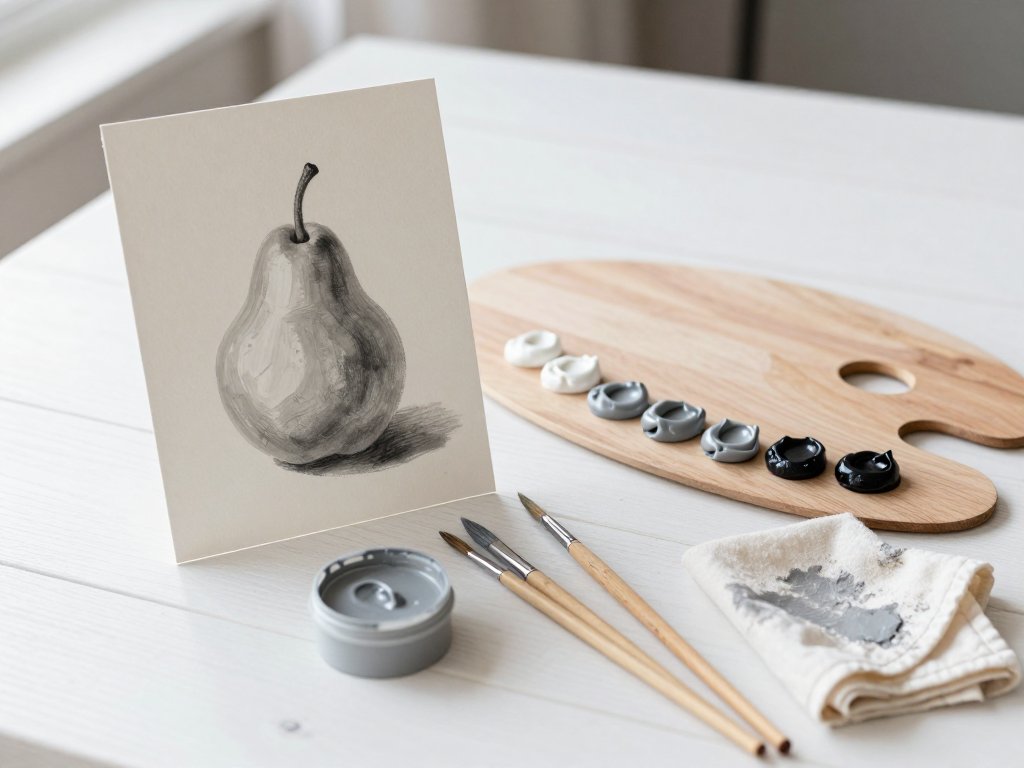
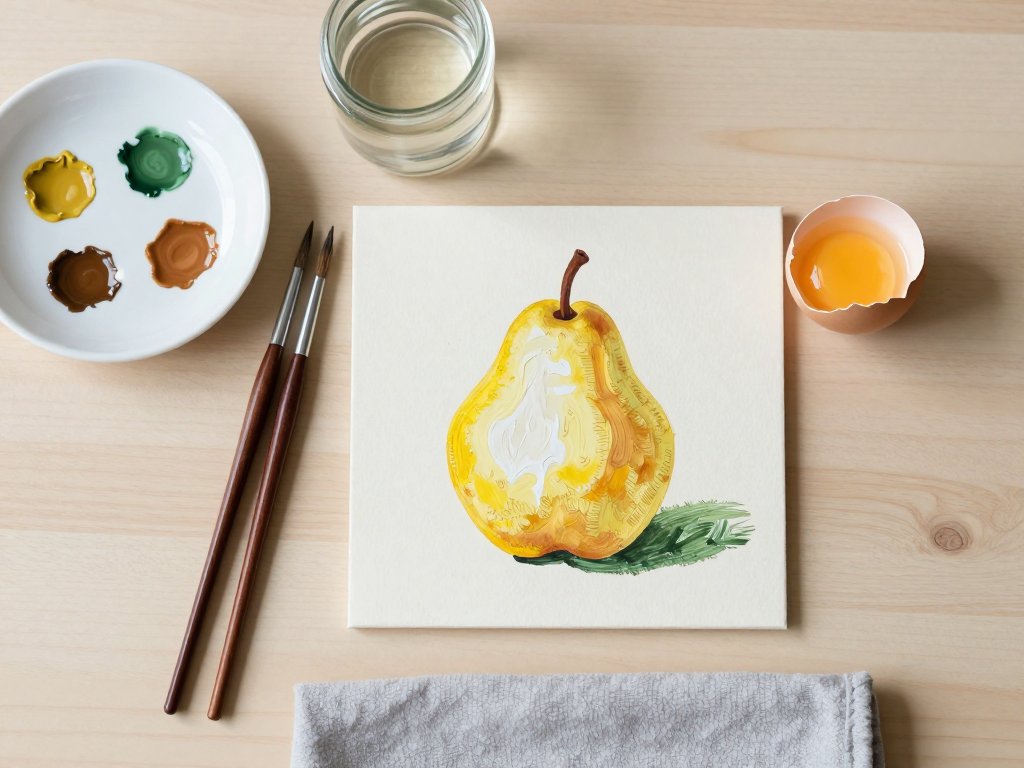
Choose a single pear on a plain ground, on a panel about six by eight inches. One object, one light source, one background.
- Prepare and cure the panel in advance, so it is ready when you sit down.
- Draw the pear's outline and the shape of its cast shadow, lightly.
- Underpaint the whole panel with thin yellow ochre, wiping it lighter on the lit side of the fruit.
- Mix three values of green from Terre Verte, raw umber, and a little white.
- Hatch the shadow side first, with the darkest green, following the curve of the pear.
- Work the mid-green across the body of the fruit, leaving the lit edge untouched.
- Let the gesso show at the highlight. One or two small strokes are enough.
- Paint the cast shadow in a cool grey-green, thin enough to see the ground through it.
- Lay one or two thin washes of warm ochre in the background and leave it alone.
- Finish the stem and the small marks on the skin last, with a fine brush.
This is two or three evenings of work, not two hours. That pace is normal, and it is part of what makes the method restful.
Troubleshooting
- Paint flakes off. Usually a greasy panel or a first coat laid on too thick. Oily fingerprints and household polish will stop the egg from gripping. Sand the spot back, wipe with distilled water, and re-gesso.
- Colour looks cloudy or chalky. White has got into the yolk, or you have added too much white pigment, or the paint is too thick. Start a fresh mix and keep the layers thin.
- Paint dries before you finish a passage. Mix a smaller amount and work a smaller area. Add a drop of water, keep the palette out of a draught, and close the window.
- The film cracks. The paint is too thick, or the support flexes. Scrape back to the ground and rebuild in thinner layers on a rigid panel.
- Mould in stored medium. Discard it and mix fresh. Keep the jar covered and refrigerated, and use it within a few days.
- Colour shifts lighter as it dries. It will, and you can plan for it. Make a test stroke on scrap gesso and let it dry before you judge the mixture.
Caring for the Finished Piece
Let the painting cure for several weeks before it goes near a frame, in a dry room away from direct sun and dust.
Traditionally, tempera is not varnished. The matte surface is the point, and a varnish changes it into something closer to an oil painting.
If you want a little protection later, a very thin retouching varnish after several months is an option, not a requirement. Test it on an inconspicuous corner first.
Frame behind glass with a small spacer so the glass never touches the paint. Contact between glass and egg film can trap moisture and leave a mark.
Hang the piece away from damp exterior walls, steamy bathrooms, and anywhere the sun lands for hours. Egg film is water-resistant, not waterproof.
Conclusion
I went back to that chapel the following winter and stood in front of the same panel for a long time.
Knowing what was in the paint changed how I looked at it. The cracks were no longer damage. They were the record of a film curing slowly over centuries.
Somewhere in the sixteenth century, a painter ground the same blue, mixed it with the yolk of an egg, and laid it down in strokes thin enough to see the light through.
That recipe is on your kitchen table now. An egg, a little water, a spoonful of earth colour, and a panel with a chalk ground.
Start with the pear. One object, a few evenings, and no expectation beyond learning how the paint behaves under your hand.
The first panel will teach you more than any of this. The second one will be the reason you keep going.