Introduction
There is a painting that hung in my grandmother's stairwell for forty years, and for most of my childhood I thought it was unfinished.
It showed a bowl of lemons and a jug, and it was almost entirely grey. Not a soft, silvery grey — a serious, deliberate grey, like a black-and-white photograph that had somehow been painted by hand.
The lemons were grey. The jug was grey. Even the light coming through the imagined window was grey.
Years later, standing in a museum, I learned the word for what she had on her wall: grisaille. It is a picture painted in greys, and it is not unfinished at all.
It is the first half of the work — the half that decides whether the painting will hold together.
If you have ever felt that your colors are fighting each other, or that your paintings look flat no matter how carefully you mix, grisaille is the answer painters have reached for again and again. This is a weekend project. One small panel, one subject, one grey.
What Grisaille Is, and Why the Old Masters Used It
Grisaille (say it gree-zai, from the French for "grey") is the practice of painting a complete picture in monochrome greys before any color is applied.
The grey layer is called an underpainting. It carries the drawing, the light, and the shadow — everything that gives a picture its sense of solid form.
Then, once that grey is dry, thin transparent layers of color are glazed over the top. The color sits on the surface like tinted glass, and the greys beneath do all the heavy lifting of light and dark.
This was standard practice in academic oil painting for centuries. It was also used in medieval panel painting, where faces and drapery were often modeled in greys before color was laid in.
The reason is simple: value first, color second. If a picture reads correctly in grey, color can only improve it.
If it does not read in grey, no amount of beautiful color will save it.
Working in monochrome also removes the hardest variable while you are still learning the shape of things. You are not deciding whether that shadow is ochre or raw sienna.
You are answering a much simpler question: is this patch lighter or darker than the patch beside it? That question, asked honestly about a hundred small areas, is most of what painting is.
The Materials a Beginner Actually Needs
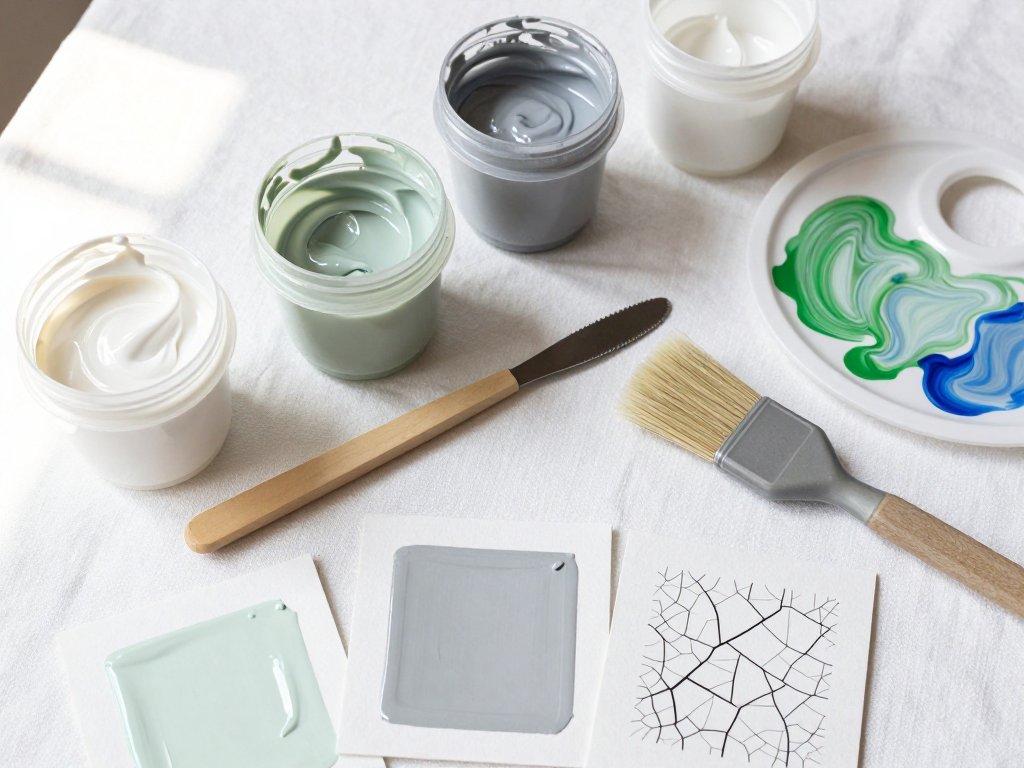
You do not need a studio, a drying rack, or a shelf of pigments. A single small painting and a short list of supplies will carry you through this project comfortably.
- A surface. A smooth panel or a canvas board, roughly 6x8 or 8x10 inches. Smooth is easier for grisaille because soft edges and seamless transitions are the whole point.
- Two greys to mix from. Titanium white plus ivory black is the classic, cool pair. Titanium white plus burnt umber gives you a warmer, earthier grey that many beginners find friendlier.
- A medium. Refined linseed oil, or a simple oil painting medium. This thins the paint and helps it flow without turning it watery.
- Soft brushes in a few sizes. Two or three will do: something small for the drawing, a medium flat or filbert for blocking in, and a soft larger brush for blending edges.
- A rag and a jar. The rag is for wiping off mistakes and drying brushes. It is a tool, not an afterthought.
- Solvent and a small value scale you paint yourself. The scale is the most valuable thing on this list, and I will explain why in a moment.
Student Grade or Artist Grade?
Student-grade paint is perfectly fine for a first study. It has more filler and less pigment, so your greys will be a little weaker and your darks may not go as deep.
Artist-grade paint costs more but covers further and mixes more cleanly. If you are buying just two or three colors for this project, one good tube of white and one of black is a reasonable place to spend.
Whatever you choose, buy opaque paint. You want color that covers the surface beneath it, not color that shows through.
One last setup note, and it matters more than it sounds: choose a single source of light and keep it there. One window, or one lamp with the room lights dimmed, is ideal.
Moving light moves your shadows, and moving shadows will make you repaint the same pear four times. Set the light, sit down, and leave it alone.
Stand your pear on a plain surface — a sheet of paper or an unpatterned cloth. A patterned tablecloth will tempt you into painting the pattern instead of learning to see value.
Mixing a Grey Scale from White to Black
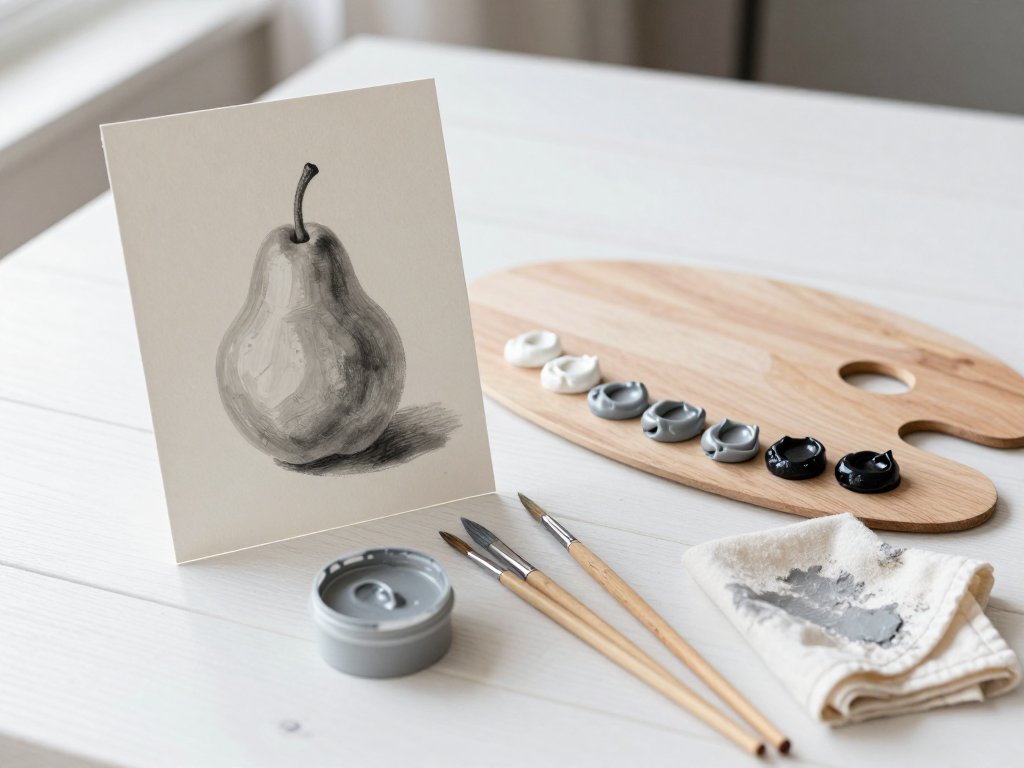
Before you touch the panel, make yourself a five-step value scale. This is a strip of five small paint patches running from pure white to near-black.
Start with pure titanium white in the first square. Then mix white with a small amount of your black or umber — just a touch — for the second square.
Keep adding a little more dark to each square as you move along the strip.
The last square should be your darkest dark, but not raw black straight from the tube. Pure black is a value so extreme it looks like a hole in the panel.
Mix it with a whisper of white or umber instead, so it still behaves like paint and still belongs to the picture.
You now have five known values: your lightest light, your darkest dark, and three steps between. When you are painting, hold this strip next to the panel and ask, "Is this shadow closer to step four or step five?"
That single habit — comparing a patch to a known value instead of guessing — will improve your work more than any brush you could buy.
Testing Values by Squinting
Squinting is not a superstition passed down from art school. It blurs away detail and edge information, leaving only the broad patches of light and dark.
Look at your subject with half-closed eyes. The chaos of a pear's speckled skin and soft highlights collapses into three or four simple shapes.
Those shapes are what you are actually painting.
If your subject and your underpainting squint the same way, you are on track. If they do not, no amount of careful detail will fix it.
Why Temperature Matters in Your Greys
Black and white alone produce a cool, slightly blue-grey. Burnt umber and white produce a warm, brownish-grey.
Neither is wrong, and the best monochrome paintings usually use both.
Warm greys tend to sit forward and read as light. Cool greys recede and read as shadow. That lets you build depth with temperature as well as value, which is the trick that keeps a grey painting from looking grey and lifeless.
Try it while you mix. Make your lit passages a touch warm and your shadows a touch cool, and you will feel the space open up.
A Weekend Underpainting, Step by Step
Our subject for this project is deliberately simple: one pear on a plain surface. A pear is the perfect teacher.
It has a clear light side, a clear dark side, a cast shadow, and one soft edge where it meets the table. Nothing else is required to learn the method.
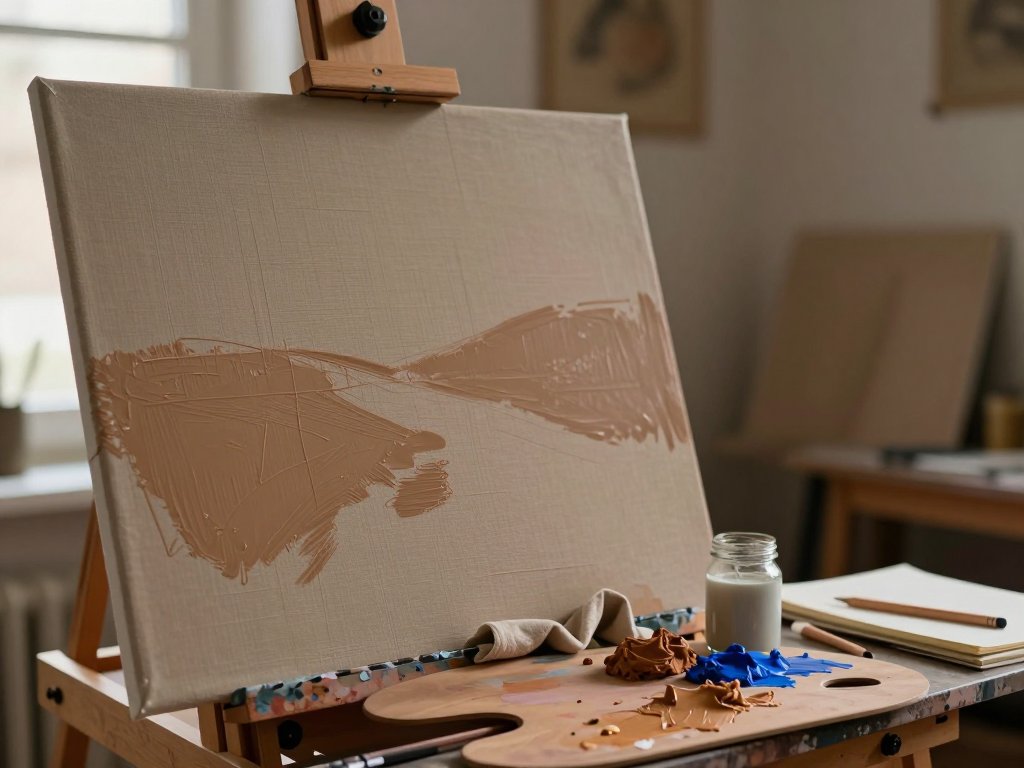
- Tone the surface. Wipe on a thin, even layer of mid-grey thinned with medium, then rub most of it off with your rag. You want a slightly tacky, evenly toned ground, not a wet puddle. This pulls your whole picture toward the middle and stops the bright white surface from blinding you.
- Draw the shapes. With a small soft brush and a little thinned paint, sketch the pear's outline and the line where the table meets the background. Keep it loose. This drawing will be covered, so it only needs to be accurate, not pretty.
- Block the shadow family. Mix one middle-dark grey and lay in every shadow shape at once — the pear's dark side, the cast shadow, the darker side of the background. One value, one pass. This is the step that decides the picture.
- Block the light family. With a light grey, fill the lit shapes: the sunlit side of the pear and any light background area. Now the whole panel is covered, and you can judge the drawing honestly for the first time.
- Work light to dark. Add your middle greys now, blending the transition where light turns into shadow. Build slowly. It is far easier to add dark than to take it away.
- Refine your edges. A found edge is crisp and sharp — save it for the front of the pear, where it faces you. A lost edge is soft and dissolves — use it at the back of the pear and in the cast shadow. This contrast is what makes a painted object look three-dimensional. Read more about this foundation layer in Underpainting: The First Layer That Matters.
- Build the darks last. Only now, once everything else is sitting correctly, go in with your darkest dark in the shadow core and the deepest part of the cast shadow. Put it exactly where it belongs and then leave it alone.
- Let it dry. Step back and walk away. The underpainting needs to be touch-dry before any color goes near it, and that means overnight at minimum. Resist the urge to fiddle.
A word about that third step, because it is the one beginners skip. Blocking the shadow family means committing to a single dark grey and covering every shadow shape with it, all in one sitting.
It feels crude. It looks crude. But it locks your drawing in place and gives you something solid to correct against, rather than a panel of unrelated patches you gradually lose track of.
Pacing the Work Across One Weekend
Here is the honest timeline for a small, simple study. It fits into a weekend without swallowing it whole.
Day one, morning: set up your light, mix your five-step scale, tone the panel, and draw the shapes. This is maybe an hour, and half of it is staring at your pear.
Day one, afternoon: block in the shadow family and the light family, then work the middle greys and the edges. This is the real painting session — plan on ninety minutes to two hours.
Day one, evening: put in the darks, walk away, and let the panel rest overnight somewhere safe and dust-free.
Day two: check that the surface is touch-dry. If it is, you have a finished grisaille study and an open door to glazing.
If it is still tacky, leave it longer. Damp paint plus a glaze equals mud, and nobody wants that.
Total working time: about three or four hours, spread comfortably across two days. That is the whole point of a weekend project — it respects your time instead of demanding all of it.
If you only get through the blocking on Saturday, that is not failure. A blocked-in underpainting is a real, complete stage of the painting.
Glazing Color Over Grey: The Payoff
This is where grisaille earns its reputation. Once your grey underpainting is dry, you can begin laying transparent color over the top.
A glaze is paint thinned with plenty of medium until it is nearly transparent. Applied thinly, it lets the greys show through and do the value work underneath.
Glaze a warm, transparent brown over your pear's middle values and the pear instantly becomes a pear. Put a cool, transparent tone into the shadows and they sink back into space.
Three rules keep glazes from betraying you. Keep them thin — if you can see brush texture building up, you are working too thick.
Work from light to dark, because you cannot lighten a glaze once it is on the panel. And never glaze over a wet underpainting, because the two will blend into a muddy, formless average.
The grey does the modeling. The color does the mood. When they stay separate, both get to do their job properly.
Four Beginner Mistakes and How to Fix Them
1. Muddy greys from over-blending. When you brush back and forth over a transition too long, light and dark marry into a flat, dull middle. Fix it by placing a patch of value and leaving it alone. Blend only the seam between two values, then stop.
2. Going too dark too fast. The new painter's dark looks dramatic and tempting. But oil paint darkens as it dries, and you cannot lighten an underpainting without wiping it out. Fix it by keeping your first darks middle-dark and saving true blackness for the very last step.
3. Mixing greys from two opaque colors. Black mixed with white alone gives a chalky, dead grey. Fix it by leaning on one dark — ivory black or burnt umber — and shifting some greys warm or cool.
4. Painting thick where it should be thin. Grisaille lives or dies on smooth, even passages. Heavy, buttery paint creates ridges that catch every later glaze and cast tiny shadows of their own. Fix it by thinning your paint and wiping back with the rag.
A Small Word Before You Begin
My grandmother's painting was never finished. I know that now, and I love it more for it.
It was a grisaille study of a still life, made in a class decades before I was born, and it stopped at the grey stage — the stage she must have loved best.
The color never came, and honestly, it did not need to. Every value in that jug is doing exactly what it was meant to do.
That is what this project offers you: not a perfect painting, but a solid, quiet foundation you can build on for years. Start with one pear. One grey. One weekend.
When the light catches it from an angle and it suddenly looks round and real and sitting on the table, you will understand why the old masters built everything the same way — value first, color after, and no rush in between.