There is something deeply satisfying about a crochet project that is both beautiful and useful, and that can be completed in a single weekend. Sun coasters fit this description perfectly. These cheerful little circles, worked in bright golden tones with scalloped edges that radiate outward like the sun's rays, bring a touch of handmade warmth to any table. Whether you are setting them out for a summer brunch, offering them as a thoughtful housewarming gift, or simply adding a bit of personality to your morning coffee routine, crochet sun coasters are a delightful and surprisingly quick project.
As with so many of the best crochet patterns, the sun coaster achieves its striking effect through the simplest of means. A few basic stitches, worked in the round, transform an ordinary circle into a radiant sunburst. The scalloped edging, which forms the sun's rays, is nothing more than a careful arrangement of chains and double crochets. And because the entire piece works up in just eight rounds, even a beginner can produce a finished set of four or six coasters in a single afternoon.
In this pattern, I will guide you through every step of the process, from selecting the right yarn and hook to blocking your finished pieces so they lie perfectly flat. Along the way, we will talk about tension, color choices, and the subtle ways in which different yarns can affect the final look of your work. Whether you are new to crochet or an experienced hand looking for a quick, satisfying project, I hope you will find this pattern a pleasure to make.
Materials You Will Need
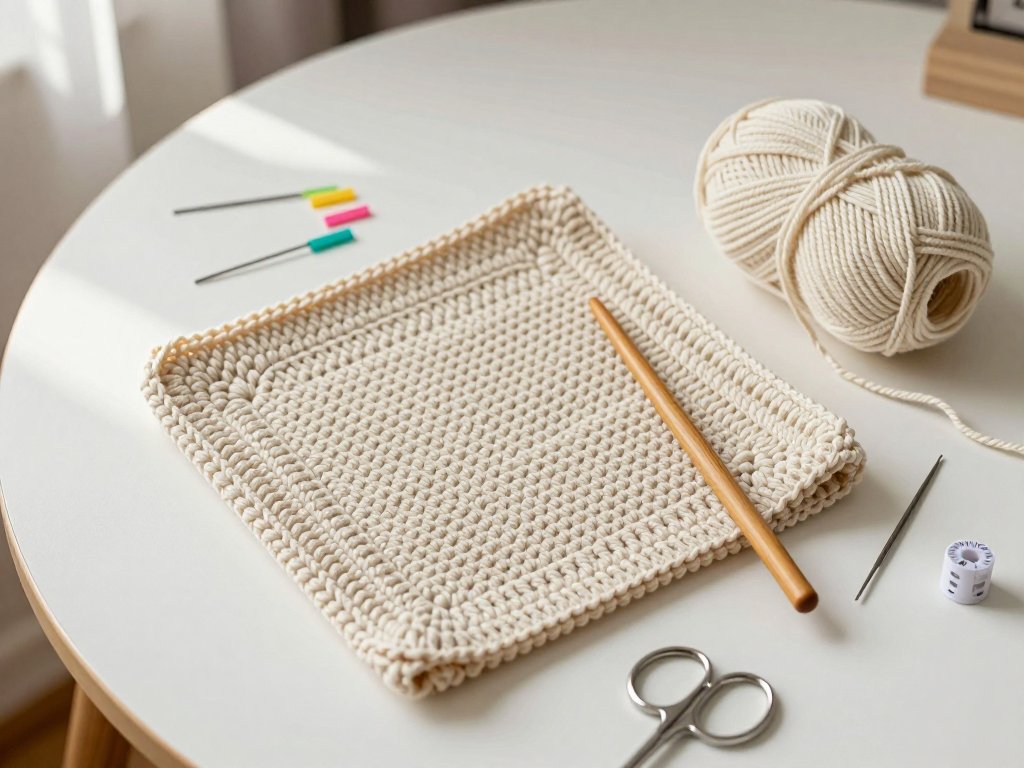
One of the great virtues of the sun coaster pattern is that it requires very few supplies. You likely have most of these items already if you have done any crochet at all. For a standard set of coasters measuring approximately four inches in diameter, here is what you will need:
- Cotton yarn — Worsted weight (category 4) or DK weight (category 3). Cotton is the preferred choice for coasters because it is absorbent, durable, and holds its shape well after blocking. A single 50-gram ball of yarn is more than enough for a set of four coasters. Choose a warm golden yellow for a classic sun, or experiment with the color variations discussed later in this article.
- 4mm crochet hook — A size G (US) or 8 (UK) hook works beautifully with worsted weight cotton yarn. If you are using DK weight yarn, you may wish to go up to a 4.5mm hook to keep your stitches from being too tight.
- Tapestry needle — A blunt-tipped needle with a large eye, used for weaving in ends and sewing the occasional embellishment.
- Sharp scissors — Small embroidery scissors are ideal for snipping yarn tails cleanly.
- Blocking mat and pins — While not strictly required, blocking makes a tremendous difference in the appearance of your coasters. A set of interlocking foam mats and rustproof T-pins will serve you well for this and many future projects.
- Stitch markers — A few locking or split-ring stitch markers will help you keep track of the beginning of each round.
That is all there is to it. With these simple tools, you are ready to begin.
Stitches and Techniques Used
Before we dive into the pattern itself, let us review the stitches you will need. If you are already comfortable with the basics of crochet, this section will serve as a quick refresher. If you are newer to the craft, I encourage you to practice each stitch separately before attempting the full pattern. A few minutes of practice will make the work go much more smoothly.
Magic Ring
The magic ring, also called the adjustable ring or magic circle, is the foundation of almost any crochet project worked in the round. Unlike a chain ring, which leaves a small hole in the center of your work, the magic ring can be tightened completely, leaving no gap at all. This is especially important for sun coasters, where the center of the sun should be solid and neat.
To make a magic ring: Hold the yarn so that the working end crosses over the tail end, forming a loop. Insert your hook through the loop from front to back, yarn over, and pull up a loop. Chain one to secure the ring. Then work your first round of stitches into the ring itself, inserting the hook under both strands of the ring. After you have completed the first round, pull the tail end firmly to close the ring. It is a simple technique, but it makes a world of difference in the finished piece.
Chain Stitch (ch)
The chain stitch is the most basic stitch in crochet and needs little introduction. You will use chains to create the arches that form the sun's rays, as well as to raise the hook to the correct height at the beginning of each round. Keep your chain stitches loose and even, especially when forming the scalloped edge.
Single Crochet (sc)
The single crochet is a short, dense stitch that creates a firm fabric. In this pattern, single crochet stitches are used in the early rounds to build a solid center for the coaster. They appear again in the final round as part of the scalloped edging. Work your single crochets tightly enough that the fabric feels substantial, but not so tightly that the stitches are difficult to see or count.
Double Crochet (dc)
The double crochet is a taller stitch that adds height and openness to the fabric. It is the primary stitch used to increase the diameter of the coaster in the middle rounds. A well-executed double crochet should be even in height and tension, with the post of the stitch standing straight rather than leaning to one side. If your double crochets tend to slant, check that you are inserting the hook directly under both loops of the stitch below and that your tension is consistent throughout the round.
Slip Stitch (sl st)
The slip stitch is used to join rounds and to move the hook across stitches without adding height. When joining a round with a slip stitch, pull the yarn through gently but firmly. A slip stitch that is too loose can leave an untidy gap, while one that is too tight can pucker the work. Aim for the same tension you would use for a chain stitch.
Working in the Round
This coaster is worked continuously in the round, which means you will join each round with a slip stitch to the top of the first stitch of that round. The beginning of each round is marked with a chain that counts as the first stitch — typically chain 2 for a double crochet round and chain 1 for a single crochet round. Keeping a stitch marker in the first stitch of each round will save you a great deal of counting and head-scratching later on.
The Pattern: Step-by-Step Instructions
Now we come to the heart of the matter. The following pattern will produce one coaster approximately four inches in diameter. For a set, simply repeat these instructions for as many coasters as you wish. I recommend making an even number so that you can arrange them symmetrically on your table.
Round 1
Begin with a magic ring. Chain 1 (this does not count as a stitch). Work 8 single crochet stitches into the ring. Pull the tail end to close the ring tightly. Join with a slip stitch to the first single crochet. You should have 8 stitches. This small circle will be the very center of your sun.
Round 2
Chain 1 (counts as first single crochet). Work 1 single crochet into the same stitch as the join. Then work 2 single crochet stitches into each of the remaining 7 stitches around. Join with a slip stitch to the first single crochet of the round. You should have 16 stitches. The circle is growing now, and you should begin to see the shape of the sun's center taking form.
Round 3
Chain 2 (counts as first double crochet). Work 1 double crochet into the same stitch as the join. Then work 2 double crochet stitches into each stitch around. Join with a slip stitch to the top of the starting chain 2. You should have 32 stitches. This round doubles the number of stitches from the previous round, so the circle will expand noticeably.
Round 4
Chain 2 (counts as first double crochet). Work 1 double crochet into the next stitch. Then work 2 double crochet into the following stitch. Repeat this pattern — 1 double crochet in the next stitch, 2 double crochet in the following stitch — all the way around. Join with a slip stitch to the top of the starting chain 2. You should have 48 stitches. You are now spacing the increases out, which helps the circle lie flat rather than ruffling or cupping.
Round 5
Chain 2 (counts as first double crochet). Work 1 double crochet into each of the next 2 stitches. Then work 2 double crochet into the following stitch. Repeat this pattern — 1 double crochet in each of the next 2 stitches, then 2 double crochet in the next stitch — all the way around. Join with a slip stitch to the top of the starting chain 2. You should have 64 stitches. The circle is now roughly three inches in diameter, and the fabric should be lying flat and even.
Round 6
Chain 1 (counts as first single crochet). Work 1 single crochet into each of the next 7 stitches. Then work 2 single crochet into the following stitch. Repeat this pattern — single crochet in the next 7 stitches, then 2 single crochet in the next stitch — all the way around. Join with a slip stitch to the first single crochet. You should have 72 stitches. This round uses single crochet rather than double crochet, which tightens the fabric slightly and prepares the edge for the scalloped border.
Round 7
Chain 1. Skip the first stitch. Work 1 single crochet into each stitch around. Join with a slip stitch to the first single crochet. You should have 71 stitches. (We skipped one stitch to offset the seam slightly, which makes the appearance of the finished coaster more even.) This round is worked even, with no increases, so the coaster will begin to curl up slightly at the edges. That is exactly what we want — it will create a shallow bowl shape that holds its form beautifully.
Round 8 — The Sun's Rays
This is the most rewarding round of all, the one that transforms a simple circle into a radiant sun. Chain 1. Work 1 single crochet into the first stitch. Then chain 4. Skip 2 stitches. Work 1 single crochet into the next stitch. Chain 4. Skip 2 stitches. Repeat this pattern — single crochet, chain 4, skip 2 stitches — all the way around. When you reach the end, you will join the last chain-4 space to the first single crochet with a slip stitch.
But we are not finished yet. Now we work the scallops into those chain-4 spaces. Slip stitch across to the first chain-4 space. Into that space, work the following: 1 single crochet, 1 half double crochet, 3 double crochet, 1 half double crochet, 1 single crochet. This cluster of stitches forms one scallop, which looks like a single ray of the sun. Repeat this same cluster in each chain-4 space around. Join with a slip stitch to the first single crochet of the round. Fasten off and weave in your ends.
Take a moment to admire your work. The scalloped edges should fan out around the circle like the rays of a child's drawing of the sun. If some scallops seem larger or smaller than others, do not worry — blocking will even them out beautifully.
Blocking Your Sun Coasters
Blocking is the secret step that elevates a handmade coaster from something merely functional to something truly beautiful. It smooths the stitches, evens out tension inconsistencies, and sets the scalloped rays into their proper shape. I strongly recommend blocking every coaster you make, even if you plan to use them daily.
To block your sun coasters, begin by soaking them in cool water for approximately fifteen minutes. Use a drop or two of mild soap if the yarn seems stiff or if your hands were particularly warm while working. Gently squeeze the water out of the coasters — do not wring them, as this can distort the stitches. Roll each coaster in a clean towel to remove excess moisture.
Lay a blocking mat on a flat surface. Place a damp coaster on the mat and gently stretch it into a perfect circle. Pay special attention to the scalloped edges, arranging each ray so that it extends outward evenly. Use rustproof T-pins to secure the coaster in place, pinning at the tip of each scallop and at several points along the outer edge of the circle. The pins should be inserted at a slight angle so they hold the yarn firmly without stretching it out of shape.
Allow the coasters to dry completely, which may take anywhere from twelve to twenty-four hours depending on the humidity in your home. Once they are dry, remove the pins and marvel at how perfectly round and even your coasters have become. The stitches will look crisper, the scallops will be uniform, and the fabric will feel soft yet substantial.
If you are making a set, block all the coasters at once so that they are identical in size. Your tabletop will thank you.
Tips for Even Tension
Even tension is the foundation of good crochet, and it is especially important in a project like this one, where the coaster must lie flat and the scalloped edges must be uniform. Here are a few tips that I have gathered over many years of teaching and making:
Practice the rhythm of your stitches. Every crocheter develops a natural rhythm over time. Pay attention to the way your hands move as you yarn over and pull through. Once you find a comfortable, steady rhythm, the tension tends to even out on its own.
Check your gauge at the beginning. Crochet a small swatch of the first three rounds before committing to the full project. If the fabric feels stiff and tight, try a larger hook. If it feels loose and floppy, try a smaller hook. A few minutes of testing can save you hours of frustration later.
Count your stitches at the end of every round. It is much easier to fix a missed stitch or an extra stitch at the end of a round than it is to discover the error five rounds later. Counting takes only a few seconds and gives you peace of mind.
Be consistent with your chain stitches. Chain stitches are the easiest stitches to make too tight or too loose. If your chains tend to be tight, try holding the hook a little more loosely and letting the yarn flow freely. If they tend to be loose, slow down and pay attention to the size of each loop before pulling through.
Use stitch markers generously. Place a marker in the first stitch of each round, and consider placing additional markers at the increases in the later rounds. When you can see at a glance where you are in the pattern, you are far less likely to make a mistake.
Do not be afraid to frog. Every crocheter, no matter how experienced, sometimes has to rip out a few rounds and start again. If your coaster is cupping, ruffling, or otherwise misbehaving, do not power through — pull out the offending rounds and try again. The second attempt is always faster and better than the first.
Color Variations
While a golden yellow sun coaster is the classic choice, there is no reason to limit yourself to a single color. The sun coaster pattern is remarkably versatile, and changing the color can completely transform the look and feel of the finished piece.
Traditional yellow. A warm, buttery yellow is the most recognizable choice. It evokes childhood drawings of the sun and looks cheerful on any table. Pair it with a pale blue or white tablecloth for a fresh, summery look.
Sunset ombre. Work the first two rounds in deep orange, the next three in a warm tangerine, and the final three rounds in golden yellow. The result is a coaster that shifts gradually from the fiery center of a sunset to the pale edges of the horizon. This effect works best with hand-dyed or gradient yarns.
Bright rainbow. Use a different color for each round, following the order of the rainbow: red for the center, then orange, yellow, green, blue, and finally purple for the scalloped rays. This variation is especially popular with children and makes a wonderful gift for a young crafter.
Winter white. Work the entire coaster in a crisp, bright white or a soft cream. The scalloped rays take on the appearance of snowflakes rather than sunbeams, making this version perfect for the winter holidays. Add a silver or gold metallic thread to the final round for an extra touch of elegance.
Earth tones. A coaster worked in warm browns, deep greens, and burnt oranges has a rustic, autumnal feel. This version looks lovely on a wooden table and pairs well with ceramic mugs in natural glazes.
Two-tone sun. Work rounds one through seven in a single color — perhaps a bright yellow — and then work the scalloped rays in a contrasting color, such as a deep red or a rich orange. The contrast draws the eye to the scalloped edge and emphasizes the sunburst effect.
Whichever color combination you choose, I encourage you to make a note of it in your crochet journal. You may wish to return to the same combination in the future, or you may want to try something entirely new. The possibilities are endless, and that is one of the great pleasures of this craft.
Yarn Choices: Cotton Versus Acrylic
The choice of yarn is one of the most important decisions you will make for any crochet project, and sun coasters are no exception. The two most common options are cotton and acrylic, and each has its own strengths and weaknesses.
Cotton yarn is my preferred choice for coasters, and I recommend it to anyone who asks. Cotton is a natural fiber that is highly absorbent, which means it will soak up condensation from cold drinks without leaving a wet ring on your table. It is also durable and machine washable, so your coasters can stand up to repeated use and laundering. Cotton holds its shape well after blocking, and the stitches have a crisp, defined appearance that is very appealing. The primary drawback of cotton is that it can be somewhat stiff to work with, especially for beginners, and it has less natural elasticity than acrylic. However, this stiffness is actually an advantage for coasters, as it helps the finished piece lie flat and resist curling.
Acrylic yarn is a synthetic fiber that is widely available, inexpensive, and soft to the touch. It is an excellent choice for beginners because it is forgiving of tension inconsistencies and slides easily over the hook. Acrylic is also available in a vast range of colors, including some very bright and saturated shades that are difficult to achieve with natural fibers. However, acrylic has significant drawbacks for coasters. It is not absorbent, so condensation from a cold glass will bead up on the surface of the coaster and may run off onto your table. Acrylic is also prone to pilling and may not hold its shape as well as cotton after repeated washing. If you do choose acrylic, look for a brand that is labeled as machine washable and dryable, and be prepared to replace your coasters more frequently than you would with cotton.
Other fiber options include linen, bamboo, and hemp, all of which are natural fibers that share many of cotton's desirable properties. Linen, in particular, makes beautiful coasters with a lovely drape and a subtle sheen. These fibers can be more expensive and harder to find than cotton, but they are well worth seeking out for special projects.
My advice is this: if you are making coasters to use and enjoy for years to come, choose a high-quality cotton yarn in a color that makes you happy. If you are making coasters as a quick gift, or if you are new to crochet and want to practice without investing in expensive materials, acrylic is a perfectly acceptable choice. The most important thing is that you enjoy the process of making them.
Final Thoughts
There is a quiet joy in making something by hand that will be used every day. A crochet sun coaster, small and simple as it is, carries with it the warmth of the hands that made it and the thoughtfulness of the person who chose to give it. Whether you keep your set for yourself or pass it along to a friend, you have created something of value, and that is no small thing.
I hope this pattern brings you many happy hours of stitching. The eight rounds of a sun coaster are not merely steps in a pattern — they are a small journey, from the tight little circle of the magic ring to the wide, open scallops of the final round. Along the way, you will practice stitches you already know and learn new ones. You will make decisions about color and fiber that reflect your own taste and style. And when you hold the finished coaster in your hands, you will feel the satisfaction that comes only from making something beautiful and useful with your own two hands.
So pick up your hook, choose your yarn, and let us make some sunshine.