Introduction
There is a portrait hanging in the National Portrait Gallery in London of a young woman in the 1790s, fanning herself on a terrace, and around her shoulders lies the most delicate white shawl you have ever seen.
It was knitted, not woven, and it tells a quiet story about how long we have been making our own summer accessories.
For centuries, before air conditioning and fast fashion, people knit and crocheted the very things they wore in warm weather — lightweight wraps, broad-brimmed hats, and bags for carrying produce home from market.
I love that history. It reminds me that when I pick up my crochet hook in June, I am joining a very long line of makers who understood that summer does not mean setting your yarn aside.
It means choosing the right yarn and the right project — something light, breathable, and quick enough to finish before the season slips away.
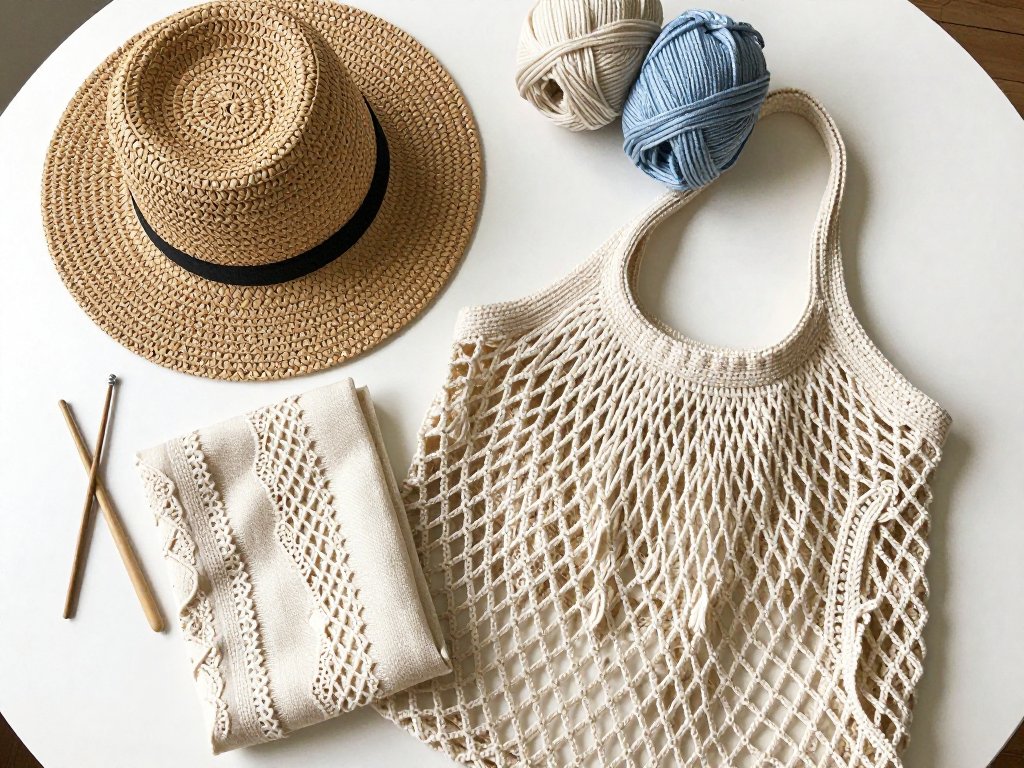
This guide brings together three classic summer accessories that are perfect for beginners: a crochet sun hat, a mesh market bag, and a feather-light summer scarf.
Each project is small, forgiving, and genuinely useful, and each one will teach you skills you will use for the rest of your making life.
If you have never knit or crocheted before, do not worry — we will start at the very beginning.
Why Summer Yarn Is Different
The single most important choice in any summer project is the yarn, and it is the choice beginners most often get wrong.
If you pick up the same soft wool you used for winter mittens, your summer hat will be a sauna on your head, no matter how beautifully you make it.
Summer yarns share a few important qualities. They are breathable, meaning air moves through the fibers so you stay cool.
They are absorbent, so they wick moisture away from your skin on hot days. And they are usually plant-based, because wool that keeps you warm in January will keep you warm in July, too.
Here are the fibers to look for:
- Cotton. The classic summer choice. Cotton is cool, absorbent, durable, and easy to care for. Mercerized cotton has a lovely sheen and stitch definition that makes simple patterns look elegant.
- Linen. Linen has been worn in hot climates for thousands of years, and for good reason. It is incredibly breathable and gets softer with every wash. It has less stretch than cotton, which makes it wonderful for structured pieces like market bags.
- Bamboo and rayon blends. These yarns are silky, drape beautifully, and feel cool against the skin. They are perfect for delicate summer scarves.
- Cotton blends. A cotton and acrylic blend is budget-friendly, machine-washable, and very forgiving for beginners. Look for a blend with at least fifty percent cotton.
As for weight, think light. Fingering and sport weights are lovely for scarves and lacy details, while worsted-weight cotton is ideal for sturdy bags and hats that keep their shape.
Whatever you choose, check the yardage on the label and buy one extra ball — dye lots differ, and nothing is more frustrating than running out of yarn mid-project.
Tools Worth Having for Summer Projects
Before we begin the projects, let us make sure you have the right tools. You do not need a vast collection, but a few well-chosen pieces will make everything easier.
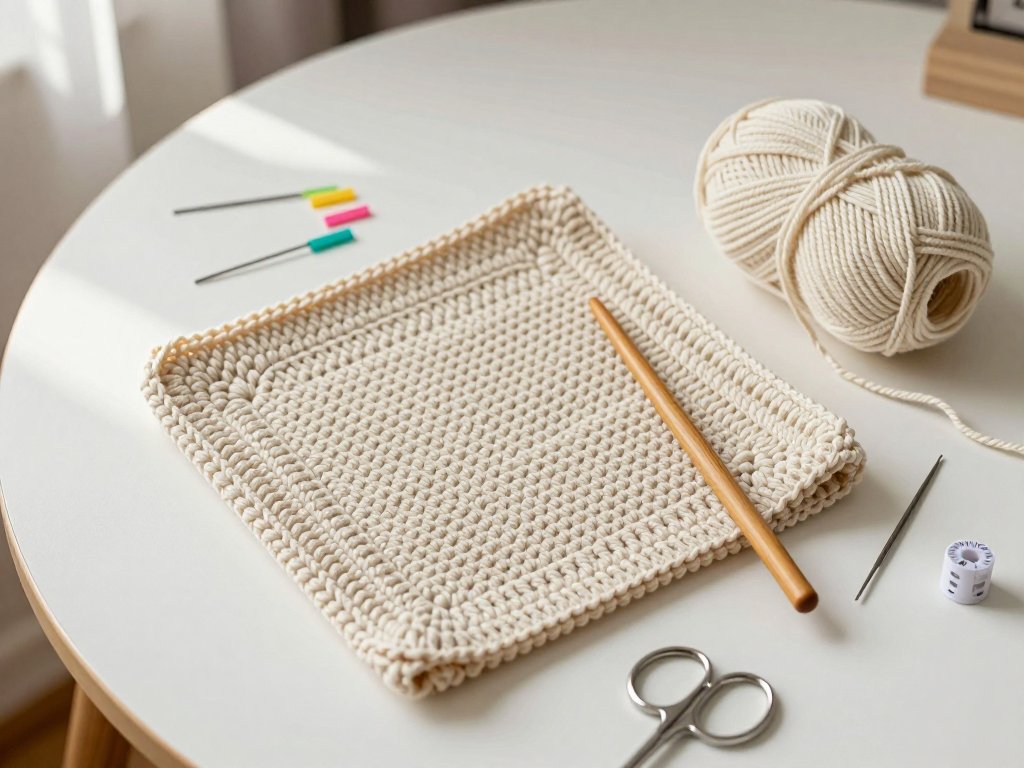
- Crochet hooks. For cotton worsted weight, a 5mm or 5.5mm hook is your best friend. For finer lace scarves, a 3.5mm or 4mm hook gives you the delicate stitches you want. If you are new to crochet, choose a hook with a comfortable ergonomic handle.
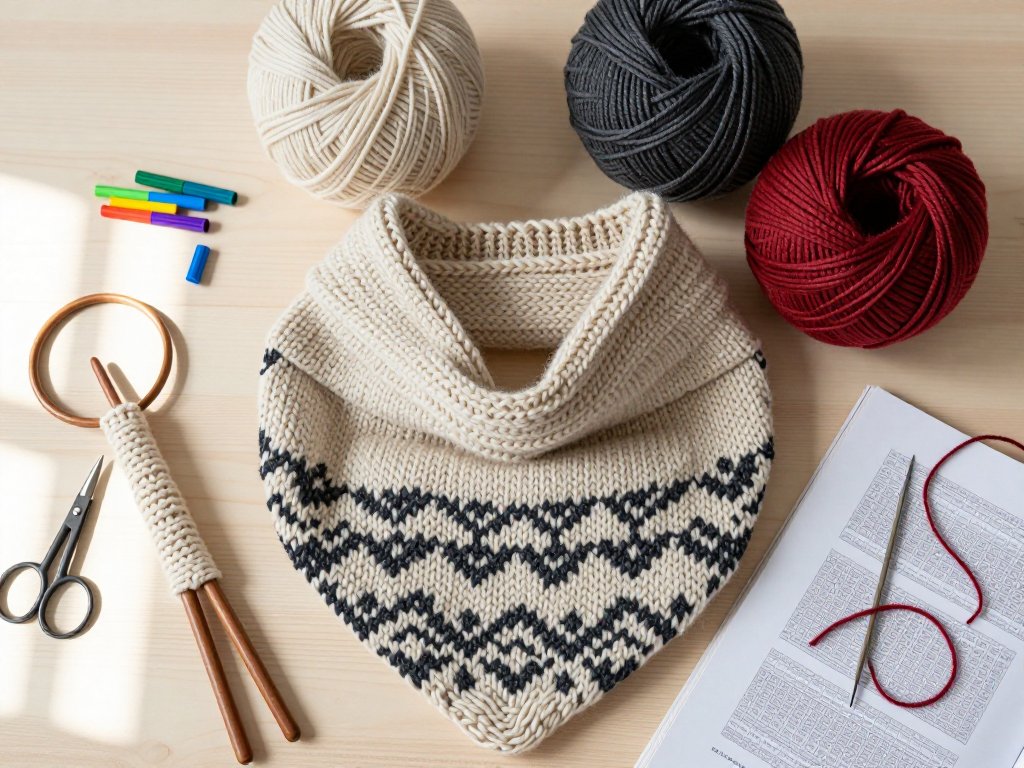
- Knitting needles. For a light summer scarf, circular needles in a 4mm or 4.5mm size are lovely, because they let the weight of the project rest in your lap instead of on your wrists.
- Stitch markers. These little rings will save you from counting disasters, especially when you are increasing for a hat crown. Use them even if you think you do not need them.
- A tapestry needle. Blunt-tipped and large-eyed, this is for weaving in your ends. It is the difference between a finished piece and a messy one.
- Scissors and a tape measure. Keep them in your project bag so you never have to hunt for them mid-row.
That is the whole toolkit. Most of it costs less than a takeaway coffee, and it will last you for years.
Project One: A Crochet Sun Hat
The crochet sun hat is the project I recommend to every beginner who wants to make something wearable. It is made in a spiral of simple stitches, growing outward from the crown like ripples in a pond, and the rhythm of it is deeply soothing.
The anatomy of a hat. A crochet hat has three parts: the crown, the sides, and the brim. The crown is a flat circle that fits over the top of your head. The sides drop straight down to cover your ears. The brim flares outward to shade your face.
Start the crown with a magic ring. The magic ring — sometimes called a magic circle — is a technique for starting projects in the round with no hole in the center.
Wrap the yarn around your fingers, insert your hook, and work six single crochet stitches into the ring, then pull the tail to close it tight.
If the magic ring feels fiddly at first, you can cheat by chaining four and joining them into a loop; the result is nearly the same.
Increase evenly. The secret to a flat circle is increasing evenly. In round two, work two single crochet stitches into every stitch.
In round three, work two stitches into every second stitch. In round four, every third stitch, and so on.
If your circle starts to ruffle, you are increasing too quickly; if it starts to cup, you are increasing too slowly.
A flat circle should lie perfectly on the table.
Work the sides straight. Once your circle is the size of the top of your head — about six inches across for an adult — stop increasing and work single crochet stitches around and around without adding any.
This builds the sides. Try the hat on as you go; the sides should reach just below your ears.
Make the brim flare. For the brim, start increasing again, but gently — one increase every four or five stitches is plenty.
The more you increase, the wider and floppier the brim. A simple option is to work one round of increases, then one plain round, then another round of increases, until the brim feels right.
Finish with a pretty edge. A round of slip stitches, or a scalloped edge of small chains, gives the hat a polished look. Weave in your ends, and you have a sun hat that cost you a few dollars and an evening of pleasant making.
Project Two: A Mesh Market Bag
Market bags have a proud history. In the early twentieth century, crocheted string bags were a symbol of practical thrift, carried by shoppers across Europe and America long before the plastic bag was invented.
The open mesh of a crocheted bag stretches to hold surprising amounts of produce, yet packs down into your pocket when empty.
This project uses a simple mesh stitch that is nothing more than chains and double crochet, repeated in a pattern so easy you will memorize it in minutes.
Set up your base. Start with a magic ring and work eight single crochet stitches into it. Join with a slip stitch. Then work the base in double crochet, increasing until you have a flat circle about six inches across — this will be the bottom of your bag.
Work the mesh upward. Now the mesh pattern begins. Chain five, skip three stitches, and work a single crochet into the fourth stitch.
Repeat this around the entire circle. On the next round, chain five and work a single crochet into the center of each chain-five loop from the previous round.
That is the entire pattern — a series of loops that build upward into a stretchy, open mesh.
Watch your tension. The mesh looks best when your chains are even. If your loops are uneven, your bag will wobble. A little practice will even out your tension quickly, and cotton yarn holds its shape well as you go.
Shape the top. Once the bag is as deep as you like — about twelve inches is a good size — work two rounds of single crochet around the top to create a solid rim. This rim gives the bag structure and keeps your groceries from slipping over the edge.
Add the handles. For the handles, chain thirty, skip a section of the rim, and join back with a slip stitch.
Repeat on the other side. Then work a round or two of single crochet over the chain to make the handles sturdy.
Weave in your ends, and your market bag is ready for its first farmers market trip.
The best part of this project is its practicality. You will use this bag every week, and every time you do, you will remember the evening you spent making it.
Project Three: A Feather-Light Summer Scarf
Summer scarves might seem like a contradiction, but anyone who has ever sat on a beach at dusk knows the magic of a light wrap.
Knitted or crocheted in a lacy stitch with a breathable yarn, a summer scarf is the perfect travel companion — a whisper of warmth for cool evenings and air-conditioned restaurants.
This project introduces one of my favorite knit stitches: feather and fan, also known as Old Shale.
It is an old pattern with roots in the Shetland shawl tradition, where knitters created fabric so fine it could be drawn through a wedding ring.
You do not need to be that ambitious, but the same principles will give you a scarf of surprising beauty.
Cast on a multiple of eighteen. The feather and fan pattern repeats in sets of eighteen stitches. For a scarf about twelve inches wide, cast on thirty-six stitches, plus two edge stitches for a neat border.
Learn the two rows. Feather and fan is worked in two alternating rows. The first row creates the fans with a series of increases — knit two together three times, then yarn over six times, then knit two together three times.
The second row is simply purled across. The increases spread the fabric into fans, and the decreases pull it back into ripples.
Trust the pattern. The first repeat may feel strange, with stitches bunching and spreading, but by the second or third repeat you will see the ripples emerging.
This is a pattern where trusting the process matters. Do not try to fix what looks like an error mid-row; the pattern takes care of itself.
Knit until it feels right. Summer scarves are meant to be short — about fifty to sixty inches, or long enough to wrap once around your neck with a little drape.
Knit until you run low on yarn, then bind off loosely so the edge does not pull the ripples flat.
Block it gently. Blocking transforms lace. Soak your scarf in cool water, press out the excess without wringing, and pin it out to dry, stretching the points of the fans gently. When it dries, the pattern will open up and lie flat in a way that looks store-bought.
If you prefer crochet, the same scarf can be made with a simple shell stitch — a repeat of double crochet clusters separated by chains. The effect is similar, and the rhythm is just as relaxing.
The Finishing Touches That Make Projects Look Professional
Beginners often finish their projects, weave in the ends, and wonder why the piece does not look quite as polished as the photo in the pattern. The answer is almost always finishing — the quiet steps that turn a handmade item into a heirloom-quality one.
Weave ends securely. Thread your tapestry needle with the yarn tail and weave it back and forth through the wrong side of the work for an inch or two, then trim close. On bags and hats, weave ends into the seams so they are completely invisible.
Block, block, block. Blocking is the magic step. Hats can be blocked over a balloon or a bowl to shape the crown and brim. Scarves and lace should be pinned out flat as described above. Even cotton bags benefit from a gentle steam blocking to even out the mesh.
Add a thoughtful detail. A ribbon threaded through a hat brim, a fabric lining for a market bag, or a small tassel on a scarf tip — these little additions make your work feel intentional and finished.
Wash with care. Most cotton and linen projects can go in the washing machine on a gentle cycle, but hand washing in cool water with a mild soap is always the safest choice for handmade items. Lay flat to dry to keep their shape.
Take your time with these steps. They are the difference between a project that is merely finished and one that is truly done.
Conclusion
I think about that young woman in the portrait again, with her knitted white shawl, and I smile.
She would not recognize our world — no clacking knitting machines, no endless online yarn shops, no delivery vans bringing cotton to our doors.
But the satisfaction she felt, wearing something made by her own hands on a summer evening, is exactly the same satisfaction I feel when I try on a hat I crocheted myself.
Start with whichever project calls to you. The sun hat is the most wearable, the market bag the most useful, and the scarf the most meditative.
All three are beginner-friendly, all three can be finished in a weekend or a week of evenings, and all three will teach you skills that carry into everything else you ever make.
Choose a cotton in a color that makes you happy, clear a small space on the sofa, and give yourself permission to make slowly.
Before the summer ends, you will have something beautiful to show for it — and you will understand, in your hands, why we have been making summer accessories for centuries.