Introduction
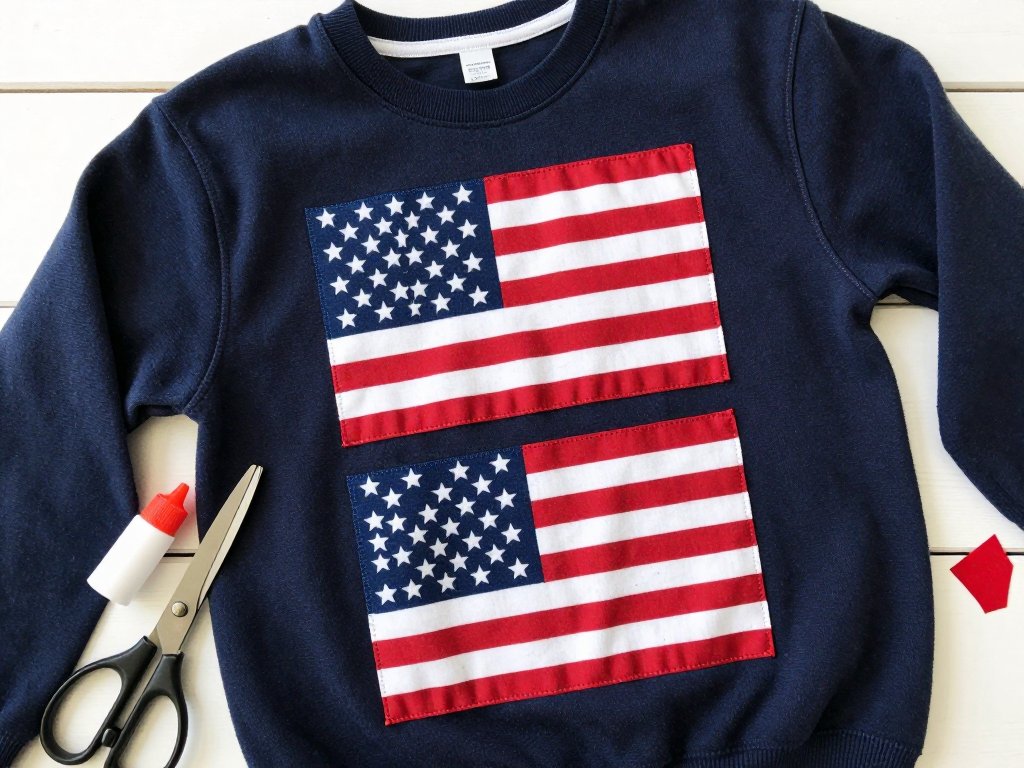
There is something special about wearing handmade patriotic clothing on the Fourth of July. Whether you are heading to a neighborhood parade, hosting a backyard barbecue, or just enjoying a quiet day at home, a flag applique sweatshirt says "I love this country" without shouting it.
And the best part? You can make one in under an hour for about ten dollars in supplies — less than the cost of a movie ticket for the whole family.
I have made these sweatshirts with my own kids for years, and they never fail to draw compliments.
The applique technique is forgiving enough for absolute beginners, and I will share both sewing and no-sew versions so you can choose what feels right for you.
Let me walk you through everything you need to know.
Why an Applique Sweatshirt?
Applique is simply the art of attaching one piece of fabric onto another to create a design.
It is one of the most beginner-friendly sewing techniques because it does not require perfect stitches or precise measuring.
A slightly wavy edge on your flag stripes? That adds charm. A star that is not perfectly symmetrical?
It looks handmade in the best way.
For July 4th, a flag applique on a cozy sweatshirt is the perfect project because:
- It is quick — most of the work is cutting fabric, which takes about 20 minutes
- It is budget-friendly — you probably already own a sweatshirt and some scrap fabric
- It is family-friendly — kids can help arrange the stars and stripes
- No special skills needed — if you can cut a straight-ish line and use fabric glue (or a sewing machine), you can make this
And here is the honest truth: people will think you bought it from a boutique. The handmade touch makes it look intentional and artisanal, not homemade and sloppy.
What You Will Need
The beauty of this project is that the supply list is short and flexible. Here is what I recommend:
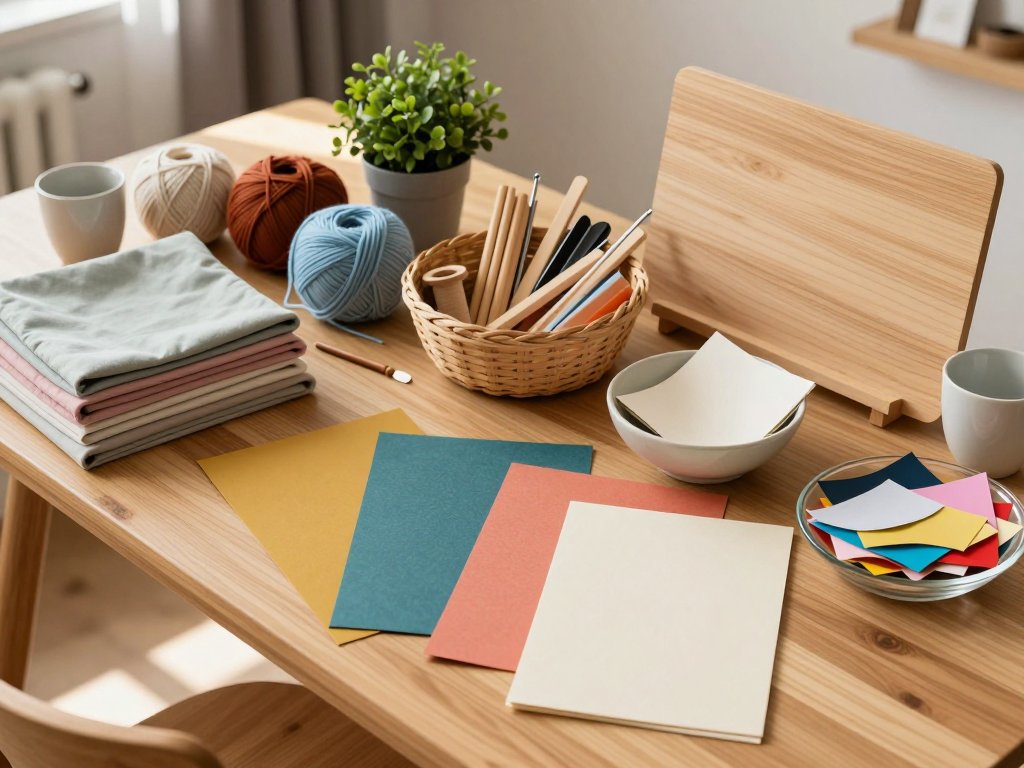
- A plain sweatshirt — navy blue, white, or gray all work beautifully. Navy gives the most traditional flag look. Thrift stores are a goldmine for plain sweatshirts under five dollars.
- Fabric scraps — red and white for the stripes, blue for the canton (the star field). A quarter yard of each is plenty. Cotton quilting fabric is easiest to work with, but old cotton shirts work perfectly too.
- Fabric glue — for the no-sew version. Look for "washable fabric glue" or "fabric fusion" at any craft store. A three-dollar bottle will last through several projects.
- Scissors or rotary cutter — sharp scissors are fine; a rotary cutter with a cutting mat makes clean edges easier but is not required.
- Star template — you can draw a simple five-pointed star freehand, print one from your computer, or use a small cookie cutter as a guide.
- Pins or Wonder Clips — optional but helpful for holding fabric in place while you work.
If you choose the sewing version, you will also need matching thread and either a sewing machine or a needle and embroidery floss for hand stitching.
Choosing Your Sweatshirt
The foundation of your project matters more than you might think. A 100% cotton sweatshirt holds fabric glue and stitches better than polyester blends.
That said, I have used both with good results — just test your glue or stitch on an inside seam first to see how the fabric behaves.
Thrifted sweatshirts are ideal because they have already been washed and shrunk, so your applique will not pucker when you eventually wash the finished piece.
Look for a sweatshirt that fits comfortably but is not too tight — a relaxed fit gives you more surface area for the flag design and looks more casual and celebratory.
If you are making this for a child, consider sizing up so they can wear it over a t-shirt on cooler July 4th evenings when the temperature drops after sunset.
Preparing Your Fabric Pieces
Before you cut anything, decide on the size and placement of your flag. I like to place the flag on the front left chest area (over the heart), about two inches below the collar.
A finished flag that measures roughly 6 inches wide by 4 inches tall works well on an adult sweatshirt.
For children, scale down to about 4 by 3 inches.
Cutting the Stripes
For an American flag design, you need thirteen stripes — seven red and six white. Do not let that number intimidate you. Here is the simple method:
- Cut a rectangle of red fabric that is 6 inches wide and 4 inches tall.
- Cut a rectangle of white fabric the same size.
- Stack them and cut both into strips about half an inch wide. You will have roughly fourteen half-inch strips from each color, which gives you plenty to work with.
- Arrange them alternately — red, white, red, white — until you have thirteen stripes total. The first and last stripes should be red.
Do not worry if your strips are not perfectly even. A slight variation in width looks rustic and handmade. If you are using fabric glue, you can trim any uneven edges after attaching them.
Making the Canton and Stars
The canton is the blue rectangle in the top left corner of the flag, where the stars go.
Cut a piece of blue fabric that is 2.5 inches wide and 3 inches tall.
Position it over the top left corner of your stripe arrangement — it should cover the first seven stripes (counting from the top).
For the stars, you have several options:
- Cut individual stars — using a template, trace and cut fifty small stars from white fabric. This is the most traditional approach but takes patience.
- Use star-shaped buttons or beads — a quick and charming alternative that adds texture.
- Paint or draw stars — use white fabric paint or a white fabric marker to draw stars directly on the blue canton. This is the easiest method and works beautifully for a casual sweatshirt.
- Skip the stars entirely — a simplified flag with just stripes and a blue canton is instantly recognizable and reads beautifully from a distance.
For this tutorial, I recommend drawing five to nine larger stars rather than fifty tiny ones. The simplified star field is easier to execute and looks more modern and artistic. Nine stars arranged in a three-by-three grid covers the canton beautifully.
Method 1: No-Sew Fabric Glue Version
This is my favorite method for busy moms. It takes about 45 minutes from start to finish, and the results are surprisingly durable.
- Prepare your sweatshirt. Lay it flat on your work surface. Slide a piece of cardboard or wax paper inside to prevent glue from soaking through to the back of the sweatshirt.
- Arrange your stripes. Starting from the top, place your red and white striped fabric strips on the sweatshirt. Use pins or clips to hold them in place. Step back and check the alignment before applying any glue.
- Glue the stripes. Working one strip at a time, lift the strip, apply a thin, even layer of fabric glue to the back, and press it onto the sweatshirt. Smooth it with your fingers from the center outward to remove bubbles. Repeat for all thirteen stripes.
- Attach the canton. Apply glue to the back of the blue fabric rectangle and press it over the top left corner of the stripes. It should overlap the first seven stripes.
- Add the stars. If using fabric paint, let the canton dry for 15 minutes, then paint or draw your stars. If using fabric stars or buttons, apply a small dot of glue to the back of each and press them onto the blue canton.
- Let it dry. Follow your glue manufacturer's instructions — most fabric glues need 24 hours to cure fully before washing. But the sweatshirt is ready to wear after about an hour.
One tip from experience: less glue is more. A thin, even layer bonds better than a thick glob, which can bleed through the fabric and leave stiff spots. If you accidentally use too much, blot it gently with a paper towel before it dries.
Method 2: Machine Sewing Version
If you have a sewing machine and want a more permanent finish, this version takes about an hour and produces a piece that can be washed and dried with no special care.
- Prepare your pieces the same way — cut your stripes, canton, and stars as described above.
- Press each piece with an iron — fold under a quarter-inch seam allowance on all edges of your applique pieces and press them flat. This gives you clean edges to sew over.
- Pin everything in place on your sweatshirt. Use plenty of pins to keep the fabric from shifting.
- Sew a straight stitch close to the edge of each stripe. Use red thread on the red stripes and white thread on the white stripes for a clean look, or use a single color thread throughout for a more casual finish.
- Attach the canton with a blue or white thread, stitching close to the edge.
- Add the stars by stitching around each star shape, or sew star-shaped buttons in place.
- Press the finished piece with a warm iron to set the stitches and flatten any puckering.
A zigzag stitch around the edges of your applique pieces creates a lovely satin-stitch finish that looks professional and prevents fraying. If your machine has a satin stitch setting, this is the perfect time to use it.
Method 3: Hand Sewing for Beginners
Do not own a sewing machine and do not want to use glue? Hand sewing is a wonderful option, and it is surprisingly meditative.
Use a simple running stitch or whip stitch around each applique piece. Embroidery floss in coordinating colors adds a pop of texture and makes the stitches part of the design.
A whip stitch around the edge of each stripe creates a lovely handcrafted look that complements the rustic flag theme beautifully. This method takes about two hours but is perfect for an evening project while watching a movie.
Design Variations to Make It Your Own
The basic flag design is just the beginning. Here are some ways to customize your sweatshirt:
- Add text — cut letters from fabric or use iron-on vinyl to spell "USA," "1776," or "Land of the Free" below or above the flag.
- Use patterned fabrics — try red fabric with tiny white polka dots for the stripes, or blue fabric with a subtle star pattern for the canton.
- Create a reverse flag — place the flag on the right sleeve instead of the left chest for a modern, fashion-forward look.
- Make it sparkle — add a few sequins or star-shaped rhinestones to the canton for extra celebration vibes.
- Go rustic with burlap — use red and white burlap for the stripes and denim for the canton. The texture is wonderful for a farmhouse-style look.
Do not be afraid to experiment. The beauty of handmade is that you can make exactly what you want, not what the store decides to stock.
Tips for Success
After making several of these sweatshirts over the years, I have learned a few things the hard way so you do not have to:
- Wash and dry your sweatshirt first — this prevents shrinkage after your applique is attached, which can cause puckering.
- Iron all fabric pieces before attaching them — wrinkles create bumps under the applique.
- Use a pressing cloth — if you iron over the finished applique, place a thin cloth between your iron and the fabric to protect the glue or thread.
- Test your glue on a scrap — different fabric glues behave differently. A quick test saves heartache.
- Do not rush the drying time — a glue-bonded applique that gets washed too soon will peel. Give it the full 24 hours.
- Turn the sweatshirt inside out to wash it — this protects the applique from rubbing against other clothes in the wash.
Making It a Family Activity
One of my favorite memories is making matching flag sweatshirts with my children on a rainy June afternoon. Here is how to involve kids at different ages:
- Toddlers and preschoolers — let them sort the red and white fabric strips, hand you pieces, and "help" by pressing the glued pieces with their hands. They can also paint stars using a star-shaped sponge stamper.
- Elementary-age children — they can cut strips with safety scissors, arrange the stripes in the correct order, and apply glue with supervision. Drawing stars with fabric markers is an excellent fine-motor activity.
- Teens — they can complete the entire project independently, making design choices and using the sewing machine or glue. This is a wonderful introduction to sewing and design.
Making the sweatshirts together turns a simple craft into a family tradition. Every time your child wears their handmade flag sweatshirt, they will remember the afternoon you spent creating it together.
Caring for Your Finished Sweatshirt
A well-made flag applique sweatshirt can last for years with proper care. Here is how to keep yours looking great:
- Machine wash cold on a gentle cycle. Turn the sweatshirt inside out to protect the applique.
- Air dry or tumble dry low — high heat can weaken fabric glue over time. If you sewed your applique, low heat is fine.
- Do not bleach — bleach can discolor both the applique fabric and the background sweatshirt. Use a gentle stain remover if needed.
- Store flat or folded — hanging a sweatshirt with a heavy applique can stretch the shoulder area over time.
If a corner of your applique starts to lift after many washes, a tiny dab of fabric glue pressed under the lifted edge will fix it in seconds. These small repairs keep your handmade piece going strong year after year.
Conclusion
A DIY flag applique sweatshirt is one of those rare projects that is quick, affordable, and deeply satisfying.
In under an hour, you can transform a plain thrifted sweatshirt into a wearable celebration of Independence Day that your family will love.
The best part is not the compliments you will receive — though there will be plenty — but the knowledge that you made it yourself.
Whether you choose the no-sew fabric glue method, machine sewing, or hand stitching, the process is forgiving and fun.
And if your stripes are not perfectly straight or your stars are a little lopsided?
That is exactly what makes handmade pieces special. They carry a little bit of your personality in every stitch.
So grab a sweatshirt, some fabric scraps, and your favorite glue or sewing machine. July 4th is coming, and your handmade flag is waiting to be worn. Happy crafting, and Happy Independence Day!