Introduction
There is a certain tin that lives at the back of a drawer in almost every family. It holds buttons. Some are plastic, some are pearlescent, some are brass with a faint green bloom of age.
You probably inherited it, or bought a jar of mixed buttons at a thrift store for two dollars because you could not bear to leave it behind.
Here is the quiet good news: that tin is not clutter. It is a jewelry box waiting for you to open it.
A single pretty button, backed with a pin bar, becomes a brooch you can wear on a coat lapel tomorrow morning.
This guide walks through three beginner projects — a stacked brooch, a wire-wrapped pin, and a flower cluster pin — using materials you likely already own, plus about ten dollars of wire and findings.
There is no rush here. Take one button at a time, and let the tin teach you what it wants to become.
Why Button Jewelry Works So Well
Buttons are among the most forgiving materials in jewelry making. They already have a hole, a shape, and a finish. Your job is mostly to attach them to something.
They are also nearly free. A thrift-store button jar costs less than one pendant from a craft store, and it holds enough pieces for a dozen projects.
Every finished pin is one of a kind. The exact shade of that 1950s pearlescent button cannot be bought again, and no one else has your particular stack.
This is a genuinely low-waste craft, too. Instead of buying new supplies, you are giving old garments a second life as something wearable and loved.
Buttons suit beginners because mistakes are cheap. If a stack does not look right, you pop the buttons off and try a different arrangement.
And the scale is small on purpose. One brooch can be finished in an evening, in the cracks between dinner and bedtime stories.
What You Need to Get Started
You do not need a jewelry studio. You need a small tray of findings, three tools, and a batch of sorted buttons.
Shank Buttons and Sew-Through Buttons
Buttons come in two useful types, and knowing which is which saves a lot of frustration.
A shank button has a small loop, or shank, on the back instead of holes. It sits flat against fabric and gives you a natural anchor point for wire.
Shank buttons are ideal for wire-wrapped pins and for stacked brooches, because that loop lets wire pass through and lock in place without hiding the button face.
A sew-through button, also called a flat button, has two or four holes through the face. It lies flat and shows its holes, which makes it perfect for stitched layers and flower petals.
Sew-through buttons suit the flower cluster pin, where you want the stitched center to become part of the design.
Wire, Pin Backs, and Glue
Use 22-gauge craft wire in a bare copper or antique brass finish. Twenty-two gauge is thick enough to hold a shape and thin enough to bend with your fingers.
If you only find 24-gauge, it works too, but expect the finished loop to feel a little soft. Twenty-two gauge is the reliable middle ground.
Pin back bars, also called brooch clasps, come in a few lengths. A one-inch bar is right for most single-button pins.
For heavier stacked pieces, choose a one-and-a-half-inch bar. Longer bars spread the weight so the brooch does not tip forward on your cardigan.
Use a strong craft glue labeled for jewelry or multi-surface work — the kind that dries clear and slightly flexible. E6000 is the standard choice and holds metal well.
A low-temperature glue gun is still useful, but only for tacking pieces in place while the strong glue cures. Hot glue alone eventually pops off a smooth glass or metal button.
The Small Tools That Make It Effortless
Three inexpensive tools carry almost the whole craft.
Small flush cutters trim wire cleanly. A flush edge matters because a jagged wire end will catch on clothing and scratch skin.
Round-nose pliers form loops. The tapered jaws let you make a loop of any size, which you will need for the wire-wrapped pin.
Needle-nose pliers grip, twist, and tuck. They are the tool you reach for when a wire end needs to disappear behind a button.
Add a small awl or a thick needle for poking felt, and a pair of sharp embroidery scissors for trimming fabric.
Felt, Fabric, and Floss
Felt backing is not optional on a brooch you plan to wear. It hides your glue and wire, and it keeps rough edges from pulling threads on a sweater.
A wool or wool-blend felt holds up better than the thin craft squares, but the inexpensive squares work fine for a first project.
Fabric scraps from a worn shirt or a favorite dress add meaning, especially for a memory brooch.
Embroidery floss in a matching or contrasting shade lets you stitch the pin back down through the felt for extra security.
Sorting and Preparing Your Buttons
Pour the tin onto a clean white cloth or a shallow tray. White makes the metal and the colors easier to judge.
Start a simple sorting. Pull out the shank buttons first, then the sew-through buttons, then the very small ones.
Set aside anything with a bent shank, a deep chip, or a missing surface. A damaged button can still serve as a back layer that no one sees.
Now look at color and finish. Group by warm tones, cool tones, and metals. This is how you build a stack that reads as intentional.
Hold each shank button face down on the table. If it rocks or leans, note it. A leaning shank will make your finished brooch wobble.
Clean tarnished metal gently with a soft cloth and a little metal polish on a cotton swab. Do not soak buttons, especially older painted or vegetable-ivory ones.
Finally, lay out your stack before any glue appears. Arrangement is far easier to change while everything is still loose.
Take a photo of the layout with your phone. If you lose the order halfway through gluing, that photo saves you.
Project 1: The Stacked Button Brooch
This is the project to start with. It uses glue, a pin back, and three to five buttons in descending size.
Choose one large button as the base, one medium as the middle, and one small, shiny button as the top. Add a thin metal or glass accent if you like.
- Test the stack. Lay your buttons in order, largest to smallest, and check that each one sits without wobbling. Adjust sizes now, before glue makes it permanent.
- Roughen the contact points. Lightly scratch the back of each button where glue will go with fine sandpaper. Glue grips a scratched surface far better than a glossy one.
- Glue the base to the middle button. Apply a small dot of strong craft glue, not a puddle. Press and hold for thirty seconds, then set it aside.
- Add the top button. Glue and press the smallest button onto the middle one, keeping it centered. Hold again for thirty seconds.
- Let the stack cure fully. Wait several hours, or overnight, before you attach anything to the back. Moving a half-cured stack is the most common beginner mistake.
- Attach the pin back. Glue the pin bar across the largest button's back, centered on the width, and press it down firmly. Support it on a rolled towel while it sets.
- Cover the back with felt. Cut a felt circle slightly smaller than the base button, pierce two holes for the clasp, and glue it over the hardware.
The reasoning behind the order matters more than the steps themselves. Each layer must be stable before the next goes on, or the whole stack drifts off-center.
If your stack leans, do not panic. A small felt shim glued under one side levels it.
Project 2: The Wire-Wrapped Button Pin
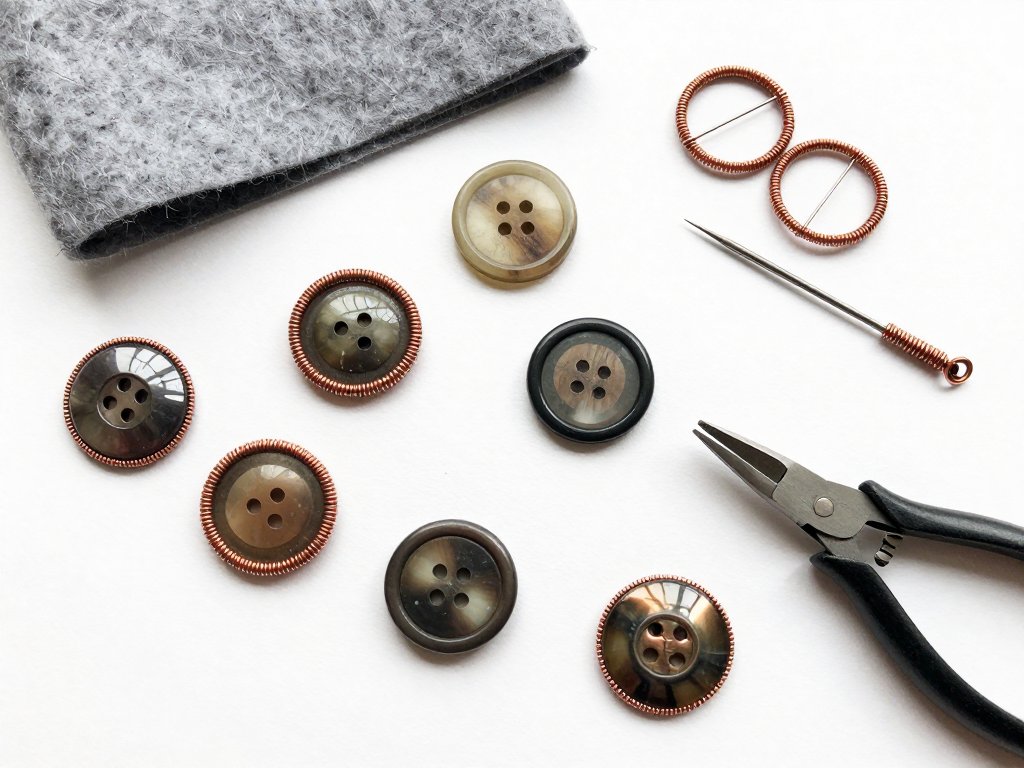
Wire wrapping gives you a brooch with no glue in the structure, which means it holds up beautifully to daily wear on a coat.
Choose a shank button with a sturdy loop. Thin, delicate shanks can snap, so test the loop gently with your fingers before you commit.
- Cut your wire. Snip about eight inches of 22-gauge wire with your flush cutters. It is better to have extra than to run short mid-wrap.
- Pass the wire through the shank. Thread it through the loop so both ends come out the back of the button, even in length.
- Cross and twist. Bring the two ends around the shank in opposite directions, then twist them together twice against the back of the button.
- Form the pin loop. Use round-nose pliers to bend the twisted wire into a small loop that a pin back or safety pin can thread through.
- Wrap the shank neatly. Wind the remaining wire around the shank base two or three times, keeping each coil snug against the last.
- Trim and tuck. Cut the wire flush and press the cut end flat against the back with needle-nose pliers so nothing scratches skin or fabric.
- Test the loop. Slide the pin back through and check that it sits flat. Adjust the loop angle with your pliers until the brooch hangs level.
If the wrap feels loose, unwind it and try again. Wire is forgiving, and a neat second attempt always looks better than a rushed first one.
A drop of clear glue over the finished wrap locks the coils and keeps them from shifting with wear.
Project 3: The Button Flower Cluster Pin
This project uses flat sew-through buttons as petals and a small shank button or bead as the center.
Pick five to seven flat buttons in alternating colors. A warm-coral, cream, warm-coral rhythm reads clearly from across the room.
Alternate the layout so no two identical buttons sit side by side. This small rule is what makes the flower look designed rather than random.
- Arrange the petals. Set the flat buttons in a circle on your felt, overlapping slightly at the edges, and check the color rhythm.
- Glue the petals to the felt. Work around the circle, pressing each button down and keeping the outer edges even.
- Add the center. Glue a small shank button or a large seed bead into the middle, covering where the petals meet.
- Let it cure, then trim the felt. Once the glue is fully set, cut the felt into a rough circle just behind the petal edges.
- Attach the pin back. Glue and stitch the bar across the back, then cover the hardware with a second felt circle if the back shows.
For a slightly raised center, stack two small buttons instead of one, or sew a tiny cluster of seed beads through the felt for shine.
If you have embroidery floss on hand, a few simple stitches radiating from the center turn the flower into something more detailed.
Flower cluster pins are the ones people ask about most. That is a lovely thing to hear about a piece made from a two-dollar button jar.
Finishing and Wearing Your Piece
The difference between a craft-project brooch and a jewelry-box brooch is almost entirely in the finishing.
Always use both glue and a stitch to attach a pin back on anything heavier than a single button. Glue alone can fail on a cold morning when the metal contracts.
Thread embroidery floss through the pin back's holes and stitch down through the felt, then knot on the back and trim.
That takes two extra minutes and turns a fragile piece into something you can wear for years.
Let every glued piece cure for a full twenty-four hours before wearing it. The bond keeps getting stronger during that window.
If a metal shank looks dark or chalky, seal it with a thin coat of clear nail polish or jewelry sealant before wrapping wire around it. This slows future tarnish.
Check the pin back's spring tension once it is attached. It should grip fabric firmly without requiring a hard push that could bend the bar.
Store finished pins on a felt board or in a small tin, not loose in a drawer where they rattle against each other.
When Things Go Wrong
Every one of these problems has a calm, cheap fix. None of them mean the project is ruined.
The buttons slip before the glue sets
Use a tiny dot of low-temperature hot glue to tack the stack first. It grabs in seconds, and the strong craft glue still does the real holding.
Glue is showing at the edges
Apply less next time, and keep it centered. On the current piece, let the glue go rubbery, then roll it away with a fingertip or lift it with a pin.
The finished piece feels too heavy
Swap the metal base button for a plastic or shell one, and trim the felt backing smaller. Heaviness usually comes from the back, not the face.
The pin back wobbles
It was glued to an uneven surface. Add a thin felt shim, or re-glue with more contact area and hold it flat for a full minute.
A shank snaps off
Sand the stump smooth, then glue the button face-down onto a felt base instead. You have just converted a shank button into a sew-through one.
Keep a small jar for failed pieces. Half of them become the accent in a later project, which is a very good feeling.
Gift and Styling Ideas
A handmade brooch is one of the most generous small gifts you can make, because it carries the history of the buttons.
Pin one on a cardigan at the collar, or on a wool coat lapel just below the shoulder seam. The weight sits better near a seam.
A cluster pin looks charming on a canvas tote bag, especially one that has grown plain with age.
Sew a simple bar pin onto a pincushion so it stays visible and ready, or use a finished brooch as a gift-wrap topper tied over the ribbon.
The most meaningful version is a memory brooch — the buttons from one specific garment, remade into something the owner can still wear.
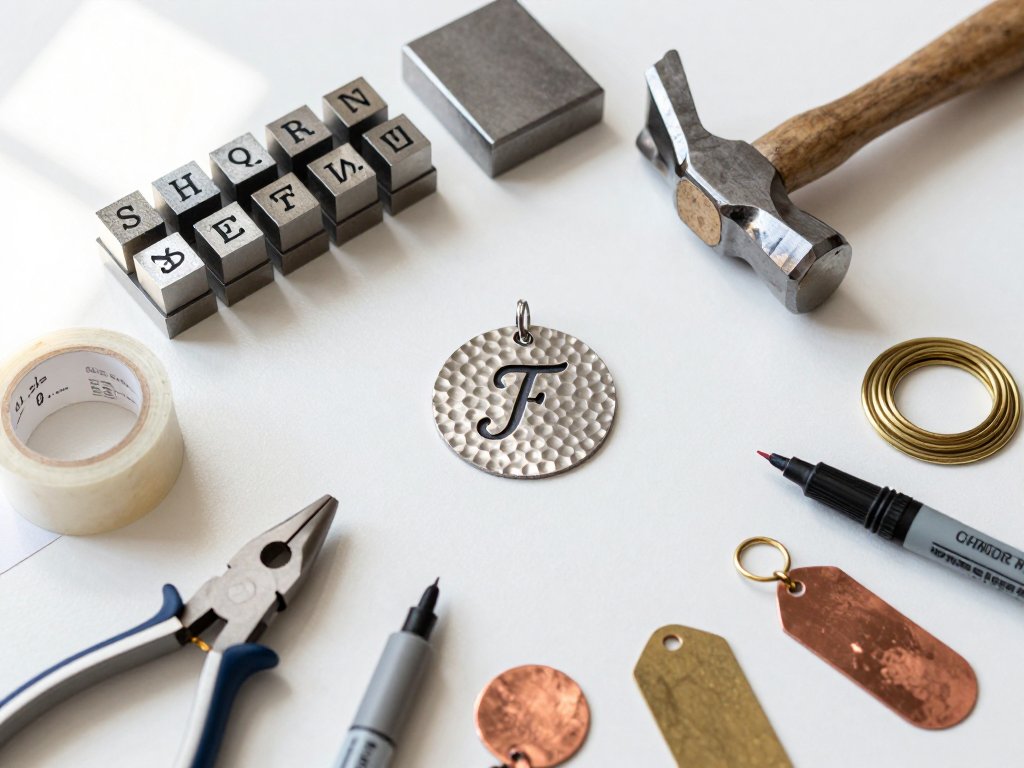
Once your hands feel comfortable with pliers, hand-stamped metal pendants are a natural next step among beginner metal jewelry projects.
Make a small card that names the garment the buttons came from. That note is often the part people keep.
Final Thoughts
Button jewelry is one of the gentlest ways to start making things with your hands. The materials are already in the house, and the stakes are a two-dollar button.
Start with one stacked brooch this week. Wear it, notice what you would change, and make the next one better.
Your tin will tell you what it wants. Sometimes it is a prim brass button from a grandfather's coat, and sometimes it is a plain pink plastic one that somehow makes the whole stack sing.
There is no wrong way to begin. There is only the first brooch, and then the second.