Introduction
When was the last time you opened your mailbox and found something that was not a bill, a flyer, or a package you ordered for yourself?
For most of us, real mail has become a rare surprise. But here is the good news: sending it is just as delightful as receiving it, and it takes far less time than you think.
Mail art — decorating envelopes, writing letters, and making small paper treasures for the post — is an old tradition having a warm revival.
People are rediscovering what our grandparents always knew: a handwritten note is a gift that costs little and means everything.
You do not need artistic training or expensive supplies. You need paper, a pen, a little curiosity, and someone you care about.
In this guide, I will walk you through everything you need to send beautiful, personal mail, from choosing an envelope to stamping the final flourish.
Each step is practical, each project is doable in an evening, and every one of them ends with the same reward: a face lighting up at the mailbox.
Why Snail Mail Is Making a Comeback
It might seem odd that a craft centered on slow, physical mail is thriving in the age of instant messages.
But that is exactly why it feels so special. A text disappears into a stream of notifications; a letter sits on a counter, gets reread, and is tucked into a drawer for years.
There is also a lovely creative freedom in mail art. The envelope is your canvas, and anything that fits through the post is fair game: painted edges, washi tape stripes, rubber stamps, pressed flowers, even tiny drawings peeking out of the corner.
The postal service becomes part of the art — the postmark, the smudges, the journey written in creases.
For busy moms, snail mail is a realistic creative outlet because it is small. You can decorate one envelope in fifteen minutes while the kids are occupied.
A letter can be written in the margins of a quiet evening. There is no pressure to be perfect, because the whole point is the human touch — and human touch is never perfect.
What You Will Need to Get Started
The best news about mail art is that you almost certainly own the supplies already. Here is your starter list, with the optional upgrades clearly marked.
Envelopes. Plain white or kraft envelopes in a few sizes. The standard letter size (about 4 by 9.5 inches) is easiest for mailing. Save pretty ones from bills and cards too — a recycled envelope is a small act of thrift that mail artists love.
Paper. Lined or plain stationery, printer paper, or leftover scrapbook paper. Your letter does not need fancy paper, but a nice sheet makes the writing feel like an occasion.
Pens. A reliable pen you enjoy writing with — gel pens, fine liners, and fountain pens are all lovely. Add colored pens or markers for decorating.
Washi tape. This decorative paper tape is the mail artist's best friend. It sticks well, removes cleanly, and comes in every pattern imaginable. A few rolls will carry you through dozens of envelopes.
Stickers and stamps. Rubber stamps with a small ink pad, or a sheet of stickers — stars, flowers, animals, anything you love. Optional but endlessly fun.
Scissors, glue stick, and ruler. For cutting shapes, layering paper, and making your own envelopes.
Postage stamps. Yes, the postage is part of the design. The current postal rate for a standard letter is around 68 cents in the United States; a small sheet of pretty stamps makes even the postage feel curated.
Choosing and Prepping Your Envelope
Start simple: pick one envelope and give it a quick once-over. If it has a window or a printed return address label, cover them with a piece of washi tape or a small paper patch — that is a classic mail-art move that instantly makes an envelope feel handmade.
Decide where your address will go before you decorate. In most countries, the recipient's address belongs in the lower center of the envelope, and the return address goes in the upper left corner.
Leave those zones mostly clear so the postal machines can read them, and let your art fill the rest.
Here is a practical tip: write the address first, then decorate around it. Nothing kills a beautiful envelope faster than discovering your art has no room for the address.
Use a dark, clear ink for the recipient's address so it scans cleanly, and save the decorative writing for your return address or the flap.
Easy Envelope Art with Washi Tape
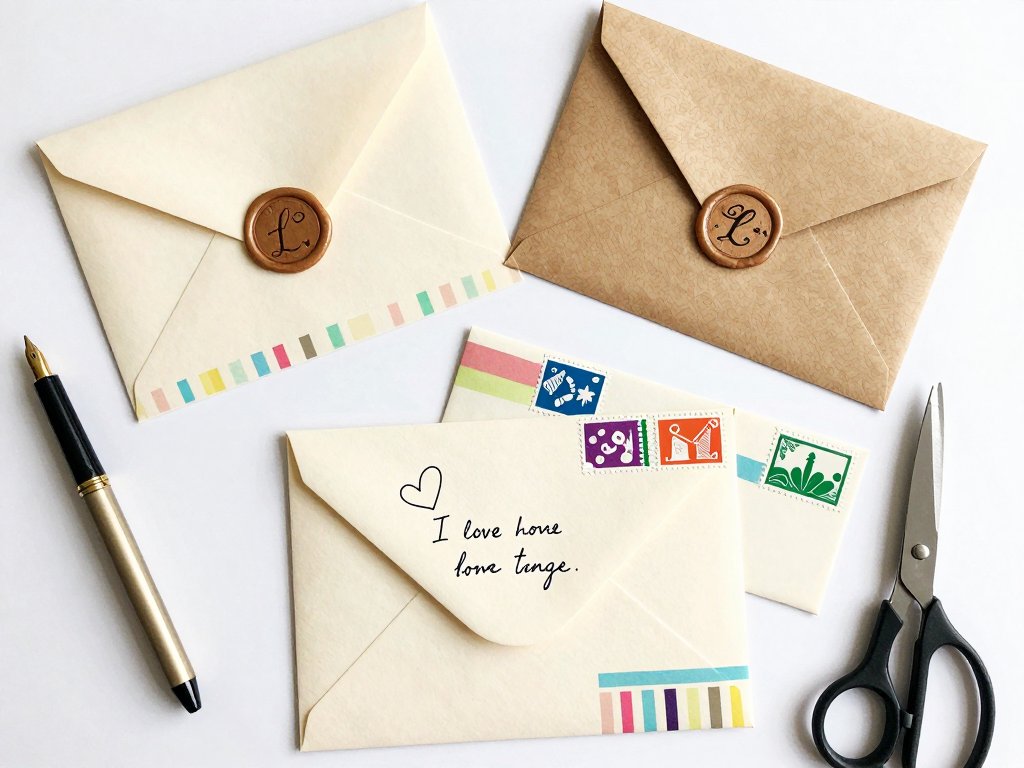
Washi tape is the fastest way to make a plain envelope look intentional. The patterns do the work for you, so you can focus on placement rather than drawing skill.
Stripes. Run two or three parallel lines of tape along the bottom edge of the envelope. Choose tapes that share a color family, like blues and greens, for a pulled-together look.
Borders. Frame the envelope with tape along all four edges. Overlap the corners at a 45-degree angle for a neat mitered corner, or let them cross for a scrappier, playful feel.
Patchwork. Cut small squares of different tapes and arrange them like a quilt in one corner. Add a tiny sticker on top of each square for extra depth.
Frames for the address. Place a rectangle of tape under the address area to create a soft colored block. Write the address on top, and the envelope instantly reads as designed.
The trick with washi tape is restraint. Two or three elements look curated; ten look cluttered. Choose a focal point — usually the lower right corner or the flap — and let the rest of the envelope breathe.
Rubber Stamps, Stickers, and Little Drawings
Once the tape is down, add a layer of small details. This is where your personality shows up.
Rubber stamps are a mail artist's joy because they make beautiful images with zero drawing required.
Press the stamp into the ink pad, press firmly onto the envelope, and rock gently to avoid smudging.
Start with a simple motif — a star, a bird, a flower — and place it near the return address or along the tape border.
If you do not own stamps, a cut-out from a magazine or a sticker works just as well.
Do not be afraid to draw, even if you think you cannot. A row of tiny hearts, a wobbly sun in the corner, or a smiley face on the flap is charming precisely because it is imperfect.
The recipient is not judging your art; they are touched that you took the time to make it.
One more idea: trace around a cookie cutter or a glass with a pencil, then fill the shape with color. Circles, stars, and leaves make lovely hand-drawn accents that look far more deliberate than they are.
Writing the Letter Itself
Now for the part that matters most: the words. A decorated envelope with a blank page inside is like wrapping paper around nothing — so let us talk about what to write.
You do not need to write an essay. A letter of four or five short paragraphs is perfect. Here is a structure that works every time:
Open warmly. "I was thinking of you today" or "This envelope has been sitting on my desk for a week, waiting for me to find the right words."
Share something real. Tell them about your week, a funny thing your child said, or a memory that surfaced. Specific beats general every time.
Ask a question. End with something that invites a reply: "What are you reading these days?" or "Tell me about your garden."
Close with warmth. "With love," "Thinking of you," or "Write soon" followed by your name.
If writing feels daunting, try the fill-in-the-blank method: start with "You crossed my mind because..." and let the sentence carry you. The hardest part is the first line; after that, the words tend to find themselves.
Making Your Own Envelopes from Scrap Paper
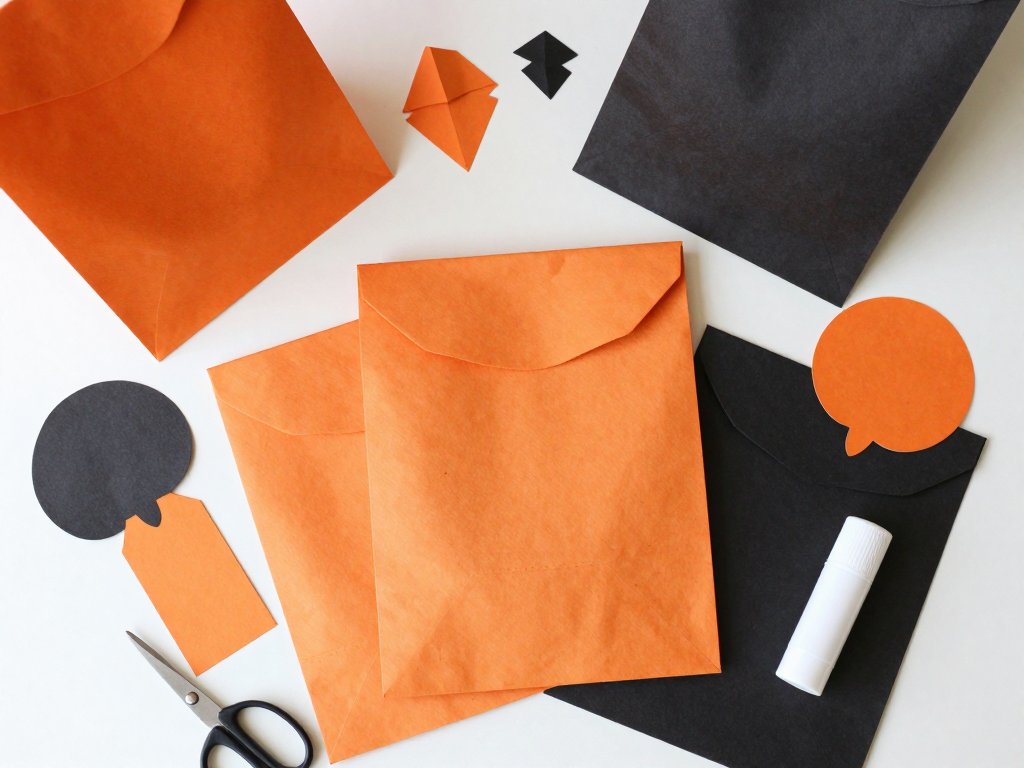
Once you have decorated a few store-bought envelopes, try making your own. It is easier than it sounds, and it means every envelope you send can match your letter perfectly.
Start with a square piece of paper — scrapbook paper, wrapping paper, or a page from an old calendar all work.
Place it like a diamond. Fold the bottom point up to meet the center, then fold the left and right points in so their edges meet in the middle.
Fold the bottom point up over them to create the pocket. Finally, fold the top point down as the flap.
Seal the side edges with a glue stick or double-sided tape, and your envelope is ready.
A few practical notes: keep the paper thin enough to fold cleanly but sturdy enough to protect the letter.
Test with a scrap piece first. And remember that handmade envelopes are perfectly fine to mail — just keep the address area clear and the flap tucked in so it does not catch in postal machinery.
Making envelopes is also a wonderful project to do with children. They can decorate the paper before you fold, and their confident crayon art will make the envelope the most cheerful thing in any mailbox.
Handmade Postcards and Folded Notes
Not every piece of mail needs an envelope. Postcards and folded notes are quick, charming alternatives that save on postage too.
Postcards. Cut cardstock to postcard size (about 4 by 6 inches is standard). Decorate one side with collage, washi tape, or a drawing; leave the other side for the address, your message, and a stamp.
In the United States, a postcard stamp costs less than a letter stamp — a small savings that adds up if you send mail regularly.
Folded notes. A single sheet of paper can become its own envelope with two clever folds.
Write your message on the inside, fold the sheet in thirds, and seal the center flap with a piece of washi tape or a wax seal.
Address the front and add a stamp. This is the old-fashioned way to send a short note, and it is wonderfully satisfying to unfold.
Mini letters. Write on a small card, fold it in half, and tuck it inside a tiny envelope you make from scrap paper. Tuck both into a regular envelope for a surprise inside the surprise.
Wax Seals and Finishing Flourishes
If you want one detail that makes mail feel truly special, it is a wax seal. The glossy blob of wax with your initial pressed into it is the closest thing the mail world has to a time machine.
Wax sealing is easier than it looks. You can buy sealing wax beads and a spoon-style melter, or use a glue gun with wax sticks made for sealing.
Drip the melted wax onto the envelope flap — about the size of a quarter — wait two or three seconds, then press your seal stamp firmly into the wax.
Hold for ten seconds and lift straight up. That is it.
A few practical cautions: practice on scrap paper first, because the first seal is always too small or too flat.
Keep the wax away from the address areas so the postal machines can read them.
And if you are mailing internationally, check that your postal service accepts wax seals — most do, but a few prefer a taped flap with the seal pressed onto the tape.
No wax? A pretty sticker over the flap, a strip of washi tape, or even a carefully placed postage stamp across the closure does the same job: it tells the recipient that this envelope was closed with care.
Mailing Your Art: Postage and Practical Tips
All that beautiful work deserves to arrive intact, so here is how to get it safely through the post.
Check the weight. Standard letters can weigh up to one ounce at the basic rate.
If you are sending thick cardstock, several pages, or a wax seal, weigh the envelope on a kitchen scale — a second ounce is a few cents more, and it saves your letter from being returned.
Keep the address readable. This is the one place to prioritize function over art. Dark ink, clear letters, and enough contrast for scanning machines. When in doubt, write the address on a plain label and stick it on.
Flatten bulky items. If you tuck in a photo or a pressed flower, place it flat in the middle of the letter, away from the edges, so the envelope does not bulge and jam the sorting machines.
Send it at the right time. Mail dropped before the last collection of the day starts moving immediately. For birthdays and holidays, send a week early to be safe.
Track the joy. If you want to know when it arrives, write "Happy mail!" on the back flap. Many recipients will text you the moment it lands — which is half the fun.
Conclusion
Snail mail does not have to be a lost art. With a few rolls of washi tape, a stack of envelopes, and the willingness to write an imperfect letter, you can bring real, physical joy to someone's day — and to your own.
Start small. Decorate one envelope this week and mail it to someone you love. Then do another next week. Before you know it, you will have a little circle of mail friends, and your mailbox will start to feel like a place of possibility again.
The revival of snail mail is not about being nostalgic; it is about being present. Every envelope you send says the same thing: you were worth my time, my attention, and a stamp. And that is a message worth sending.