Introduction
There is a jar on your windowsill. It might be a mason jar, or a jam jar with the label long soaked off, and it is full of sea glass you have been carrying home from the beach for years.
Every piece holds a small memory. A gray-blue shard from the trip when it rained the whole week. A green one your daughter found and handed to you like treasure.
For a long time those pieces have stayed in the jar — beautiful, but unworn. You have probably thought, more than once, that you would love to actually wear them.
This guide is written for exactly that wish, and for the total beginner. If you have never wrapped wire around anything in your life, you are in the right place.
Wire-wrapping sea glass is one of the gentlest crafts there is. It needs no kiln, no soldering torch, and no expensive machine — just a few inches of wire, two pairs of pliers, and a piece of glass the ocean already shaped.
Most people finish their first pendant in a single afternoon. It will not be perfect, and it is not supposed to be.
Here is a small question to hold while you read: which piece in that jar would you most want to feel resting against your collar on an ordinary Tuesday?
What Sea Glass Really Is (and What It Isn't)
Real sea glass is ordinary glass that found its way into the ocean and then spent decades being slowly worn down by the surf. That is the whole secret.
Waves roll the glass against sand, pebbles, and other glass. Salt water etches it. Time, measured in years rather than hours, does the rest.
The result is a surface that looks frosted and feels almost soft — like the skin of a peach rather than the slick face of a windowpane. The edges are rounded and irregular, never sharp.
This is why genuine sea glass matters to jewelers. You are not using a manufactured bead. You are wearing a tiny, honest piece of history that the sea finished for you.
Now the part worth knowing before you buy anything. Much of the glass sold in craft stores as sea glass is factory glass tumbled in a machine, sometimes in a rotating drum filled with grit.
It can look lovely, and there is nothing wrong with using it. But it is not the same thing, and the price should reflect that.
How do you tell the difference by touch and by eye? Look at the surface first. Authentic sea glass has a fine, slightly pitted texture that scatters light. Tumbled glass often looks uniformly matte but oddly even, almost powdery.
Then look at the edges. Real sea glass was broken first and smoothed second, so the shape is organic and a little uneven. Factory tumbled glass tends to be uniformly rounded, sometimes nearly identical to its neighbors in the bag.
A third clue is thickness and colour range. Genuine beach finds vary wildly in thickness, and true reds, oranges, and yellows are genuinely rare, because fewer things were ever made in those colours.
If a whole bag of bright red sea glass costs four dollars, you are looking at production glass. That is simply a fact, not a judgment.
Use what you have and love. Just know which one you are wrapping, because the two behave a little differently under wire.
Choosing a Piece Worth Wrapping
Not every piece of sea glass wants to become a pendant, and picking well makes the rest of the process far kinder to your hands.
Start with thickness. Very thin, flat shards are fragile and flex under pressure; very thick nuggets can be heavy and hard to hold. Opt for pieces roughly a quarter-inch thick or a little more.
Think about shape. Rounded triangles, teardrops, and soft ovals are the classic pendant shapes, because wire can follow their curves without fighting them.
Now look for a waist. Run your finger around the piece and feel for a narrowing, a dip, or a groove where the glass pinches in slightly before it widens again.
That little groove is where your wire will sit. It gives the wrap something to hold against, so the pendant stays put instead of sliding loose.
If a piece has a natural notch or a shallow saddle along one edge, even better. Wire loves to nestle into a small dip.
Hold a few candidates up to the light as you choose. Backlit sea glass often shows a soft glow and tiny internal bubbles that disappear in ordinary light.
Finally, pick up your favourites and simply feel which one sits comfortably in your palm. Trust that feeling. Comfortable in the hand usually means comfortable against the skin.
One warm encouragement here: your first piece does not have to be your best piece. A simple, ordinary green shard is a wonderful place to learn.
Supplies You'll Actually Need
The supply list for this craft is short, and most of it lasts for years. You do not need a workbench full of equipment to begin.
Here is exactly what to gather before you sit down:
- Wire. 20- or 22-gauge round or half-round bare copper or silver-plated craft wire. Half-round sits flatter against glass; round is a little easier for a very first try.
- Flat-nose pliers. For gripping, bending, and pressing wire flat against the glass.
- Round-nose pliers. For forming the loop of your bail and any curved shapes.
- Flush wire cutters. For clean cuts that do not leave a sharp point.
- A small file or emery board. For smoothing every cut end of wire.
- A soft cloth. For polishing the glass and wiping away fingerprints.
- An optional jump ring and chain or cord. To finish the pendant into something wearable.
A note on gauge, because the numbers confuse almost everyone at first. The lower the gauge number, the thicker the wire actually is.
Twenty-gauge is sturdy and holds its shape well. Twenty-two-gauge is softer, easier to bend, and gentler on your fingers — a lovely choice for beginners.
Bare copper is inexpensive and develops a warm patina over time. Silver-plated craft wire stays bright but can wear through with heavy handling.
Either one is completely fine. This is a craft for enjoying, not for worrying.
A Quick Word About Comfort and Safety
Wire has a way of leaving sharp little points where you cut it, and those points have a talent for finding skin and sweater cuffs.
So here is the rule to build into your habit from the very first minute: file every single cut end, every time.
Run the file along the tip at a slight angle until you can drag it across your thumb without catching. Once filed, bend that end inward or tuck it down under an existing wrap.
This takes about ten extra seconds per end. It is the difference between a pendant you love and a pendant that scratches.
Work in good light, and keep your cutters pointed away from your fingers. Sea glass is harder than it looks, and wire springs back when you release a bend.
There is no need to be nervous. Just go slowly at the two moments that matter most: cutting and gripping.
Your First Wire Wrap: The Main Technique
This is the style you see most often, and it looks far more complicated than it really is. Read the whole sequence once before you start.
- Measure your wire. Cut roughly three times the length of your piece. If your shard is about one inch long, cut around three inches, then add an inch of slack for mistakes.
- Find the midpoint. Fold the wire in half and pinch the centre firmly so you know exactly where it is.
- Centre it on the front. Hold the piece with its front facing you and lay the bent midpoint across the middle of the glass.
- Cross the wires over the front. Take both tails and bring them down and across the front so they cross over each other in a soft X shape.
- Bring them around and cross behind. Carry each tail around the edge of the glass to the back, then cross them again behind so the piece is held front and back.
- Work the wraps up to the top. Keeping one tail steady, wind the other tail around it in small, neat coils that climb toward the top of the glass.
- Form the neck and bail. When the wraps reach the top, twist the two tails together once, then bend them into a small loop for your chain.
- Trim and file. Cut the working end close to the last wrap, file the tip smooth, and tuck it down flat against the back.
The magic of this wrap is tension. Hold the working wire steadily and pull each new wrap snugly against the one before it.
Do not yank. Firm, even pressure is what you want — think of winding thread onto a spool, not tightening a bolt.
To keep your wraps evenly spaced, push each new coil gently up against the last one, then glance at the gap before you add another.
If a gap opens up, unwind a single wrap, slide it back into place, and try again. Nobody is watching, and wire is forgiving.
Cushion the glass with your fingers as you work, so the pliers never press directly against a fragile edge.
The Two-Minute Cage Wrap for Absolute Beginners
If the main technique feels like a lot for a first attempt, start here instead. This version is almost impossible to get wrong.
It uses a longer piece of wire and forms a loose, airy cage around the glass rather than a tight neck. The result is soft and a little rustic, which most of us happen to love.
- Cut a piece of wire about five times the length of your shard.
- Leave one tail hanging and lay four even strands across the front of the glass, fanning them out so they cross near the centre.
- Gather all the strands at the top of the piece and twist them together into a single neat stem.
- Bring the stem back down behind the glass, loop it once, and bring it up again to the top.
- Twist the very ends into a small loop for your bail, then file the tip smooth.
Because the wires cross the front, the glass is cradled rather than gripped, which is very forgiving of an uneven or slippery shape.
The cage wrap also works beautifully on smooth, glassy pieces that would let a tighter wrap slide.
Your first try might look a little messy where the strands gather at the top. That is completely normal, and a tiny bead or a tight twist hides it neatly.
Finishing Your Pendant
Finishing is short, but it is what turns a wrapped piece of glass into jewelry you can actually wear out of the house.
First, trim the working wire close to the last wrap, leaving just a small tail. File the cut end smooth, then tuck it down and press it flat against the back.
If you like, gently work-harden the piece by pressing the wraps lightly with your flat-nose pliers. This stiffens the wire so it holds its shape longer.
Be gentle here. You are firming the wire, not squeezing the glass.
A quick polish with your soft cloth lifts fingerprints and brings out the frosted glow that made you love the piece in the first place.
Then add the jump ring. Open it by twisting the two ends sideways, never by pulling it apart, and slide it through your bail.
Thread it onto a chain, a leather cord, or a length of waxed cotton, and you are done. Hold it up and look at it.
That is a piece of sea glass you have been saving for years, and now it is something you can wear. Small win — take a quiet moment with it.
Design Variations to Grow Into
Once you can wrap one piece confidently, the same few skills open up a surprising number of projects.
For earrings, find a matched pair of small shards of similar weight and colour, then wrap each one in exactly the same way.
Tiny differences between two wraps are far more noticeable side by side, so measure your wire lengths for both pieces before you cut anything.
For drilled pieces, you can skip the wrap almost entirely. A bead cap placed over the drilled hole, plus a simple wire loop, makes a clean and elegant pendant.
This style suits thicker, chunkier nuggets that are hard to wrap, and it is a lovely way to use a piece with an awkward shape.
A flatter shard can also be wrapped against a backing — a thin piece of leather, a small wooden disc, or even a second piece of glass.
Wires run over the front and behind the backing, sandwiching the glass so it cannot move. The result feels sturdier than a free wrap and is ideal for clumsy pockets.
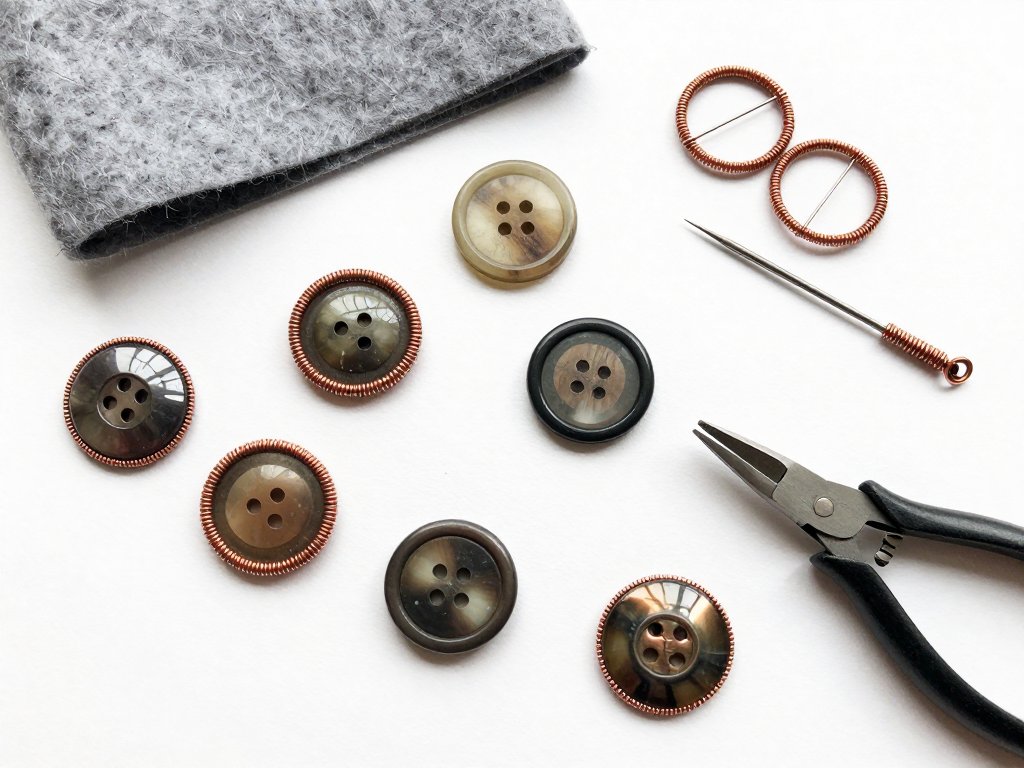
If you enjoy turning small found objects into wearable pieces, you will likely also love upcycled button jewelry, which follows the same gentle instinct in a different direction.
When Things Go Wrong: Four Common Problems
Every beginner runs into the same handful of snags, and each one has a simple fix. Here are the four you are most likely to meet.
The Wire Keeps Slipping Off a Smooth Shard
Smooth, glassy surfaces give wire nothing to grip against. Look for a piece with a waist or a notch, or add one small hidden wrap around the widest point first.
A tiny dot of clear craft glue under the first crossing also helps the wire stay in place while you work.
The Wraps Loosen Over Time
Loose wraps usually mean the wire was not pulled snug at the start, or the finished piece was never work-hardened.
Re-tighten by pressing each wrap down firmly with flat-nose pliers, then work-harden the whole neck with small, gentle squeezes.
The Glass Chips at a Sharp Edge
Sharp edges spell trouble, so avoid them before you even begin. Turn the piece in your hand and set aside anything with a fresh, cutting edge.
If a chip appears during wrapping, stop and file the spot smooth with your emery board before continuing, so it cannot catch on fabric.
The Wire Looks Tarnished or Dull
Copper darkens naturally, and silver-plated wire can lose its shine with handling. A quick rub with a soft cloth often restores most of it.
If you want to slow the change, keep finished pieces in a small airtight bag when you are not wearing them.
None of these problems mean you did anything wrong. They are simply the shape of learning a hands-on craft.
A Gentle Note on Sourcing Sea Glass
Beachcombing is one of the quietest pleasures of this hobby, and a little etiquette keeps it that way.
Only take glass from beaches where collecting is allowed, and take a few pieces rather than a whole pocketful. Leave the rest for other hands and other days.
Stay off fragile dunes, and never dig into the bank. Most genuine sea glass sits in the loose, tumbled line just above the tide mark.
Go after a storm. Fresh weather stirs the shallows and often turns up pieces that have been buried for months.
As for the tumbled-glass substitute, remember the three tells: an unnaturally even surface, uniformly rounded edges, and worryingly cheap bright colours sold in bulk.
Buy it if you love it, by all means. Just know what you are holding, and let real beach finds keep their special place in your jar.
Conclusion
Your first wrapped pendant will be a little uneven. The neck might lean, or one wrap might sit wider than all the rest.
Please do not let that dim it. Wire-wrapping is one of those crafts where the imperfect pieces often end up being the ones you reach for most.
You are also learning a skill your hands will simply remember. The second pendant is faster, and the third is faster still.
So pick a piece this week — one you have been quietly saving without quite knowing why. Wrap it slowly. Wear it out into the world.
And here is a last gentle question: when you look down at that little frosted shard on its chain, what summer do you see?
For your next small project, try wrapping a matched pair for earrings, or turn a handful of plain stones into a simple keyring charm for a friend.
Whatever you make next, keep it calm and keep it yours. The jar will still be there, and so will the beach.