Introduction
There is something magical about a knitting project that feels both fresh and familiar at the same time.
Scarflettes have been making their way across fashion runways and craft fairs alike, and for good reason.
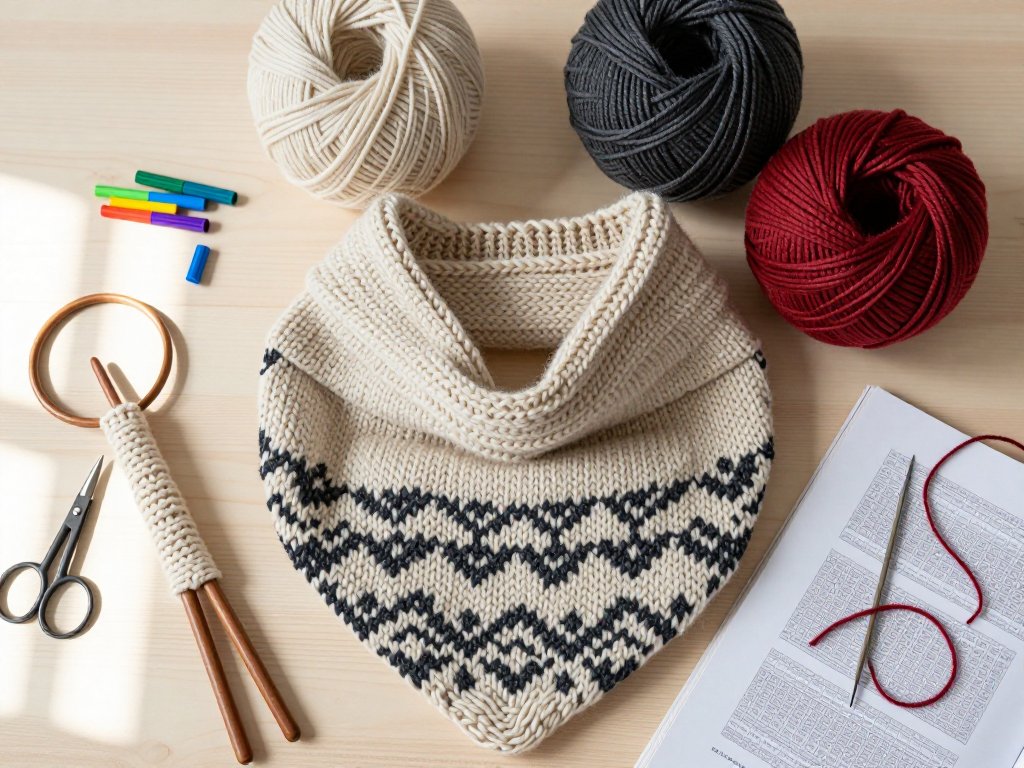
These charming hybrids — part scarf, part bolero — drape beautifully over the shoulders and keep you warm without the bulk of a full cardigan.
Best of all, they work up quickly, making them a satisfying weekend project for knitters of all skill levels.
Whether you are new to knitting or have been filling your stash bins for years, scarflettes offer a delightful way to try something modern while using techniques you already know.
In this guide, we will explore the history behind this trending garment, walk through the knitting process step by step, and share tips for customizing your scarflette to match your personal style.
A Brief History of the Scarflette
To understand the scarflette, it helps to look back at how fashion accessories have evolved.
The bolero jacket has roots in Spanish matadors' short, open-front jackets from the 18th century, later adapted by women's fashion in the early 1900s as a dainty shoulder covering.
Meanwhile, the scarf — a timeless staple across cultures for warmth and decoration — has been knitted for centuries in countless variations.
The scarflette as we know it today emerged from the growing maker movement of the early 2010s, when knitters began experimenting with hybrid designs that maximized warmth while minimizing yarn usage.
Online communities on Ravelry and Pinterest popularized the term, and by the mid-2020s, scarflettes had become a certified trend, appearing in boutique collections and handmade marketplaces across the country.
What makes the scarflette so appealing, particularly for modern knitters, is its clever construction. Unlike a traditional scarf that wraps solely around the neck, a scarflette incorporates short sleeves or armholes that hold the piece in place.
This means it stays put as you go about your day — no constant readjusting or retying.
It is fashion meets function, knitted in one satisfying package.
Understanding Scarflette Construction
Before picking up your needles, it helps to understand the basic anatomy of a scarflette. Most designs fall into one of two categories: the wrap style and the pullover style.
Wrap-style scarflettes are worked as a wide rectangle that wraps around the shoulders and fastens at the front with a button, brooch, or simply by crossing the ends. This is the most beginner-friendly option, as it involves simple shaping and no armholes.
Pullover-style scarflettes include arm openings, either worked as part of the piece or seamed after knitting separate sections. These fit more securely and feel closer to wearing a short cardiwrap. They require a bit more shaping but are still well within reach for an adventurous beginner.
Both styles share the same basic principle: a generous width at the back that tapers or remains consistent toward the front edges, creating a cozy drape.
The typical scarflette measures about 14 to 18 inches wide at the center back and 20 to 30 inches across from edge to edge, depending on your desired coverage.
Choosing the Right Yarn and Needles
The beauty of scarflettes is that they showcase yarn beautifully. Because the piece sits close to the face, choosing a soft, non-itchy yarn matters. Here are some excellent choices for your first scarflette:
Bulky weight yarn is the most popular choice for scarflettes, and for good reason. It works up quickly, provides substantial warmth, and creates lovely drape.
Lion Brand Wool-Ease Thick & Quick, Bernat Blanket, and Cascade Yarns Magnum are reliable options that come in a wide range of colors.
A bulky scarflette can be finished in a single weekend, often using just two to three skeins.
Worsted weight yarn gives a finer, more delicate fabric. It takes a bit longer to knit but offers more stitch definition, making it ideal if you want to showcase a textured pattern like cables or seed stitch.
Malabrigo Worsted and Knit Picks Swish Worsted are luxurious choices that feel wonderful against the skin.
Superwash wool is a practical choice for everyday wear since it can be machine washed and dried without felting. Many knitters prefer superwash for scarflettes intended as gifts or for busy moms who do not have time for hand-washing.
For needles, follow the recommendation on your yarn label. Bulky yarns typically call for US size 10 to 11 (6 to 8 mm) needles, while worsted weight uses US size 7 to 8 (4.5 to 5 mm).
Many knitters enjoy using circular needles even for flat knitting, as the cable holds the weight of the project more comfortably than straight needles.
Essential Tools and Notions
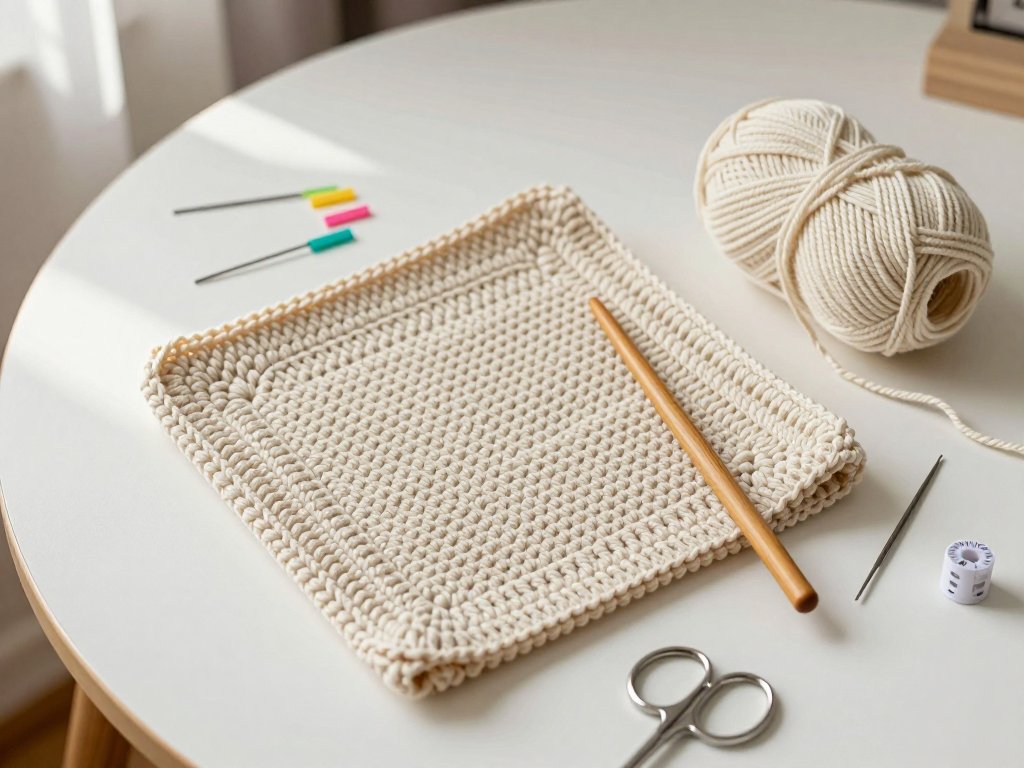
Beyond yarn and needles, you will need a few basic supplies to complete your scarflette:
- Stitch markers to track pattern repeats or armhole placement
- A tapestry needle for weaving in ends
- Measuring tape to check your gauge and dimensions
- Scissors, of course
- One or two buttons if your design calls for a front closure
That is really all you need. One of the joys of scarflettes is their simplicity — they do not require specialized equipment or complicated notions.
Getting Started: Gauge and Sizing
Like any knitted garment, gauge matters for scarflettes. Take a few minutes to knit a swatch in your chosen stitch pattern, then measure how many stitches and rows you get per four inches.
Compare this to your pattern's recommended gauge. If your stitch count is higher, try larger needles.
If it is lower, go down a needle size.
Most scarflette patterns are forgiving when it comes to sizing. Unlike a fitted sweater, scarflettes are meant to drape loosely, so a few stitches difference in gauge will not ruin the project.
That said, checking your gauge ensures your finished piece will have the intended dimensions and will use the right amount of yarn.
For a typical adult scarflette, expect to cast on between 60 and 100 stitches for bulky weight yarn, depending on your desired width and the stitch pattern.
The piece is usually worked flat from one front edge, across the back, and to the other front edge, or in two pieces seamed at the center.
Knitting Your First Scarflette: Step by Step
Let us walk through a basic wrap-style scarflette pattern that you can customize as much as you like.
Step 1: Cast On
Using your chosen yarn and needles, cast on 80 stitches (adjust for your gauge and desired width). The long-tail cast-on method works beautifully here — it is stretchy enough to keep the edge from curling but stable enough to hold its shape.
Step 2: Work the Body
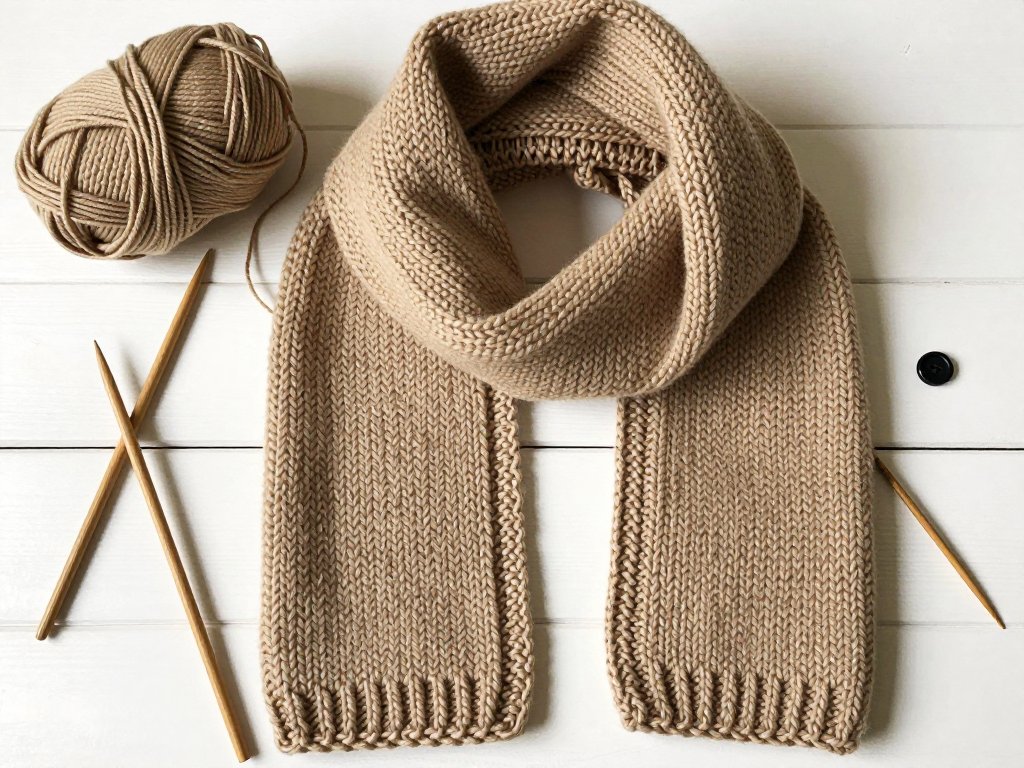
Knit every row in garter stitch until the piece measures approximately 24 inches from the cast-on edge.
Garter stitch creates a lovely squishy fabric that lies flat without curling, making it an excellent choice for beginners.
If you prefer a more polished look, try stockinette stitch with a seed stitch border on each side to prevent rolling.
Step 3: Shape the Back
Once the body reaches your desired length, you will work short rows or simple increases to create extra width across the back shoulders.
This is what gives the scarflette its distinctive drape. For a beginner-friendly approach, simply knit an additional 4 to 6 inches on the center 40 stitches, leaving the remaining stitches on a holder or spare needle.
This creates a subtle back panel that helps the scarflette sit beautifully on your shoulders.
Step 4: Complete the Second Side
Continue knitting for another 24 inches, matching the first side. Bind off loosely — a stretchy bind-off like Jeny's Surprisingly Stretchy Bind-Off works well here to keep the edge from being too tight.
Step 5: Finishing
Weave in all ends with your tapestry needle. Block the piece gently by soaking it in lukewarm water, pressing out excess moisture with a towel, and laying it flat to dry. Blocking opens up the stitches and gives your scarflette a professional, polished appearance.
If you want to add a closure, sew a button onto one front edge and create a simple button loop on the other. Alternatively, a decorative shawl pin or brooch can fasten the scarflette without any sewing at all.
Stitch Patterns That Shine on Scarflettes
Once you have mastered the basic garter stitch scarflette, consider experimenting with different stitch patterns. Each creates a distinct look and feel:
Seed stitch creates a textured, pebbled surface that lies perfectly flat and looks equally lovely from both sides. It is ideal for scarflettes meant to be reversible.
Moss stitch is similar to seed stitch but with a longer repeat, producing a slightly different texture. It is another excellent choice for reversible designs.
Ribbing — knit 2, purl 2 ribbing creates a stretchy, form-fitting fabric that hugs the shoulders comfortably. It works particularly well for pullover-style scarflettes.
Simple lace patterns like feather and fan or eyelet rows add an elegant touch without being overly complicated. These are wonderful for scarflettes intended as dressy accessories or gifts.
Cables might sound intimidating, but a single centered cable panel on a garter stitch background is surprisingly manageable and creates a stunning focal point. Try a six-stitch cable crossed every eight rows for a classic look.
Customizing Your Scarflette
One of the greatest joys of knitting your own scarflette is the ability to make it truly yours. Here are some ideas for adding personal touches:
Color blocking — Use two or three complementary colors in stripes. A scarflette is small enough that even one skein of a luxury yarn becomes affordable, making it a perfect canvas for playing with color.
Tassels or fringe — Add a playful touch by attaching tassels or fringe to the edges. This works especially well on wrap-style scarflettes.
Embellishments — Sew on buttons, beads, or even small embroidery motifs after the piece is finished. These details make the scarflette feel boutique-worthy.
Mixing textures — Combine a smooth yarn with a brushed or bouclé yarn for interesting textural contrast. Just be sure both yarns are the same weight so the gauge stays consistent.
Caring for Your Scarflette
To keep your scarflette looking its best, follow the care instructions on your yarn label.
Most superwash wools and acrylic blends can be machine washed on gentle and laid flat to dry.
Hand-dyed or delicate natural fibers should be hand washed in cool water with a gentle wool wash like Eucalan or Soak, then rolled in a towel to remove excess moisture before laying flat to dry.
Store your scarflette folded, not hung, to prevent stretching. A cedar block in your drawer will help keep moths away if you used natural animal fibers.
Why Scarflettes Make Wonderful Gifts
If you are looking for a handmade gift that feels special without requiring months of work, the scarflette is an ideal choice.
It works up quickly enough that you can knit several in a season, yet it looks thoughtful and fashionable.
Pair a neutral-colored scarflette with a handwritten care card, and you have a gift that shows how much you care.
Scarflettes also make excellent projects for craft fairs and holiday bazaars. Their small size means you can produce multiple items from a single yarn order, and their trendy appeal draws shoppers who appreciate handmade accessories.
Many knitters find that scarflettes sell well because they fill a niche between scarves (which everyone has) and shawls (which can feel old-fashioned to some).
The Environmental Benefits of Knitting Small
There is something deeply satisfying about a project that uses just two or three skeins of yarn.
Scarflettes are inherently sustainable — they require less material than sweaters or cardigans, produce minimal waste, and encourage mindful making.
By choosing natural fibers like organic wool or recycled cotton, you can create a garment that is as kind to the planet as it is beautiful to wear.
For knitters who enjoy using up stash yarn, scarflettes are a wonderful way to transform partial skeins into something useful. Because the project is small, you can combine leftover yarns in creative ways without worrying about running out midway through.
Conclusion
Scarflettes represent everything we love about modern knitting: they are quick, stylish, practical, and deeply satisfying to make. Whether you knit your first one in a simple garter stitch or challenge yourself with cables and lace, each scarflette you create becomes a wearable reminder of your creativity and skill.
The next time you find yourself with a free weekend and a skein of beautiful yarn, cast on a scarflette. You might just discover your new favorite project — one that keeps you warm, expresses your style, and brings a touch of handmade charm to every outfit you wear.