Introduction
Paper clay behaves differently from the clay most of us learned on. It is a clay body with cellulose fibre stirred through it — paper reduced to pulp — and that fibre quietly changes how the material moves, dries and carries weight.
The first difference you notice is weight. A form built from paper clay can stand at a size that would sag under ordinary clay, because the fibre holds the mass the way straw holds a mud brick together.
The second difference is the knife. Once dry, paper clay carves cleanly. Edges stay crisp, incised lines hold their shape, and a surface can be sanded smooth instead of crumbling away under your fingers.
This guide is about the material itself: what the pulp does to clay, how to mix it, how to build a hollow form around an armature, how to dry it without cracks, and what your choices are at the end.
If you have worked with air-dry clay before, some of the handling will feel familiar. The fibre, though, is doing real structural work, and learning to read it is most of the craft.
What the Pulp Changes
Clay alone is a dense stack of platelets held together by water. Wet, it is plastic but heavy, and it has almost no tensile strength — pull it and it tears. Paper fibre gives it a skeleton.
That skeleton is what potters call green strength: the ability of an unfired, still-damp piece to hold itself up and survive being moved. With fibre in the body, a wall can be handled far earlier than it could be in plain clay.
Green strength also changes how you build. You can work taller, thinner and more open, because the piece is no longer relying solely on the stiffness of damp clay to stay upright between sessions.
Then there are the joins. Ordinary clay joins best when both parts are at the same stage of dryness, which is why so much pottery instruction circles around leather-hard timing. Paper clay loosens that rule considerably.
Wet clay pressed onto a bone-dry paper clay surface will hold, because the fibres from both sides tangle across the seam and the dry piece draws moisture in locally rather than pulling away.
Shrinkage drops too. Cellulose fibre takes up volume that would otherwise be water and fine clay particles, so the piece has less to lose as it dries and less to move as it goes.
Cracking follows shrinkage, which is why paper clay is so forgiving on forms that would split in a conventional body. Less movement at the surface means fewer torn seams and fewer stress cracks around armatures.
Thin walls can stand unsupported. A paper clay slab the thickness of a coin will hold a curve while it stiffens, where the same slab in stoneware would slump into a fold within minutes.
Finally, the fired result. The paper burns away in the kiln and leaves a network of fine pores behind. The piece comes out noticeably lighter, more porous, and with a warmth that glaze sits on differently.
That porosity is a genuine trade-off, not a bonus. A more open body is less dense, so it chips where a vitrified stoneware would shrug the knock off. It is light, but it is not tough.
Making Your Own Paper Clay
You need three things: paper, water and clay slip. Slip is simply clay powder or broken dry clay mixed with water to the consistency of thick cream. Any mid-range clay body will do — a smooth grogged stoneware or a low-fire earthenware both work.
For the paper, newspaper is the classic choice. Use the ordinary black-and-white pages and skip the glossy inserts, which carry coatings that do not break down properly. Unprinted toilet paper works beautifully and saves the shredding.
Ratios are best kept as proportions rather than formulas. A workable starting point is roughly one part squeezed-out pulp to two parts clay slip by volume, then adjust until the mixture feels right in your hands.
More pulp gives a lighter, softer, more carvable body that holds fine detail but sacrifices some strength. Less pulp gives a denser, more plastic clay that behaves closer to the original material.
The blender method is fastest. Tear the paper into small pieces, cover it with warm water, and blend in short bursts until the fibres separate into a soft, even mash. Let it stand a few minutes so the water soaks through.
Strain the pulp through a sieve or a square of cotton cloth, pressing out the excess water until it holds together in a damp handful and no longer drips freely.
The bucket method suits larger batches. Tear the paper, cover it generously with water, and leave it overnight. The next day, work it with your hands or a sturdy stick until it breaks down, then strain it the same way.
Some makers add a spoonful of vinegar or a pinch of salt to the soaking water to slow spoilage. It is not essential, but it helps if you plan to store pulp for a while before mixing.
To combine, break the slip into lumps in a wide bucket, add the strained pulp, and mix by hand. Expect it to feel lumpy at first and to come together as the fibres distribute through the clay.
You are aiming for the consistency of stiff butter. It should hold a thumbprint, pull away from your fingers cleanly, and feel slightly springy rather than slick.
If the mix is too wet, spread it on a plaster bat or a thick towel and let it stiffen, turning it occasionally. If it is too dry and crumbly, add water a spoonful at a time and wedge it through.
Wedge the finished body thoroughly, folding and pressing until the fibre is evenly distributed. Uneven mixing shows up later as weak patches that tear under a tool.
Store paper clay sealed in a plastic bag or a lidded bucket, pressed down to exclude air pockets. Kept cool and damp, it holds for weeks and often improves, as the fibre continues to soften into the clay.
Buying It Ready-Made vs Mixing Your Own
Ready-made paper clay arrives screened and consistent. The fibre is evenly distributed, the body is a known quantity, and the manufacturer has already solved the ratio problem for you. That consistency matters when you are learning to read the material.
The cost per weight is higher than mixing your own, and you are limited to the bodies someone else chose to make. But one bag is a sensible first purchase: it gives you a reference point for what the mixture should feel like.
Mixing your own is cheaper, endlessly adjustable and genuinely satisfying. It also introduces variables — your paper, your water, your clay — which can be charming in a sculptural body and maddening when you want repeatable results.
A practical middle road: buy a bag to learn on, then mix your own once the feel is in your hands. Keep notes on your ratios so a good batch can be repeated.
Building a Form That Stands
Paper clay will hold more than plain clay, but it still needs structure where the shape is open, thin or tall. An armature supplies that structure cheaply, and its weight does not end up in the finished piece.
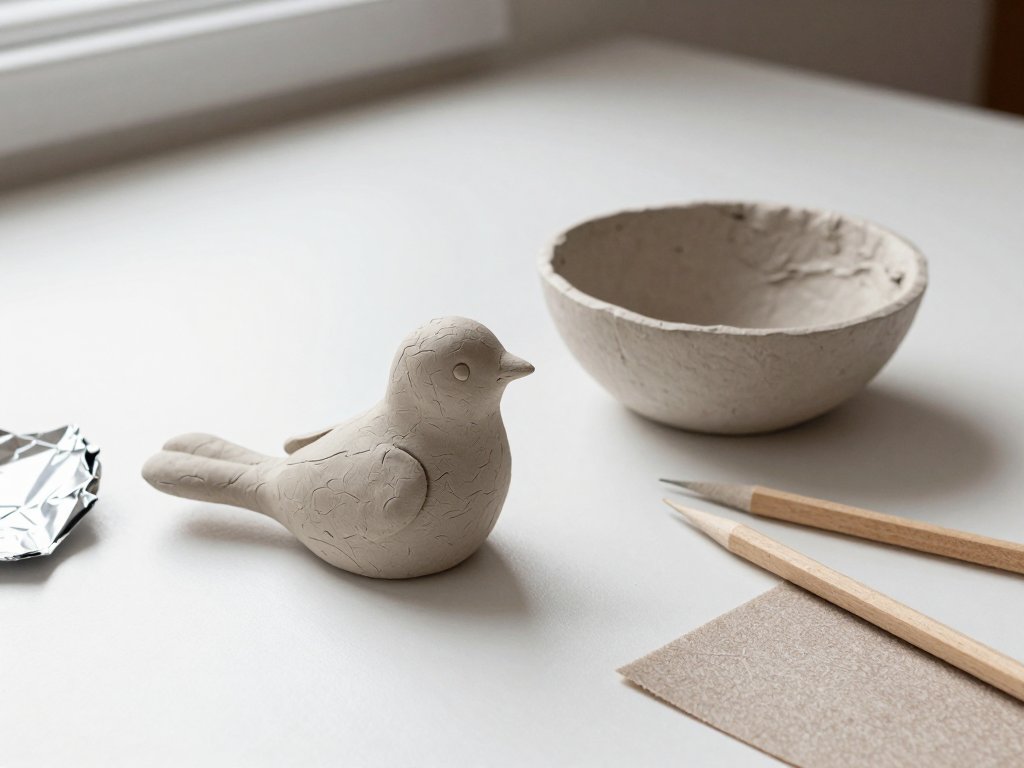
Aluminium foil is the most useful armature material for small sculpture. Scrunched into a firm ball or a rough limb, it is light, rigid enough to support clay, and it grips the body so the clay does not slide.
Foil also saves time in the drying. A solid clay core would take days to stiffen; a foil core means the clay is only ever a shell, so the piece firms up quickly and evenly.
Wire works for the slender parts. Thin aluminium or galvanised wire bent into a spine will carry a neck, a stem or a raised arm where clay alone would droop before it stiffened.
Newspaper and cardboard fill larger volumes. Crumpled newspaper packed into a torso shape, taped to hold, gives you a light core that the clay can be laid over in sheets.
Whatever you build with, keep it smaller than the finished form. The clay layer sits outside the armature, so the armature should be the size of the piece minus its wall thickness.
Keep walls even. A wall that runs from thick to thin dries unevenly and will find the difference later, usually as a crack along the boundary. Consistency matters more than any particular thickness.
For a hand-sized piece, a wall around the thickness of a pencil is comfortable: strong enough to handle, thin enough to dry in a few days and light enough to feel like paper clay should.
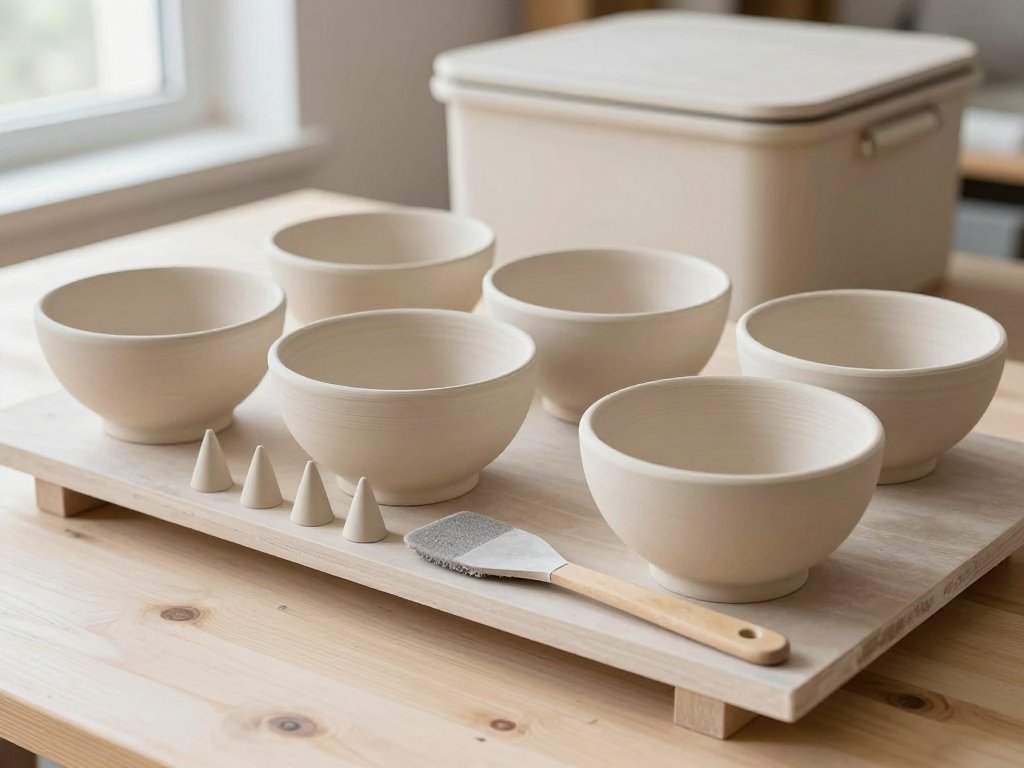
Not every form needs an armature. Solid-built pieces, small animals, pinch-built vessels and shallow reliefs can be worked directly, and open bowl shapes often stand on their own once the walls are even.
The test is simple. If the wet form sags when you lift the support away, it needs structure. If it holds its profile with a slight wobble, it will almost certainly carry itself once it stiffens.
Joining Wet to Dry
This is where paper clay earns its reputation. In ordinary clay, joining wet to dry is a gamble. In paper clay, it is a technique you can rely on, because the fibre crosses the seam and locks the two parts together.
The method is the familiar one, done with more confidence. Score the surface you are joining to, dampen it lightly, and press the new piece on with firm, even pressure.
Score with a fork, a needle tool or the tip of a knife — something that raises a rough texture rather than polishing the surface. Fibres need something to grab.
Use paper clay slip as the glue. It can be made from the same body thinned with water, and it should be thick enough to sit on the surface rather than run off it.
Dampen, but do not flood. A dry piece will pull water out of the slip quickly, which is helpful, but soaking the whole area softens clay you wanted to keep firm.
Press the join and hold it for a moment, then work the seam with a tool to blend the two surfaces. A finger wrapped in a plastic bag gives a smooth, controllable pressure.
Leather-hard patching is straightforward. Dampen the area, add a patch of soft paper clay, press it in, and blend the edges while the piece still has some give in it.
Bone-dry repairs are the real advantage. A dried piece can be dampened locally, patched, and left to dry again, and the repair usually disappears once sanded — something plain clay will not allow.
Cracks get the same treatment. Work paper clay slip into the crack with a tool or your thumb, pushing rather than smearing, then let it dry and sand the surface back level.
For a crack that runs deep, open it slightly with a knife first so the slip can reach the full depth. A shallow smear over a deep crack will simply open again as the piece dries.
Working the Surface
Paper clay takes texture beautifully while damp. The fibre gives the surface a slight tooth, so cloth, string, leaves, carved wooden stamps and the end of a rib all leave a clear impression.
Press texture in early, while the clay is soft, and do not fuss over it. Paper clay records pressure directly, including the pressure of hesitation, so decisive marks read better than cautious ones.
At leather-hard, the material carves. Knife lines come away cleanly, edges hold, and you can cut facets, incise patterns or shave a form down to a sharper profile without the surface tearing.
This is the stage for refinement: trimming a base flat, thinning a rim, defining a beak or an ear, or cutting a hollow into a solid form. The clay holds its shape while you cut.
Once dry, paper clay sands. Fine paper, light pressure, and a damp cloth to clear the dust will give you a smooth, almost wooden surface that takes paint and gesso evenly.
Wear a dust mask for sanding, and work outside or with a window open. Clay dust is a respiratory irritant, and the fine particles that make a good finish are exactly the ones worth not breathing.
The fibre itself can be a finish rather than a flaw. Left unsanded, it reads as a soft grain across the surface, which suits sculptural work and takes a wash in a way smooth clay does not.
Drying Without Cracks
Even thickness is the single most important drying rule. Thick sections hold water longer than thin ones, and the difference in shrinkage between them is what opens a crack.
Dry slowly, under plastic. A plastic bag, a lidded box or a sheet of polythene draped over the piece slows the loss of moisture at the surface, which is where cracks begin.
Vent gradually. Open one corner of the bag on the first day, a little more on the second, and remove it once the surface has lost its cool, damp feel.
Thin sections dry first, always. Edges, rims and projecting details give up their water before the mass of the body, which is why they are the places to check for early strain.
Turn hollow forms. A bowl or a vessel sitting on its base traps moisture underneath, so flip it onto its rim once it is firm enough to handle, and rotate it every day or so.
Keep pieces away from radiators, direct sun and draughts. All three pull moisture out of one face faster than the rest, and an uneven pull is the same as an uneven wall.
Expect days, not hours. A hand-sized piece may be dry in three or four days; something with a thick base or a heavy join can take a fortnight, and there is no shortcut that does not cost you the surface.
Firing, or Finishing It as Air-Dry
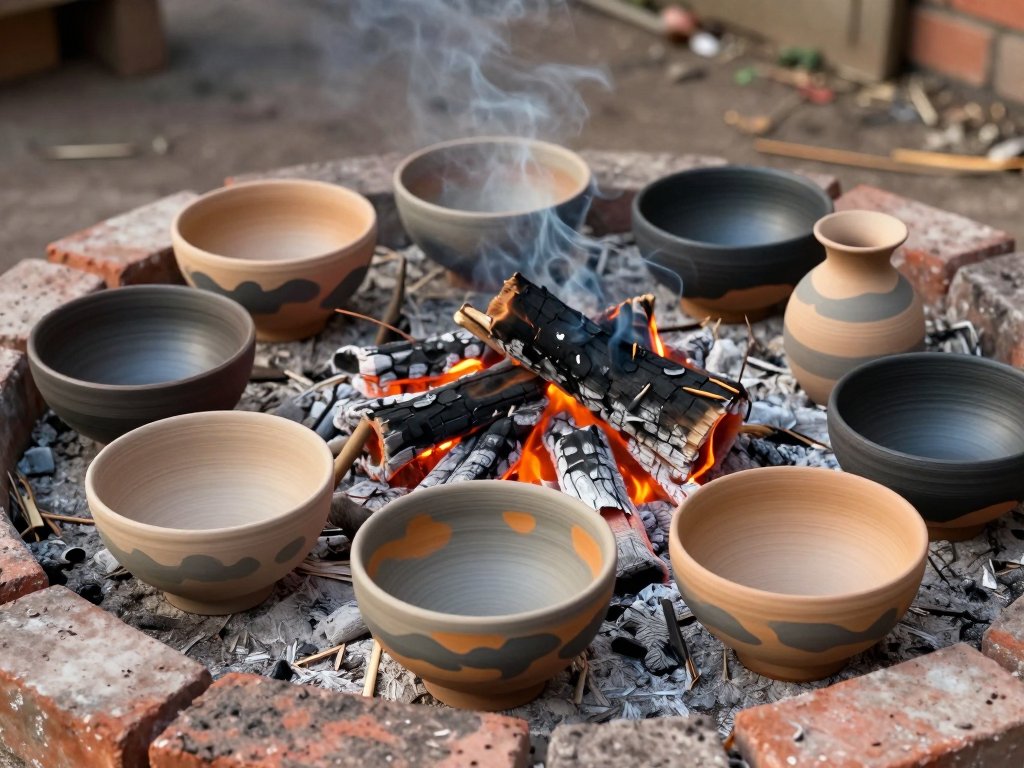
Paper clay can be fired, but it asks for patience. The paper burns out somewhere in the early part of the firing, and that burning produces smoke and gas that must be able to leave the kiln.
Go slowly and vent. A first firing needs a long, gentle climb through the low temperatures, with the kiln lid or bungs open so the combustion gases escape rather than being trapped in the body.
Some potters hold the kiln at a low temperature for an hour or more before climbing, giving the paper time to burn away completely before the clay begins to densify around it.
Fire too fast and you risk more than a smell. Trapped carbon can blister a surface, and a body still releasing gas while it sinters can crack from the inside out.
After firing, the piece is light and porous, with a fine open texture. It takes glaze, though a very open body may need a little more glaze to close the surface, and it will not be as dense as stoneware.
The alternative is to leave it unfired. Sealed and painted, a paper clay piece is a legitimate finished object: light, carvable, and easy to repair, with a softness that suits decorative work.
The trade-offs are worth naming. Unfired, it is fragile, not watertight and not food-safe. Fired, it is durable enough for display but still more porous and more brittle than a vitrified body.
If your instinct is toward decorative objects rather than vessels, the uncooked route is often the more sensible one, and there is a whole tradition of air-dry clay decor for simple home projects, described in the site's guide to air-dry clay home decor, built on that same patience with a soft material.
The difference is in the fibre. Plain air-dry clay holds a shape by density; paper clay holds it by structure, which is why it will stand thinner, weigh less and take a patch after it has dried.
Finishing Touches
Gesso is the best foundation for unfired paper clay. Two thin coats, sanded lightly between, seal the porous surface and give paint something to sit on rather than sink into.
Acrylic wash is made for this surface. Thin the paint well, brush it on, then wipe it back so it settles into the fibre and the tool marks, leaving the raised areas lighter.
Wax gives a soft, matte sheen and a slightly deepened colour. A neutral furniture wax buffed with a cloth suits sculptural pieces and feels good in the hand.
A matte varnish is the practical choice for anything that will be handled or dusted. Two thin coats, fully dried between, keep the surface from picking up marks without making it look plastic.
Troubleshooting
Most problems with paper clay trace back to moisture, ratio or timing, and most of them are fixable on the piece or in the next batch.
- Cracks at joins: usually too little slip or too fast a dry. Re-slip the seam, press it, and slow the drying under plastic.
- Sagging walls: the body is too wet or the wall too thin for the height. Let it stiffen, add an armature, or build in two stages.
- Crumbly texture: too much pulp, or pulp that was not broken down. Wedge in more slip and let the batch rest a day.
- Mould on stored pulp: cut it away, rinse the rest, and add a splash of vinegar. Store pulp damp, not soaking, and use it within a few weeks.
- A chalky feel when dry: the fibre is under-bound. A coat of gesso or a thin wash of slip will seal it before painting.
None of these ruin a piece permanently, which is part of the pleasure of the material. Paper clay rewards repair in a way that more rigid bodies do not.
Conclusion
Paper clay is a material that asks you to think about structure rather than force. The fibre does the work of holding, and your job is to give it a shape worth holding.
Start small. A hand-sized form, a foil core, an even wall and a week under plastic will teach you more about the body than any amount of reading, and the failures will be small and instructive.
Once you can feel the difference between a mix that is too pulpy and one that is ready, the material opens up: taller forms, thinner walls, joins you would not attempt in plain clay, and surfaces that carry a knife mark like cut wood.
Work slowly, keep your walls even, and let the fibre do what it was added to do. It is a generous material, and it will meet you more than halfway.