Introduction
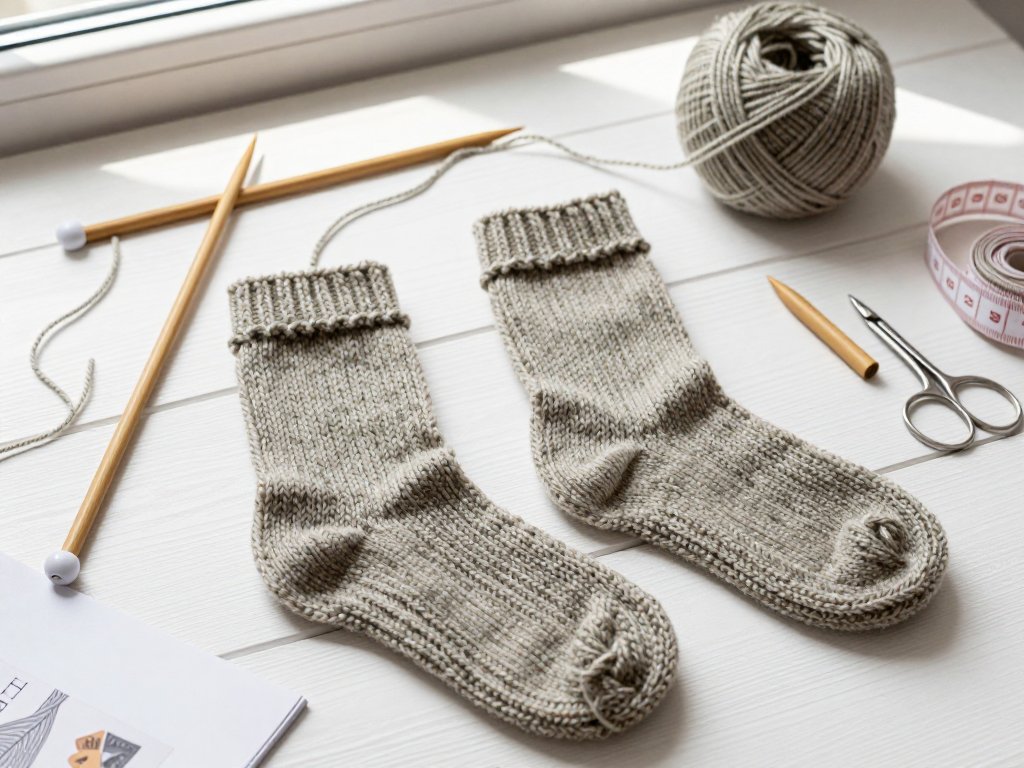
Some of the oldest knitted things in the world are socks. Fragments recovered in Egypt and dated to roughly the third century were knit in a loop, shaped where a heel would fall, with no seam running down the side.
Whoever made them had already worked out the central idea of circular knitting: a tube holds its own shape, so the finished fabric never has to be sewn shut afterwards.
For centuries that meant four or five double-pointed needles held at once, a bristling hedgehog of steel. Which is probably why so many knitters quietly avoided it.
Circular needles changed the arithmetic. Two short tips joined by a flexible cord let you knit a loop of nearly any size, working around the whole circumference or coiling the cord to manage a small one.
What comes off the needles is already finished. No side seams to sew, no edges to mattress-stitch together at the kitchen table once the children are asleep.
Look around a knitter's house and you will find tubes everywhere. All of them are simpler on circulars than on straight needles.
- Hats, from a newborn's first beanie to a folded-brim hat for winter.
- Cowls, which are simply wide, forgiving tubes with no ends to curl.
- Socks and mittens, the small circumferences that started it all.
- Sweater sleeves and yokes, knit in one piece with nothing to sew up.
There is a second, quieter gift. When you work in the round you knit every stitch on every round, so stockinette appears under your hands with no purling to interrupt it.
For a mom who measures her day in twenty-minute pockets, that matters. Circular knitting is one motion, repeated, and easy to set down mid-round.
This guide assumes you have never joined a round in your life. By the end you will have a tube, a marker showing where it began, and an honest sense of why it works.
What Circular Needles Are and How They Differ
Straight needles are two separate sticks. You knit a row, turn the work, knit back the other way, and end up with flat cloth. It is the oldest way to knit, and still right for scarves and blankets.
A circular needle is one tool: two rigid tips, each a few inches long, joined by a thin flexible cord. The stitches travel along that cord as you work around in the same direction.
Double-pointed needles are short, pointed at both ends, and sold in sets of four or five. They are how socks, mittens, and hats were knit for centuries before cords existed.
DPNs still do one thing beautifully, which is very small circumferences like a sock heel or toe. But they take practice, and stitches slide off the spare ends while you learn.
Fixed Circulars and Interchangeable Sets
A fixed circular is exactly what it sounds like: needle size and cord length permanently joined. They are inexpensive, and a single 16-inch US 8 costs less than a skein of good yarn.
An interchangeable set gives you separate tips and cords that screw or click together. You can change needle size mid-project without re-threading anything, which is why sets win for hats and sleeves.
If you are buying your first circular and are not sure you will keep knitting, buy one fixed needle. If you already know you love knitting, a set pays for itself within a year.
Cord Length and Needle Size Are Not the Same Thing
Circular needles are labelled by two measurements. The first is the size of the tips, such as US 8 or 5mm. The second is the length of the whole loop, measured tip to tip.
That cord needs to be slightly shorter than the circumference of the tube you are knitting, otherwise the fabric has to stretch just to reach around the needle.
A 16-inch circular knits a hat brim comfortably. A 24-inch suits a cowl, a sweater body, or a baby blanket. A 32-inch or 40-inch is the length you want for magic loop.
Magic Loop and Travelling Loop
Magic loop is the modern answer to small tubes on one long needle. You use a cord of 32 inches or more and pull a loop of cord out between two stitches, roughly halfway around.
That loop splits your stitches into two halves on a single needle. You knit the first half, slide the second half to the tip, knit it, and repeat.
Travelling loop is the gentler cousin. Instead of one big loop, you pull a small soft loop of cord out at a different spot each round, so the tension never rests in one place.
Both methods work. Magic loop is easier to learn from a photograph, because the loop stays put and your first stitch of each half is always in the same spot.
Choosing Your First Circular Needle
You do not need a drawer of needles to begin. One well-chosen circular and one forgiving yarn will carry you through a hat, a cowl, and the first inch of a sock.
Needle Size
Start with US 7 or US 8, which is 4.5mm or 5mm. It is a comfortable middle ground: big enough to see your stitches, small enough that the fabric is not stiff as cardboard.
Worsted-weight yarn on a US 8 gives you about four and a half stitches to the inch. That is a readable gauge for a beginner, and nearly every hat pattern meets you there.
Cord Length
For a first hat, buy a 16-inch (40cm) circular. Your stitches fill the whole loop and the tube forms itself as you go. For magic loop, buy a 32-inch (80cm).
If the shop only has one length, choose the 32-inch. A long cord can do everything a short one can. It simply asks you to fold it with magic loop.
Material
Needles come in three materials, and each one feels different in the hand:
- Metal. Fast and slick, so the yarn glides along the tips.
- Wood. Warm, with a little grip, the middle ground most beginners settle on.
- Bamboo. The grippiest of the three, so yarn stays put when you set the work down.
Beginners usually prefer wood or bamboo, for a very practical reason: yarn does not slide off them. You can stop mid-round and set the work down without losing stitches.
Metal has its place, and sock knitters love it for speed, but give yourself a few projects on wood before you go looking for drag-free velocity.
Yarn
Worsted or aran weight is the kind choice for a first tube. It shows your stitches clearly, works up in an evening or two, and forgives uneven tension.
Avoid slippery cotton, single-ply silk blends, and anything fuzzy enough to hide its own stitches. Save the hand-dyed laceweight for the year you start knitting socks.
Casting On for the Round
You cast on exactly as you would for flat knitting: a long-tail cast-on onto one needle tip, with all the stitches sitting on the cord. Nothing changes yet.
The Long-Tail Cast-On
The long-tail cast-on makes a firm, even edge with a bit of natural elasticity. Leave a tail about four times the width of your cast-on, then work the familiar slingshot motions.
For 88 stitches on a US 8, that tail is roughly 35 to 40 inches. When in doubt, leave more. Running out of tail with six stitches to go is a lesson you only need once.
Cast on one extra stitch if you plan to use the gap-closing trick below. You will work that extra stitch away as part of the join.
Why You Cast On First and Join Afterwards
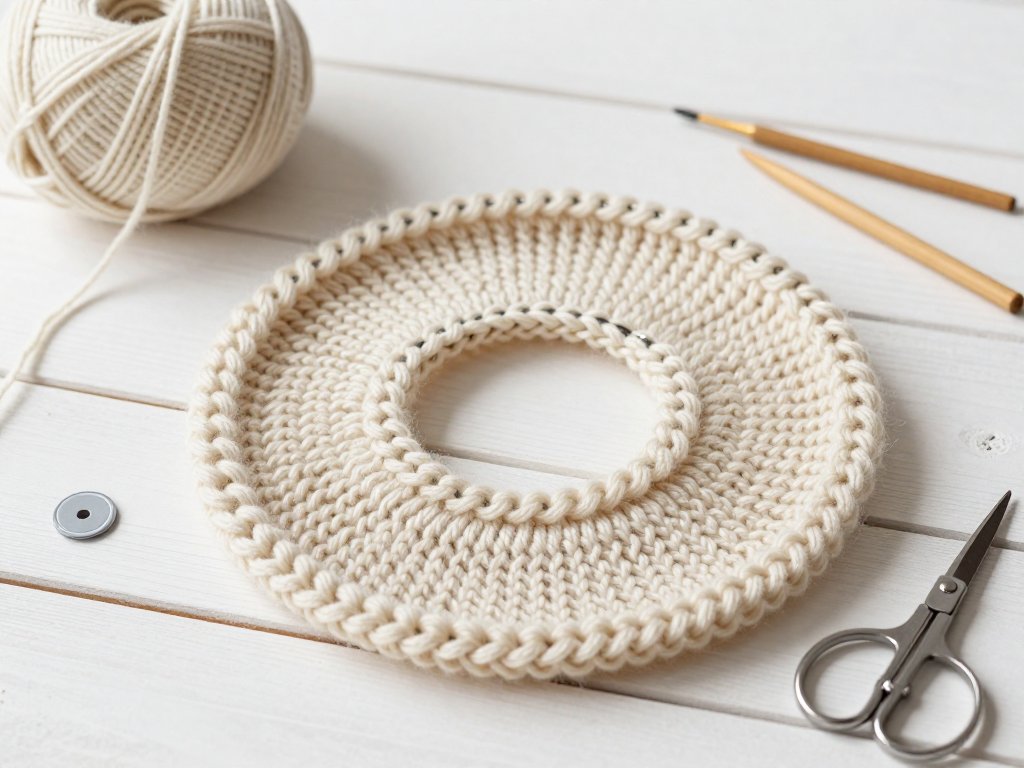
In flat knitting the first row makes the fabric. In the round, the cast-on is simply a line of loops, and the join is what turns that line into a circle.
So the order is this: cast on, lay the work flat on the table, check that every stitch faces the same way, and only then bring the ends together.
Do Not Twist the Cast-On Row
This is the one step worth slowing down for. Lay the whole cast-on flat and run your fingers along the bottom edge, checking that every stitch faces the same direction.
If any section twists, the edge will look like a figure eight and your tube will be a Möbius strip, one permanent twist that no amount of knitting can undo.
The good news is that a twisted join is visible within the first round, so a fresh start costs you five minutes rather than an evening.
Joining in the Round Without a Gap
Here is the moment everything above has been preparing for. You have a line of stitches, and now you make it into a circle.
- Place a stitch marker on the right needle. It sits between the last cast-on stitch and the first, and it will mark the start of every round from now on.
- Bring the two ends of the cast-on together. The first stitch you cast on should sit at the tip of your left needle, the last one on the right.
- Knit the first stitch firmly, then give the working yarn a deliberate tug. That single snug stitch is what stops a gap opening at the join.
- Knit the next two or three stitches a little tighter than usual. Extra snugness at the beginning settles everything that follows.
- Continue around, knitting every stitch, until you meet your marker again. That is one round. The next round is simply a repeat.
The Extra-Stitch Trick
If the join still looks loose, there is an old and very reliable trick. Cast on one more stitch than your pattern calls for, so you have 89 instead of 88.
Slip the extra stitch from the left needle to the right, pass the stitch before it over the slipped stitch, and drop it off the needle.
You have just closed the circle with a stitch, neatly. Now knit that first stitch tightly and carry on. The count is correct again.
Where the Jog Appears
Even a perfect join leaves a small step, called the jog, right where the round begins. A spiral is not a stack of flat rings, so each round starts slightly to the side.
In a single-colour project that jog is nearly invisible. In stripes it shows plainly, which is why sock knitters learn to hide it under a heel or a folded cuff.
Your stitch marker does useful work here because it names the spot. So does the cast-on tail, which hangs at the join and quietly points at the beginning of every round.
Knitting the Body of the Tube
Once you have joined, the rest of the tube is genuinely simple. You knit every stitch, all the way around, for as long as you like. That is stockinette in the round.
Reading Your Work
Stockinette in the round has two faces. The outside shows smooth stacked V shapes; the inside shows rows of little horizontal bumps. The V side is the right side.
If you lose your place, look at the fabric rather than the needle. The V's tell you which side is out, and the marker tells you where the round started.
Keeping Track of the Beginning of the Round
A round marker is non-negotiable on a tube. Without one, a circle of knitting is just a circle, with no natural edge to show where a round ended.
If markers keep sliding off, use a short length of contrasting yarn looped over the needle. It stays where you put it and cannot snag the way a plastic ring can.
Many knitters also keep a row counter on the needle, clicking once each time they pass the marker. It sounds fussy and becomes automatic by the third round.
Why a Gap or Ladder Forms When You Join
The stitches right after a join have no neighbours pulling sideways on them yet, so they loosen. That slack is what shows up as a gap running down the tube.
Two habits settle it. Always knit the first stitch of the round with a firm tug, and on the second round go back and snug up any loose loops with a spare needle tip.
Ladders are a tension problem, not a talent problem. They mostly disappear once your hands relax and your gauge evens out.
Two Simple Projects to Start With
Both projects below are plain tubes. Neither needs a proper pattern, and both finish in a weekend made of small pieces of time.
A Chunky Cowl
This is the gentlest possible first project in the round. A cowl is a wide tube, so the stitches never have to stretch, and there is no shaping at all.
- Cast on 80 to 100 stitches on a US 8 circular with aran-weight yarn. Use the larger number if you want the cowl to loop twice around your neck.
- Lay the cast-on flat on the table, check it for twists, and join in the round with a marker at the beginning.
- Knit every stitch for about 12 inches (30cm), or until the cowl is as tall as you would like it to fold.
- Bind off loosely. Work two inches of knit 1, purl 1 ribbing first if you would like the edges to pull in slightly.
- Weave in the two ends and block the cowl flat on a towel.
That is the whole project. Eighty stitches, one motion, twelve inches of knitting, a scarf with no curled ends and no seam to sew.
A Basic Beanie From a Tube
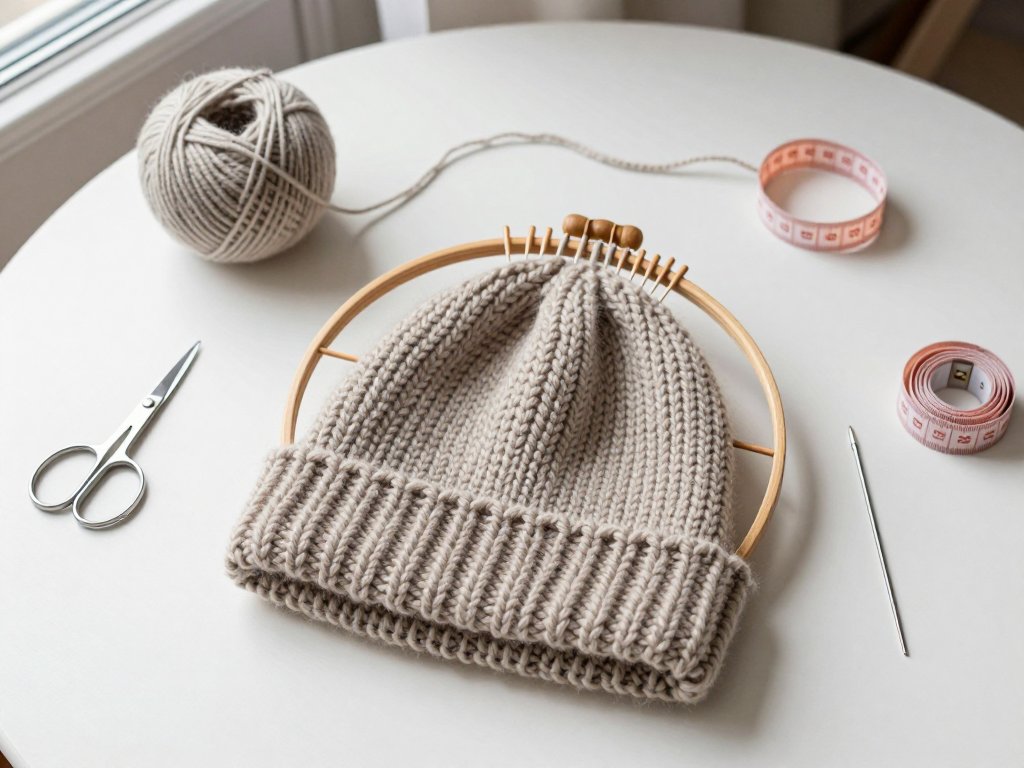
A beanie is the same tube, closed at the top. You knit a straight cylinder to about 7 inches (18cm) of height, then decrease in a spiral until the crown closes.
The decrease to know is k2tog, which simply means knit two stitches together. It turns two stitches into one and leans slightly to the right, exactly what a tidy crown wants.
Work your crown like this, assuming you cast on 88 stitches. On the first decrease round, knit 9 stitches then k2tog, and repeat that all the way around. You now have 80 stitches.
Knit one plain round with no decreases. On the next round, knit 8 then k2tog around, which leaves 72 stitches. Continue, always with one fewer plain knit between decreases.
When you are down to about 16 stitches, cut the yarn with a 6-inch tail, thread it onto a blunt needle, and pass it through the remaining stitches. Pull tight and fasten off inside.
Block the hat over a bowl or an upturned plate so the crown sits round. Fold the brim up twice and the join hides itself under the fold.
Troubleshooting: Six Things That Go Wrong
Every one of these is common, and every one has a plain fix. None of them means you are doing anything wrong.
The Cast-On Is Twisted at the Join
You knit a few rounds and see the fabric spiralling oddly, with the edge making a figure eight. The cast-on row was twisted when you joined it.
There is no repair for this. Undo the join, straighten the cast-on edge, and begin again. It feels wasteful and takes five minutes, and it is the right call every single time.
A Visible Gap Where the Round Begins
The first stitch of the round is loose, so a short opening sits at the join. This is the most common complaint in all of circular knitting.
Snug the first stitch firmly as you work it. Then, once the project is finished, use the cast-on tail to close whatever gap remains with a small duplicate stitch.
Ladders Between the Halves in Magic Loop
In magic loop, the two places where the cord loops out tend to develop ladders, which are loose columns of stitches running up the tube. It is tension, gathered in one spot.
Fix it by knitting the last stitch of each half and the first stitch of the next with a firm pull. Then shift where the loop sits each round.
Your Work Is Inside Out
If the bumpy side is facing you and the smooth V's are hidden inside, the tube is simply inside out. This is not a mistake in the fabric, just a flip.
Turn the tube right side out, keeping the marker where it is on the needle, and continue. If it keeps happening, you are likely knitting into the wrong side at the join.
Tension Loosens Where the Cord Meets the Needle
The first and last stitch on each needle tip often slacken, because that is where the cord curves and the stitch has the least support. The result is a faint ridge.
Gently pull the working yarn snug after each of those two stitches. Over a few inches the ridge blends in, and blocking softens whatever remains.
You Run Out of Cord Length
If the tube you are knitting is wider than the cord, the fabric stretches and fights you. The fix is a longer needle, or a different way of holding the work.
For a circumference smaller than 16 inches, switch to magic loop on a 32-inch cord. For a very wide project, such as a sweater body, use a 32 or 40-inch.
Finishing a Tube Project
Finishing is where a tube stops looking homemade. Three small habits make the difference: a loose bind-off, tidy ends, and a proper block.
Bind Off Loosely
A tight bind-off is fatal on a hat brim. The bottom edge has to stretch over a head, and a firm chain of stitches simply will not give at all.
Work the bind-off with a needle one or two sizes larger, or use a stretchy method such as Jeny's surprisingly stretchy bind-off. Either way, keep your tension deliberately relaxed.
Test it as you go. Stop every ten stitches and stretch the bound edge between your hands. If it barely moves, undo and go up another needle size.
Weaving In Ends
A tube has two ends: the cast-on tail at the join, and the tail left from the bind-off. Thread each onto a blunt tapestry needle and run it along the inside of the fabric.
Follow one column of stitches for an inch, turn, and follow the next column back for another inch. That back-and-forth path holds an end fast without a knot.
Run the cast-on tail along the join itself. It will disguise the small gap there, which is a pleasant bonus for a few seconds of work.
Blocking a Tube
Blocking is simply washing your knitting and letting it dry in the shape you want. For a tube it evens out the stitches, relaxes the join, and settles any ladders.
Soak the project in cool water with a little wool wash for twenty minutes. Press the water out in a towel, never wring it, then lay the piece flat to dry.
Block a hat over a bowl or a balloon so the crown stays round. Block a cowl flat and gently stretched, so the edges line up. Both take an evening and change everything.
One Loop, Then Another
The knitters who made those Egyptian socks were working with five needles and no pattern, and they still produced a tube that fit a foot. You have a cord and a marker.
Start with a cowl. It is forgiving, quick, and satisfying in a way a scarf never quite is, because there is no seam waiting for you at the end of it.
When you feel ready to knit something shaped, socks are the natural next step. Our guide to sock knitting for beginners walks through heel turns and grafting a toe.
For now, cast on, join carefully, and knit a few rounds. The tube will teach you more in twenty minutes than a page of instructions ever can.