Introduction
There is a sketchbook on the shelf above my desk that I still open some evenings.
It is a cheap linen-bound book my aunt Ruth gave me the autumn I turned nineteen, her name in pencil inside the cover and a pressed clover at the back.
Almost every page is a landscape. A hedgerow. A field gate. The corner where the lane bends toward the water.
And almost every one of them is the same small disappointment. The color started bright on the palette and went chalky and gray on the paper within a minute.
I blamed the paint first. I bought a better set and got the same result. Then I blamed myself, and I believed that for a few years.
Eventually a painter friend watched me work for ten minutes and said the thing that changed everything. "The paper is drinking your color. Give it something to sit on."
She handed me a bottle of matte medium and a tube of raw sienna acrylic. That afternoon I laid a thin wash of it across a whole sheet, let it dry, and painted the same field again.
The gouache sat up on the surface like it was resting on glass. The greens stayed green. I lifted a highlight back off with a damp finger and nothing tore.
That is the method in this piece: an acrylic base first, then gouache over the top. It is calm work, it forgives you, and it fits into the odd hour between school pickup and dinner.
Why an Acrylic Base Changes How Gouache Behaves
Bare watercolor paper is a sponge. Even good cold-press paper has sizing and tooth, but it still pulls water and pigment down into the fiber.
Gouache is pigment held in a water-soluble binder. On bare paper, the water carries that binder down into the sheet and leaves the pigment sitting in the valleys.
Color that has sunk a little always dries duller than it looked wet. That is the chalky look. It is not bad paint. It is paint that has gone under.
Acrylic does something different. It dries into a film — a thin, sealed, matte skin that is no longer water-soluble once cured.
Water cannot get back into that film. So your gouache brush passes over the surface instead of into it.
The pigment stays where you put it and the binder stays with it. Color dries close to the value you mixed on the palette.
The second gift is lifting. On bare paper, lifting a highlight means scrubbing, and scrubbing means torn fiber and a fuzzy edge you cannot repair.
On an acrylic base, a damp brush or a clean cloth lifts fresh gouache cleanly, because there is a sealed floor underneath it.
You can put a light back into a dark passage without wrecking the darks around it.
That one ability is why this pairing suits landscapes so well. Skies and distance are mostly lights laid over middles, and this method lets you do that without holding your breath.
Two Rules That Keep the Layers Readable
Everything here rests on two rules. Break either one and the painting will fight you all afternoon.
Rule One: Matte Acrylic Only
Matte acrylic and matte medium dry with a slight tooth, a surface a bit like fine sandpaper under a fingernail.
That tooth is what gouache grabs. Glossy acrylic dries slick and sealed, and gouache beads on it like water on a waxed apple.
Read the label before you buy. "Matte," "ultra matte," or "matte fluid" is what you want. Satin will half work and quietly frustrate you.
If you already own a glossy tube, mix it half and half with matte medium and it will behave well enough for a sketch.
Rule Two: Let It Cure Bone Dry
Bone dry means no cool feel under the back of your hand, no tack, no faint sheen. Not dry to the touch — actually dry.
Thin washes cure in ten to twenty minutes in a warm room. Thicker passages can take an hour or more, and longer on a damp day.
If you paint gouache onto tacky acrylic, the acrylic will lift into your brush and mix with the gouache, and you will get a gray smear you cannot rescue.
This is the most common cause of "the gouache ruined my base." It did not. The base was still wet underneath.
What You Actually Need
The list is short, and you probably own half of it already. Here is exactly what I keep in the tin.
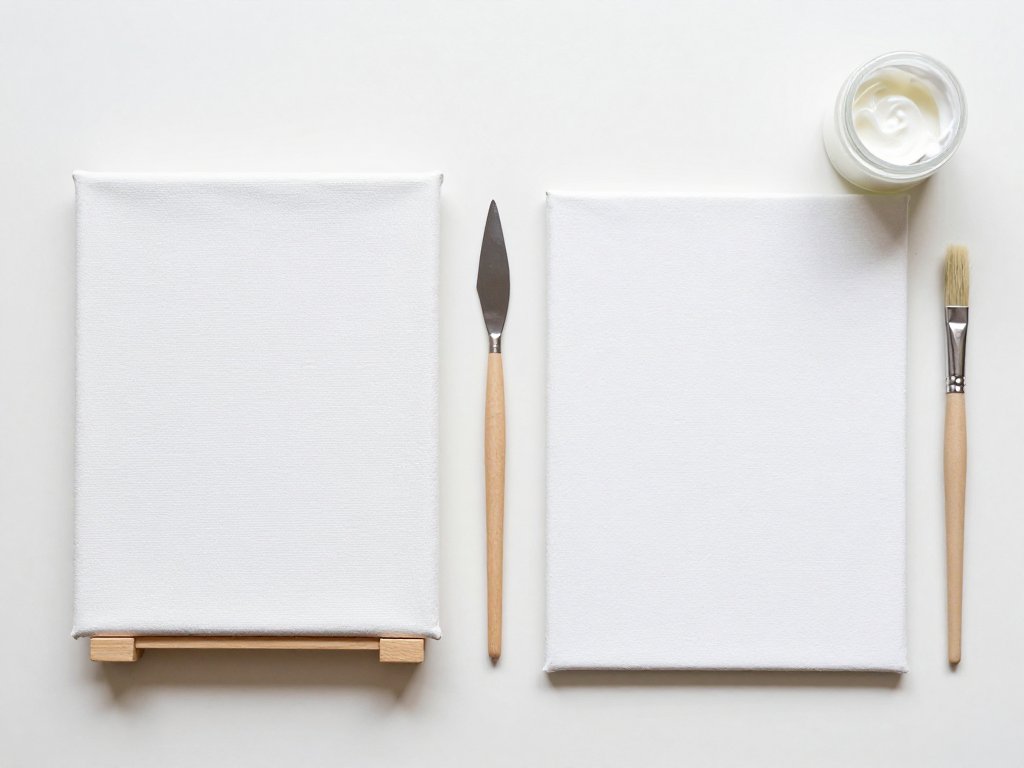
- Paper. 140 lb (300 gsm) cold-press watercolor or mixed-media paper. The cold-press tooth is what makes this method sing; hot-press goes slick under both layers.
- Fluid acrylics in earth tones. Two or three tubes will do it — raw sienna, yellow ochre, burnt umber. Fluid acrylic washes thinner than heavy-body without turning gummy.
- Matte medium. A small bottle. It thins the acrylic without weakening the film, and it adds a little tooth.
- A gouache set with titanium white. Student grade is perfectly fine. Just check that you have a true opaque white, not only a mixing white.
- Two brushes per medium. One flat, one round, both synthetic. Synthetic holds up to acrylic and springs back nicely with gouache.
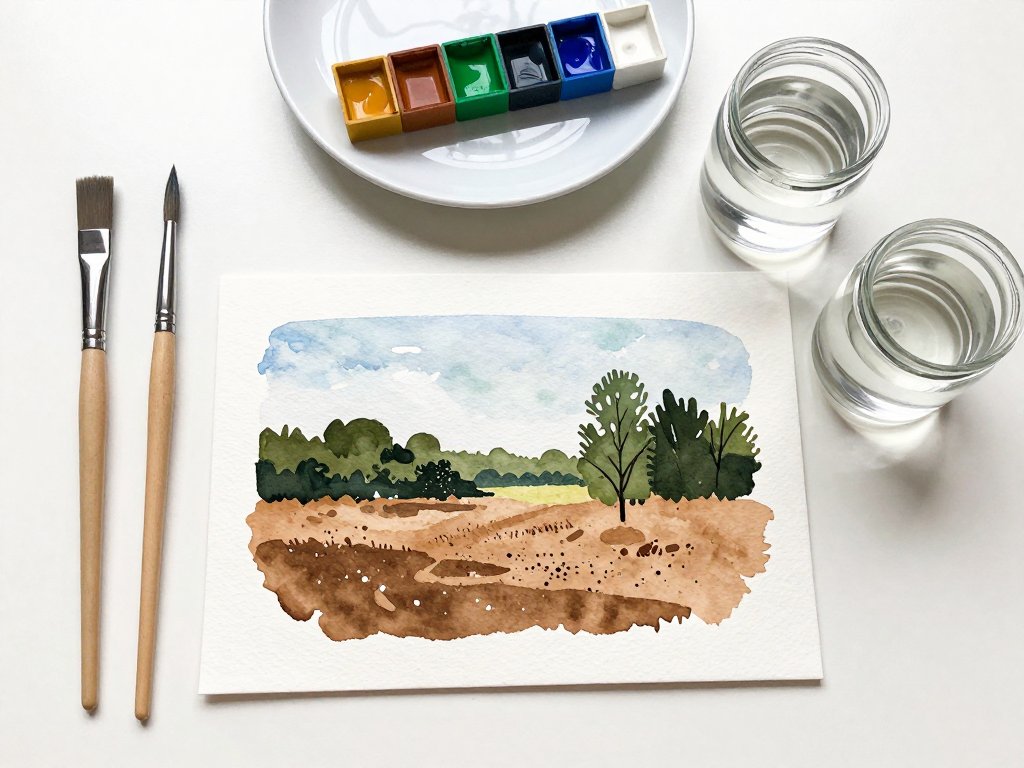
- Two water jars. One for acrylic, one for gouache. Plain glass is fine. Keep them on opposite sides of the table so you never confuse them.
The two jars are not fussiness. Acrylic residue in your gouache water dries into tiny plastic flecks that show up in your lights, and you cannot get them out.
Gouache in your acrylic water is just as unhelpful. It clouds the wash and dulls the base before you have started.
A rag or a spray bottle of clean water, a pencil, and a small plate for mixing round out the kit. That is all.
Step One: Block In the Acrylic Underpainting
This stage looks rough, and it should. You are setting the key and the bones of the picture, not making a finished thing yet.
- Sketch lightly. A 2B pencil and a soft hand. A horizon line, two or three big shapes, the path of the light. No detail, no leaves, no fence posts.
- Mix a thin acrylic wash. Raw sienna plus water plus a drop of matte medium, thin as weak tea. It should look watery on the palette, not creamy.
- Cover the whole sheet. Every inch, including the sky. Bare paper anywhere will drink the gouache later and leave you a dull patch you did not plan for.
- Wipe back the lights. While the wash is still damp, press a damp cloth or paper towel where the sun will fall. Clouds, a bright field, the top of a rock.
- Establish the darkest values. A more concentrated mix of burnt umber in the shadow shapes. Keep them broad and simple.
- Let it cure. Flat, uncovered, until bone dry. Go make tea. This is not wasted time.
Work with a light touch on the wipe-back. You are not cleaning the sheet, you are lifting some color out of it.
If a shape goes wrong, wipe it while damp and try again. Wet acrylic is completely forgiving; dry acrylic is not.
When the sheet is dry, hold it at an angle to the window. You should see a soft haze of color and no shine at all.
Step Two: The Gouache Passes Over the Top
Now the picture arrives. If you have never handled gouache before, the beginner gouache landscape guide on this site covers brush loading and mixing at a gentler pace. Come back here for the layering.
Work in three passes, and keep the order of the landscape in your head: sky, distant hills, treeline, foreground.
Pass One: Transparent-ish Middles
Start with middle values, thinned with water so they read slightly see-through. The acrylic base shows through and unifies everything.
Sky first, working from the top down. Keep the brush moving and soften edges while the paint is still damp.
Then distant hills, mixed cooler and lighter than you think. Distance is mostly a color temperature decision, not a detail decision.
The treeline comes next — still middles, but with more shape variation and a few uneven edges.
Foreground last. Block the big masses of grass or rock or sand, and leave the detail for the next pass.
Pass Two: Opaque Lights
Now load the brush properly with titanium white and the lightest versions of your colors. This is the pass the acrylic base was built for.
Cloud tops, the far edge of a field, the lit face of a cliff, a few blades catching sun in the foreground.
Because the base is sealed, these lights sit on top and stay bright. On bare paper they would sink and gray out within seconds.
If a light goes too far, wait for it to dry and lift it with a damp brush, then try again.
Pass Three: The Sharpest Darks
Save the darkest darks for last: tree trunks, shadow under a hedge, the near edge of a rock, the deepest notch in a treeline.
Keep them few. Three or four well-placed darks will do more for a landscape than thirty small ones.
Keep edges decisive here. A sharp dark next to a soft middle is what makes a sketch look observed rather than colored in.
Choosing the Underpainting Color
The base sets the key of the whole picture. Choose it before you choose anything else, the way you would choose a time of day.
Warm raw sienna under a cool sky reads like late afternoon. The warmth comes up through the blue in a way that is hard to fake any other way.
A cool gray-green base under warm foliage reads like an overcast morning. The greens feel softer and the light feels flat and even.
Burnt umber alone gives you a dusk sketch, low and quiet, with the lights doing most of the talking.
Yellow ochre under almost anything is the safest choice for a first try. It warms the whole sheet without shouting.
A Note on Complementary Bases
You can also lay a base in the complement of what will sit on top. A thin red-violet under greens makes the greens look deeper and more varied.
This works because the base keeps peeking through in half-covered passages and cools the color from underneath.
Use it sparingly. A complementary base is a seasoning, not a sauce, and a heavy hand turns everything to mud.
If you are unsure, mix your base color and test it on a scrap of the same paper. Ten seconds of testing saves an hour of regret.
The One Real Drawback, and How to Handle It
Acrylic's plastic surface has one honest problem. It can be too sealed for the first gouache layer, which then skips or beads instead of settling.
You will know it when you see it: the paint pulls into little droplets, or the brush drags and leaves bare streaks that will not fill.
Three fixes, in order of how often I use them.
First, add a drop of matte medium to the acrylic mix. That single drop adds tooth and the gouache will grab immediately.
Second, if the sheet is already dry and slick, give it a light sand with fine paper — 400 to 600 grit — just enough to dull the shine.
Third, simply lay a second very thin acrylic pass over the top. Two thin coats have more tooth than one heavy coat.
The other half of the fix is technique. Load the brush and make one confident stroke. Scrubbing a thin first layer is what makes it bead.
Three Landscapes That Suit This Pairing
Some subjects are made for an acrylic base. These three will teach you the method without asking too much of you at once.
A Misty Field at the Edge of the Woods
A raw sienna base, then pale gray-greens for the middle distance, then a soft treeline with almost no edges, then one dark hedge on the near side.
Mist is mostly a matter of leaving light areas alone. The base does that work for you.
A Coastal Cliff in Flat Light
A gray-green or ochre base, blocked rock shapes, then opaque lights along the top edge and a single deep shadow crease.
Flat light means few cast shadows and a lot of mid-value shape. It is the kindest subject for a first attempt.
A Backlit Treeline
A warm base pushed dark at the top, then opaque lights behind the trunks, then the sharpest darks through the middle.
Backlighting is where lifting really shines. Put the light in, let it dry, and pull a few trunks back out of it.
When Things Go Wrong
Almost every problem in this method has one cause, and none of them are permanent. Here are the four I meet most often.
The Gouache Is Lifting My Acrylic
It cannot. Cured acrylic is not water-soluble, and a damp gouache brush will not move it. What feels like lifting is always wet acrylic underneath.
Let the sheet sit longer next time, and check with the back of your hand before you load a brush.
My Base Is Still Tacky Hours Later
That usually means the acrylic went on too thick, or the room is humid, or the paper was damp when you started.
Set it aside somewhere dry and warm. Do not paint on it. Thinner passes next time will cure in minutes.
My Edges Have Gone Muddy
Wet-on-wet gouache is the cause. Two wet passages blending into each other make gray, especially across complementary colors.
Work zone by zone and let each zone dry before you touch the next one. Sky, then hills, then trees, then foreground.
The Paint Is Cracking
Cracking means the acrylic layer was applied too thick for the paper to hold, and it is flexing as it dries.
Two or three thin washes always beat one heavy one. If a sketch has already cracked, it is a sketch, not a failure.
Finishing and Framing
Gouache stays water-soluble forever. That single fact decides how you finish the piece.
A workable spray fixative will protect the surface from a stray thumb. Two light coats, outdoors or by an open window, drying between them.
Hold the can well back and keep moving. One heavy coat will darken your lights and there is no way to take it off.
Frame behind glass, with a mat or spacers so the surface never touches the glass. Moisture trapped against gouache will bloom and spot it.
Do not varnish a mixed gouache and acrylic piece the way you would an oil. Varnish is designed for oil and for acrylic-only work.
On gouache, a brush-on varnish can rewet the paint, drag the lights, and yellow the whole surface over a few years.
A mat, glass, and a simple frame will keep a sketch bright for decades. That is enough.
Conclusion
That sketchbook still has its bad pages. I have not painted over them, and I am glad of it now.
They are the reason I know what sinking color looks like, and why I notice the moment a wash sits up on the surface the way it should.
Aunt Ruth would have liked this method. She painted on whatever was at hand and never once called a muddy page a waste.
If you try it, start with one small sheet: a field, a hedge, a bend in a lane. Lay the base thin. Wait until it is truly dry.
Your first attempt may still be mud. Mine was, twice. Put it in the book and paint the same view again next week.
The second one will surprise you, and the twentieth will feel like something you have always known how to do.