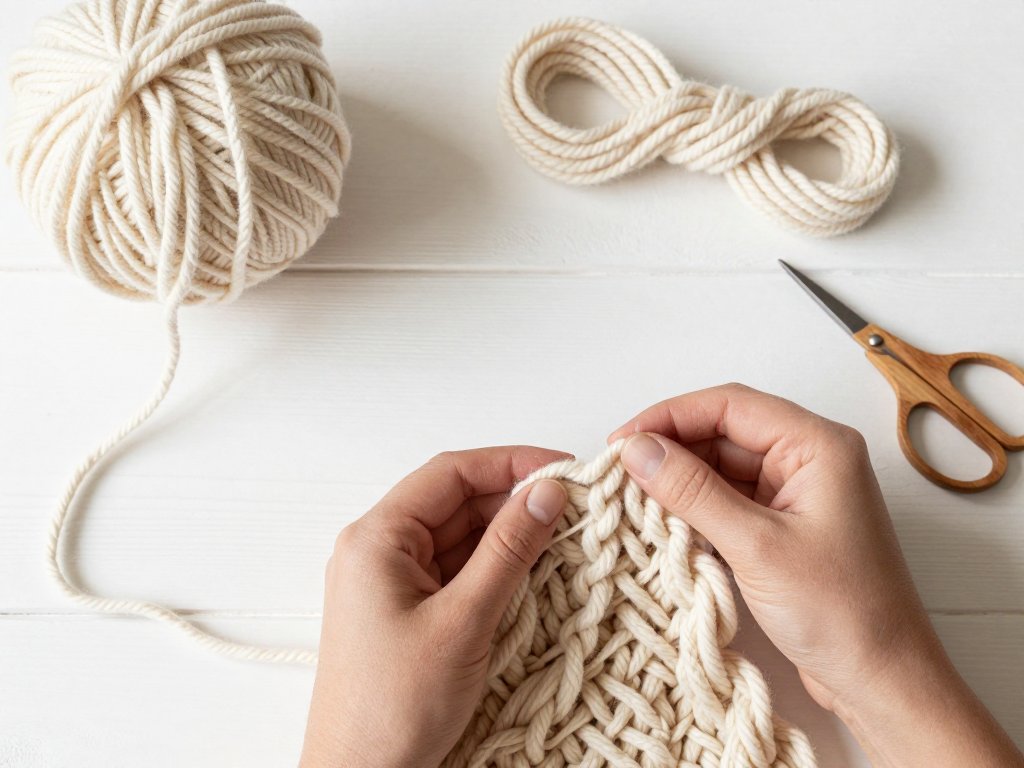
Introduction
There is a small, quiet joy in making something with nothing but your own two hands.
No needles. No hooks. No pattern to decode. Just one ball of thick, soft yarn and ten fingers that already know how to loop.
That is finger knitting, and it is one of the kindest crafts I know for a busy mom.
You can learn the whole technique tonight, at the kitchen table, while dinner simmers and someone does homework beside you.
By the time the little ones are in bed, you might have a scarf growing in your lap.
Finger knitting is not a watered-down version of "real" knitting. It is a genuine hand-knitting method, worked over your fingers instead of needles.
People have looped yarn across their hands for a very long time. The exact origins are fuzzy, but the idea is old and beautifully simple.
Today it turns out chunky chains, cozy blankets, and sturdy little baskets, all without a single sharp tool.
If you have ever wanted to make something warm with your hands, consider this your gentle invitation.
A Needle-Free Craft You Can Start Tonight
Finger knitting — sometimes called hand knitting — works exactly like it sounds.
You hold the yarn across your fingers, loop it back and forth, then lift one loop over another until a chain of stitches hangs below your hand.
There are no pointy ends to lose, no gauge to swatch, and no dropped stitch to chase across a row.
Because the loops are so large, you see your progress with every pass of your hand. That instant feedback is why beginners fall in love with it.
All you really need is a ball of thick yarn and about twenty minutes to learn the motion.
A child can do it. A grandmother can do it. You can do it while a movie plays in the background.
Looping yarn over the fingers is a genuine old technique with folk roots in many cultures. It is not a modern toy or a plastic gadget.
So the next time someone calls it "kids' knitting," smile. It is simply knitting with a different set of tools.
Start with a short chain tonight, just to feel the rhythm. A finished scarf can wait until tomorrow.
Choosing Yarn: Why Chunky Is the Only Way
Finger knitting lives or dies by yarn thickness. Thin yarn makes tiny, fiddly loops that slip off your fingers mid-stitch.
Thick yarn makes generous loops you can see clearly and lift with confidence. So for this craft, we go big.
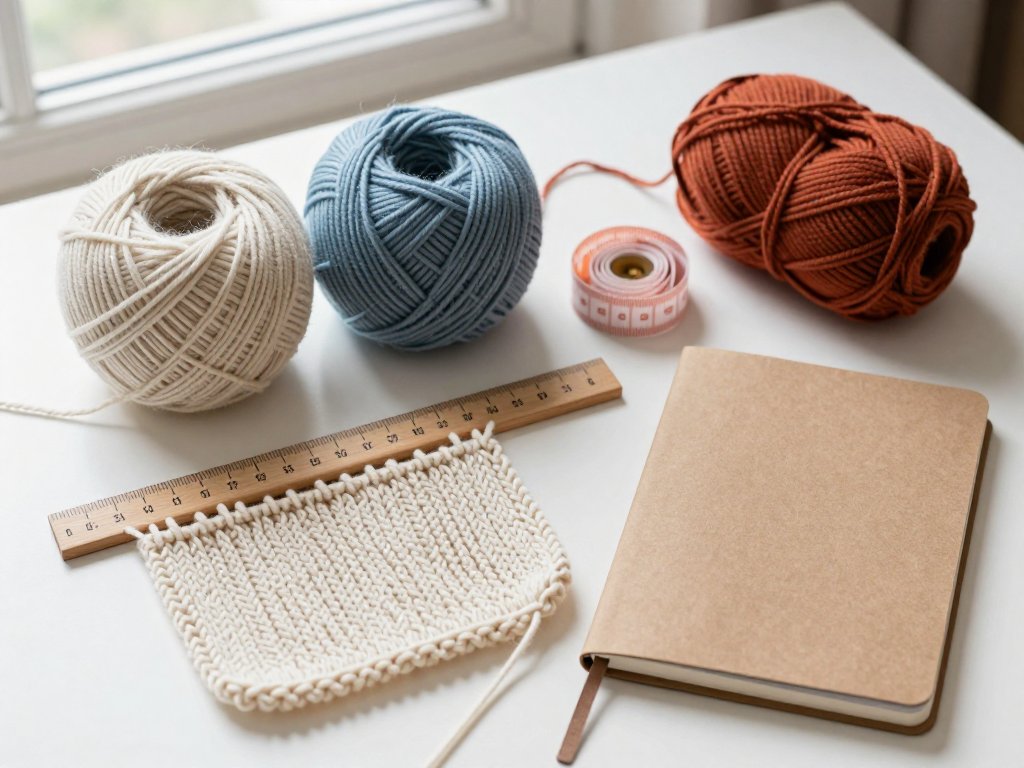
Look for yarn labelled super bulky or jumbo. On the standard yarn-weight scale, those are numbers 5, 6, and 7.
Here is how to read that little number printed on the yarn band:
- 0 to 3 (lace, fingering, sport): far too fine for fingers.
- 4 (worsted): still thin; the loops will keep sliding away.
- 5 (bulky or chunky): workable, and a fine place to start.
- 6 (super bulky): the sweet spot for finger knitting.
- 7 (jumbo): dramatic, cuddly, and very fast to work.
The number usually sits inside a small square or circle on the label. Beside it you will find a suggested needle size — ignore the needles, but trust the number.
Fibre matters too, because this yarn spends the whole project resting against your skin.
Wool and wool blends are my favourite. They are springy, warm, and just slightly grippy, so the loops hold their shape instead of sliding away.
Soft merino blends feel lovely and are gentle on winter-dry hands.
Slippery acrylic has a kind price tag and every colour you could wish for, but it can slide off your fingers mid-loop. I still reach for it for garlands and gifts.
Cotton is sturdy and crisp, though it has less stretch, so the loops feel a little stiffer to lift.
If you already have a yarn you love and you are unsure whether it suits a project, it helps to understand how fibres behave before you swap one for another. Yarn Substitution: How to Swap Yarns Safely explains it clearly and calmly.
As for how much to buy, think in large balls rather than figures. A child-size scarf takes roughly two to three large balls of super bulky yarn.
An adult scarf takes about three to four. A small baby blanket made from joined strips might use six to eight.
Buy it all in one trip so the dye lots match. Different batches can shift the colour just enough to show in a finished piece.
One last tip on shopping: squeeze the ball before you buy it. You want something soft and rounded that springs back, not a tight, scratchy cord.
Your fingers will be doing all the work, so choose a yarn you actually enjoy touching.
The Basic Method, Step by Step
Set yourself up with a ball of super bulky yarn and a comfortable chair. Leave about six inches of tail to begin with.
Step 1: Make a slip knot. Loop the yarn into a circle, pull a second loop through it, and tighten gently. Slide this loop onto your index finger.
Step 2: Cast on. The simplest cast-on is the figure eight. Hold the tail in your palm, then weave the working yarn across your fingers in a gentle zigzag — over the first finger, behind the second, over the third, behind the fourth.
Then bring it back the other way, threading behind the first finger, over the second, behind the third, over the fourth.
You now have a figure eight resting across each finger, ready to work.
For the over-two-fingers version, simply loop the yarn over your index and middle fingers, under both, then back over the top. This gives fewer, larger stitches and is easier for small hands.
Step 3: Knit the stitch. Starting at the finger furthest from your thumb, reach under the bottom loop on that finger and lift it up and over the top loop.
Let it drop off the front of the finger. One stitch is made.
Repeat on the next finger, and the next, until you have lifted every bottom loop over its top loop.
Step 4: Repeat. Push the remaining loops back down toward your palm, then cast on a fresh set of top loops by weaving the yarn across your fingers again in a figure eight.
Lift, drop, re-loop. That calm rhythm is the whole craft, and your chain grows below your hand as you go.
Step 5: Cast off. When the chain is as long as you want, cut the yarn leaving a twelve-inch tail.
Working from the far finger back toward your thumb, lift each loop over the one beside it until a single loop remains. Pull the tail through that last loop and tighten.
Keeping even tension comes from an easy grip. Let the yarn feed through your fingers; do not strangle it.
If your hand starts to ache, that is your cue to rest. This craft should feel soothing, never like a workout.
Tension: When Your Chain Looks Lumpy
Every finger-knit project looks a little handmade, and that is not a flaw waiting to be fixed.
Hand tension is naturally less uniform than a machine's, so real chains have real character. Call it warmth, not imperfection.
If your chain looks tight and curled, you are pulling too hard on the working yarn. Relax your fingers and let the loops stay loose and round.
If it looks floppy and stretched, you are pulling too gently. Give each new loop a soft tug so it sits snug against the last one.
Lumpy, uneven patches usually mean your loops vary in size. That evens out with practice, and a finished piece hides most of it.
Remember that stitch size follows yarn thickness. Use thicker yarn and your loops grow; use thinner yarn and they shrink.
You cannot really change stitch size any other way, so choose your yarn before you begin and commit to it for the whole project.
If a long section looks off, do not be precious about it. Undo it and re-loop. Finger knitting is fast, and reworking a few inches costs you nothing.
Finishing: Weaving In and Joining
A finished piece needs only a little tidy-up to look polished.
Thread the cast-off tail onto a blunt tapestry needle — or simply use your fingers — and weave it back through a few stitches along the edge.
Change direction once, then trim the end close.
That single change of direction is what keeps the tail from working loose, and it hides the end neatly inside your stitches.
Weave in your starting tail the same way. Two tidy ends, no visible knots, nothing to undo later.
To make a blanket, finger-knit several strips the same length, then join them side by side.
The easiest join is a simple whip stitch. Bring a threaded needle up through the edge of one strip and down through the edge of the next, over and over, keeping the stitches even and relaxed.
If you have a crochet hook, slip-stitching the strips together works beautifully too and gives a slightly firmer seam.
Either way, work on a flat surface and check that both strips line up before you sew the whole length.
Six Projects You Can Finish This Week
Here are the projects beginners love most, with honest time and yarn guidance.
- The classic chain scarf. One long chain, cast off and worn as it is, or joined at the ends to make a loop. About an evening of work using two to three large balls.
- A baby or doll blanket. Four to six joined strips make a sweet little blanket. Plan a cozy weekend, and about six to eight large balls for a small size.
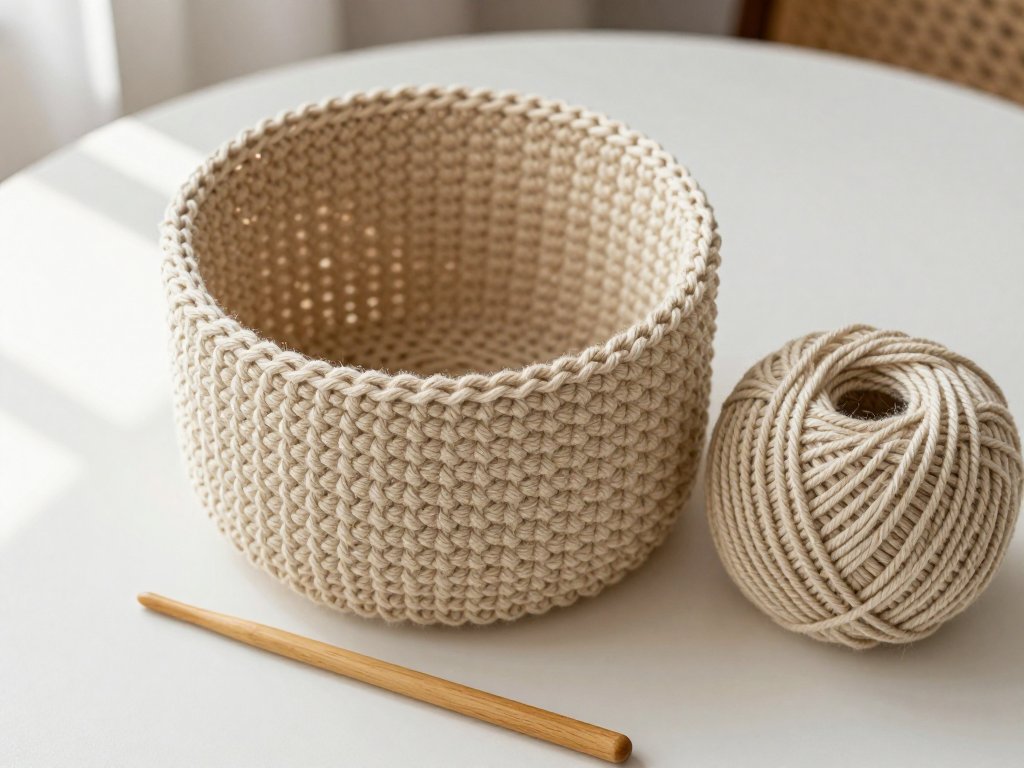
- A coiled basket or rug. Work a very long chain, then coil it into a spiral and stitch the rounds together with a whip stitch. A basket takes an afternoon; a rug takes several evenings and plenty of yarn.
- A headband or ear warmer. A short chain, joined into a loop that fits snugly around the head. About half an hour and one large ball.
- A wall hanging or wreath. Loop a chain over a plain ring, or drape a few chains from a branch. It is purely decorative, so any yarn you love will work.
- A garland. One long, loose chain in a bright colour, draped across a mantel or window. Twenty minutes and one ball.
Notice how many of these use the exact same skill — a single chain. Change the length, the joining, or the yarn, and you change the project entirely.
That is the lovely thing about finger knitting. One motion, endlessly repeatable, and a whole shelf of finished things.
Finger Knitting with Children
This is one of the rare crafts a young child and an adult can genuinely do side by side.
There are no sharp tools, nothing to plug in, and nothing to spill. That makes it ideal for a calm shared session.
It also quietly builds fine motor skills, hand strength, and patience — the kind of focused handwork that screens simply cannot offer.
To teach a child, sit beside them rather than across the table. Do the motion slowly on your own hand while they watch.
Then guide their fingers through one loop, let them try the next, and praise the effort rather than the result.
Expect short attention spans. Ten minutes is a real session for a little one, and a wobbly chain is a genuine success.
Keep the yarn in one basket and the working ball low so it does not roll away across the floor.
Low mess, low fuss, low stress. If your child loses interest, let them wander off. The yarn will still be there tomorrow.
If You Only Remember Three Things
First, choose thick yarn. Super bulky wool or a wool blend makes the loops easy to see, easy to lift, and a pleasure to hold.
Second, keep your grip easy. Even, relaxed tension gives you a chain that lies flat instead of curling or sagging.
Third, start with a scarf. It is one long chain, no joining required, and it becomes a finished, wearable thing from your very first attempt.
Finger knitting asks almost nothing of you — a ball of yarn, an evening, and hands willing to learn one small, lovely motion.
It gives back something warmer. A scarf you made. A blanket for a baby. A garland for the mantel. A quiet hour with a child beside you.
So pick up one thick ball of yarn this week. Make the slip knot. Loop it over your fingers. Lift the bottom loop over the top, and watch the chain begin to grow.
You do not need needles to make something beautiful. You only need to start.