Introduction
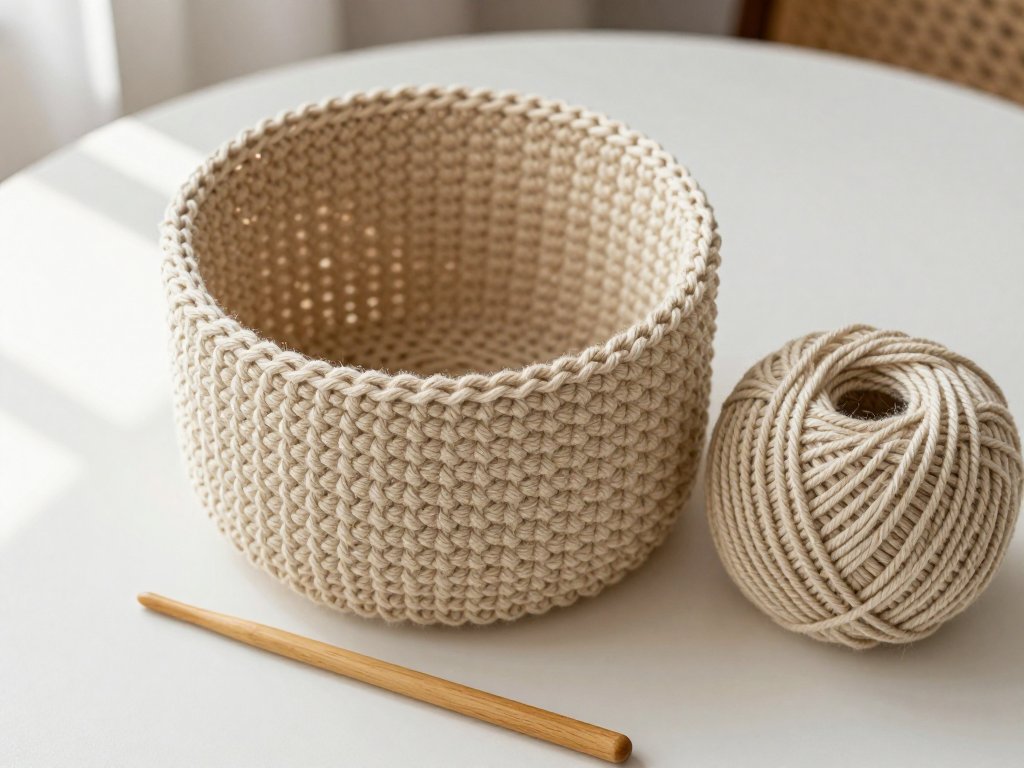
There is a particular pleasure in making a basket. You begin with a couple of balls of thick yarn, and by bedtime you have something sturdy, useful and quietly handsome.
Crochet is a young craft in the long story of containers. Baskets older than written history were coiled from grasses, willow and split cane — patient work measured in weeks.
Crochet, that looping of a single hook and thread, only took its modern form in early nineteenth-century Europe. It borrowed the idea of the coiled basket and made it portable and quick.
What once took a fortnight of weaving could now be built round by round, in an evening or two. Chunky yarn finishes that arc. Thick strands build substantial walls fast, and thick fabric stands up on its own.
This guide walks you through everything I wish someone had told me at the start, from yarn and hooks to firm sides and sturdy handles.
Why Chunky Baskets Work Up Fast
Ordinary worsted yarn asks for hundreds of stitches before a basket shows its shape. Super-bulky yarn asks for dozens.
Each stitch is large, so the round you finish is a real, visible advance. Beginners meet the finished object on the first evening, which is exactly when most people need encouragement.
Thickness also means structure. A basket is not a garment — it does not need to drape or move with a body.
Thick yarn worked at a tight gauge forms a dense fabric that stands upright, carries weight, and keeps its round shape even when it is empty.
Choosing Your Yarn
This is the single decision that most affects whether your basket stands or slumps. Weight matters, and so does fibre.
Super-Bulky Yarn
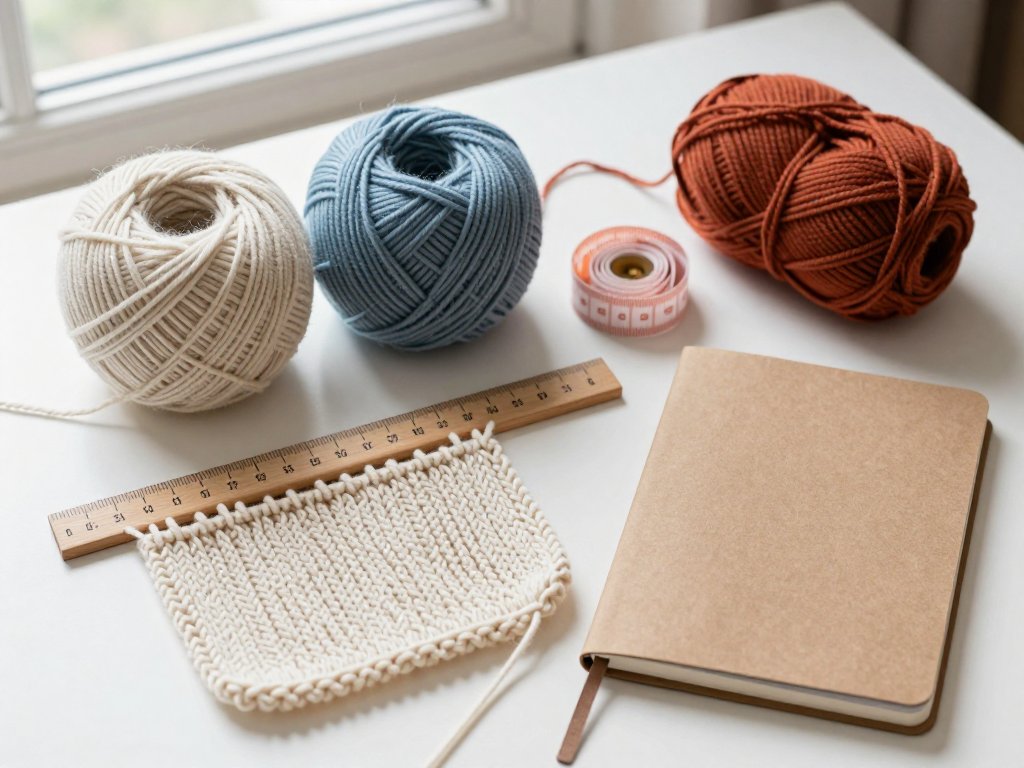
Super-bulky yarn, labelled weight 6, is the beginner's friend. It is widely available, forgiving in the hand, and produces a basket roughly 20 cm across in a ball or two.
Choose a yarn with little stretch and good twist. Loose, airy singles can puff up and blur the stitch definition you will want later.
T-Shirt Yarn
T-shirt yarn — cut from jersey fabric — is soft, dense and easy to work. It makes beautiful, slightly slouchy baskets.
Recycled Cotton Cord
Recycled cotton cord is my favourite for baskets that must stand firm. It is smooth, strong and holds a crease where a folded edge is pressed into it.
It is less forgiving on the hands, but the resulting wall is crisp and architectural. Work a slightly larger hook than usual with cord, or your wrist will complain.
Fibre and Firmness
Acrylic is tempting because it is cheap and plentiful. But acrylic has memory — it springs back — and it is smooth and slippery in the stitch.
Worked loosely, an acrylic basket soon sags and its sides lean outward. Cotton and cotton-blends behave differently. Cotton has little elasticity, so it holds the shape you give it.
A cotton-blend usually gives the best of both: the firmness of cotton with a little softness for comfortable stitching over long evenings.
How Much Yarn
Do not overthink quantities. A small catch-all takes about one large ball of super-bulky yarn; a medium basket takes one or two.
A large floor basket will take three or four, and it is wise to buy them all at once. Dye lots vary, and a basket is a very visible place for a shade change.
If you are working with a yarn you love but are unsure whether it will suit a basket, the principles in this guide to substituting yarns safely will help you judge a substitute's weight and behaviour.
Choosing Your Hook
For chunky baskets, most makers reach for a hook between 8 mm and 10 mm. Which end of that range depends on the fabric you want.
Patterns often assume you will match the hook size printed on the yarn label. That is a fine starting point for a blanket.
For a basket, though, the label's recommendation usually produces a fabric that is too open and too soft to hold a wall.
Why Work One Size Down
Deliberately choosing a hook one size smaller than the label suggests packs the stitches tightly together. Tight fabric equals firm walls.
The trade-off is a stiffer, denser fabric that is a little harder to work. Your fingers will adjust within a round or two.
If your hands are sensitive, split the difference: keep the label hook for the base, then drop a size for the sides.
Working in a Continuous Spiral
This is the technique that separates a basket from a garment, and it confuses many beginners at first.
Most round crochet — hats, doilies, amigurumi — is joined. You finish a round, slip stitch into the first stitch, then chain up and begin again.
That join leaves a visible seam and a little step, which is fine for a hat but untidy on a basket.
Baskets are worked in a continuous spiral instead. You simply keep going, placing the first stitch of the new round directly into the first stitch of the previous one.
No joining, no chain-up, no seam. The fabric grows in one unbroken coil that looks the same all the way around.
The catch is that rounds have no beginning or end, so you must mark the first stitch of each round.
Slip a stitch marker — or a scrap of contrasting yarn, or a safety pin — into that first stitch as you make it. When you reach the marker, you have completed a round.
Move the marker up to the first stitch of the new round and carry on. It becomes a small, calming rhythm that keeps your counting honest.
Starting the Base and Increasing It
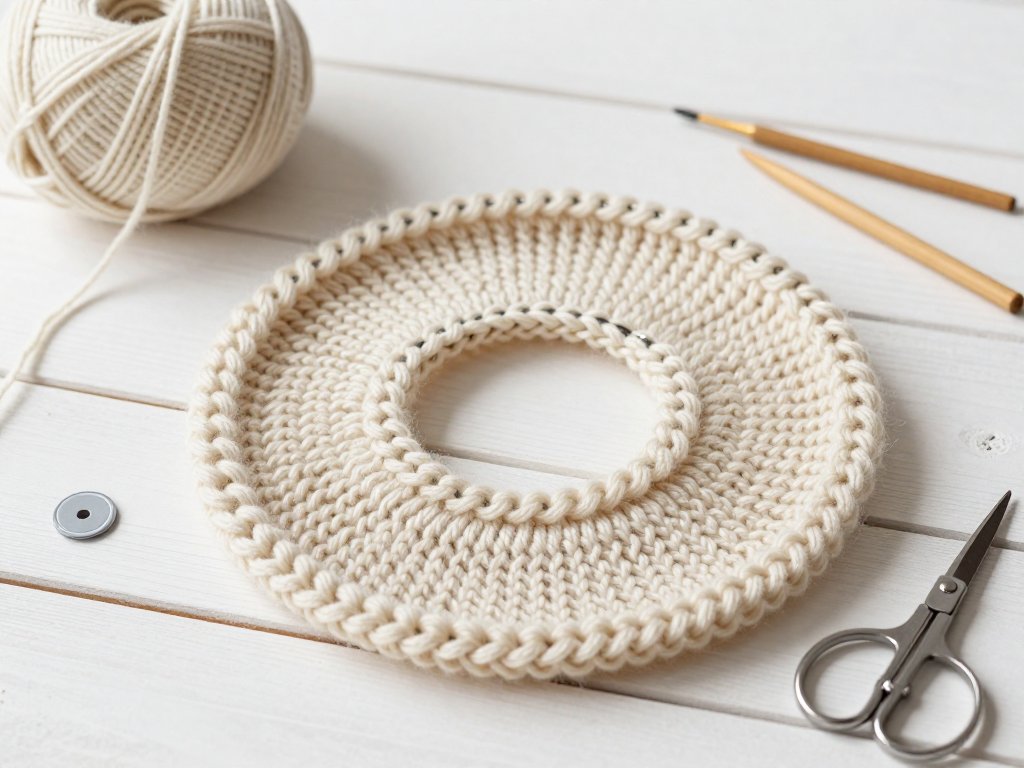
Every round basket begins at the centre and grows outward. There are two ways to start, and one rule that keeps everything flat.
Magic Ring or Chain-3
The magic ring makes a closed, tidy centre with no hole. You wrap the yarn into a loop, work your first stitches into it, then pull the tail to close it.
It looks professional and is my recommendation, though it can feel fiddly the first few times.
The chain-3 foundation is simpler. Chain three, join into a ring, and work your first round into the centre of that ring.
It leaves a small central hole, which is invisible in a chunky basket and perfectly acceptable for a first attempt.
The Flat-Circle Rule
To make a flat circle, each round must add the same number of stitches as the round before it began with.
A single crochet circle begins with six stitches in the ring. Round two works two stitches into each — twelve. Round three alternates one and two — eighteen.
Round four works two, then one, then one — twenty-four. And so on, adding six stitches each round.
Single, Half-Double and Double Bases
The stitch you choose changes the number you add. Single crochet circles start with six and add six.
Half-double crochet is taller, so it starts with eight and adds eight. Double crochet starts with twelve and adds twelve.
All three work well. Single crochet gives the firmest, densest base; double crochet grows quickest but is the softest of the three.
Keeping It Flat
A correct base lies flat on the table with no lift and no wave. If it ripples like a frill, you are adding too many stitches.
If it cups upward like a bowl, you are adding too few. Both are easy to fix and worth fixing early.
To correct a ruffle, work the next round without increases — just one stitch into each stitch. To correct a cup, add extra increases evenly around the next round.
Check flatness after every round, before you go further. Lay the work down and press it gently with your palm.
When to Stop Increasing
You stop increasing when the base is the width you want your basket to be. Not the wall height — the width.
That round is the finished floor of the basket. From here, you will work rounds with no increases at all, and the fabric turns upward into walls.
Measure across the centre of the base with a ruler. The walls rise from that edge, so the base should be the final diameter of the basket.
The Back-Loop-Only Corner
Here is the stitch that makes a basket look intentional rather than improvised. It creates a crisp fold exactly where base meets wall.
Every single crochet stitch has two top loops forming a V shape. Normally you work under both loops.
For one round only — the round right after your last increase — work each stitch into the back loop only.
That leaves the front loop standing proud as a small horizontal ridge. More importantly, it creates a natural hinge.
The fabric wants to fold along that line, so the sides turn up sharply and the base stays flat. The ridge becomes a neat, deliberate design feature.
After that single round, return to working under both loops for the rest of the basket. Beginners often forget this and then wonder why their walls lean.
Building a Firm Side Wall
Now you work even rounds — one stitch into every stitch, no increases — and watch the walls rise. The goal is a wall that stands on its own.
Tension is the first lever. Chunky walls need deliberate tightness. Pull each stitch snug and do not allow loose loops to creep in.
Single crochet is the firmest common stitch and the natural choice for a structural basket. Its short, dense rows build the sturdiest wall.
Half-double crochet works up faster and gives a slightly softer wall — good for a toy basket that will be handled constantly.
For the very firmest fabric, try a linked stitch: each new stitch is drawn through the previous stitch as well as the loop on your hook. Linked stitches remove the small gaps between stitches and produce a dense, mat-like wall.
Whichever stitch you choose, work the same stitch consistently for the entire wall. Changing mid-wall creates an obvious band across the basket.
Handles and Openings
A basket becomes genuinely useful the moment it can be carried. Handles are simple to work, but they need reinforcement.
The simplest handle is a chain space. At the point where you want an opening, chain a few stitches, skip an equal number of stitches, and continue the round.
The next round works normally over the chain space. This leaves a smooth, rounded gap — perfect for a decorative basket or a pair of tidy side openings.
For a true carrying handle, work a reinforced band. Skip the same number of stitches on each side, then in the next rounds work a flat strap of stitches back and forth across the gap.
Work two or three rounds of single crochet along the strap to thicken it. A thin single-crochet strap will stretch under the weight of a full basket.
Alternatively, turn the chain space into a tunnel: work a round of single crochet around the chain, then thread a firm cord or a length of the same yarn through it as a drawstring handle.
If you want a basket for the nursery shelf, a felt liner is a lovely finish. Cut a rectangle of felt to the inside height and circumference, seam it into a tube, and slip it inside.
Stitch it to the top edge with a few invisible stitches, or simply let it sit. The liner hides small gaps and stops fine contents — beads, buttons, tiny toys — from working through the fabric.
Stiffening, Lining and Sizing
Some basket styles need a little help to hold their shape. There are three ways to add it, and none is complicated.
Doubling the Base
The easiest structural trick is to make a second base the same size as the first and crochet the two together around the edge.
This doubles the thickness of the floor and gives the whole basket a much firmer footing. It also hides the underside of the base neatly.
A Fabric Liner
A fabric liner stiffens the walls from the inside, gives the basket a finished interior, and lets you use a prettier fabric than the yarn alone.
Cut the fabric slightly larger than the basket, seam it into a shape that follows the basket, and press the top edge under. Tack it in place just below the rim.
Starch or Fabric Stiffener
For cotton baskets, a light application of fabric stiffener or a starch-and-water solution, brushed onto the walls and allowed to dry, adds real rigidity.
Work it in gently, shape the basket while damp, and let it dry fully over something round to keep the rim even. Stiffener is a finishing touch, not a rescue for loose tension.
A Sizing Guide
Small catch-all baskets are about 10 cm across. They suit the bedside, the desk or the bathroom shelf, and take well under an evening.
Medium baskets, around 20 cm, are the workhorse. One or two large balls of super-bulky yarn and a couple of evenings will finish one.
Large floor baskets run to about 35 cm or more. They take three to four balls and several evenings, and they benefit from a doubled base.
To adjust any size, simply add or remove increase rounds in the base. Each additional round widens the basket by roughly the height of one stitch.
Height is even easier: work more or fewer even rounds up the sides, and stop when the wall is the depth you want.
Finishing, Blocking and Troubleshooting
Finishing a basket is quick work, but it is what makes the object look handmade rather than half-made.
Weaving In Ends
Thread the tail onto a blunt tapestry needle and weave it back and forth through the dense fabric of the wall — not across the top edge.
Work in at least two directions so the end cannot work loose. Because basket fabric is so dense, you can hide a great deal of tail inside it.
Trim the yarn only after it has been woven in thoroughly. A loose tail, snipped short, will eventually surface.
Blocking with Steam
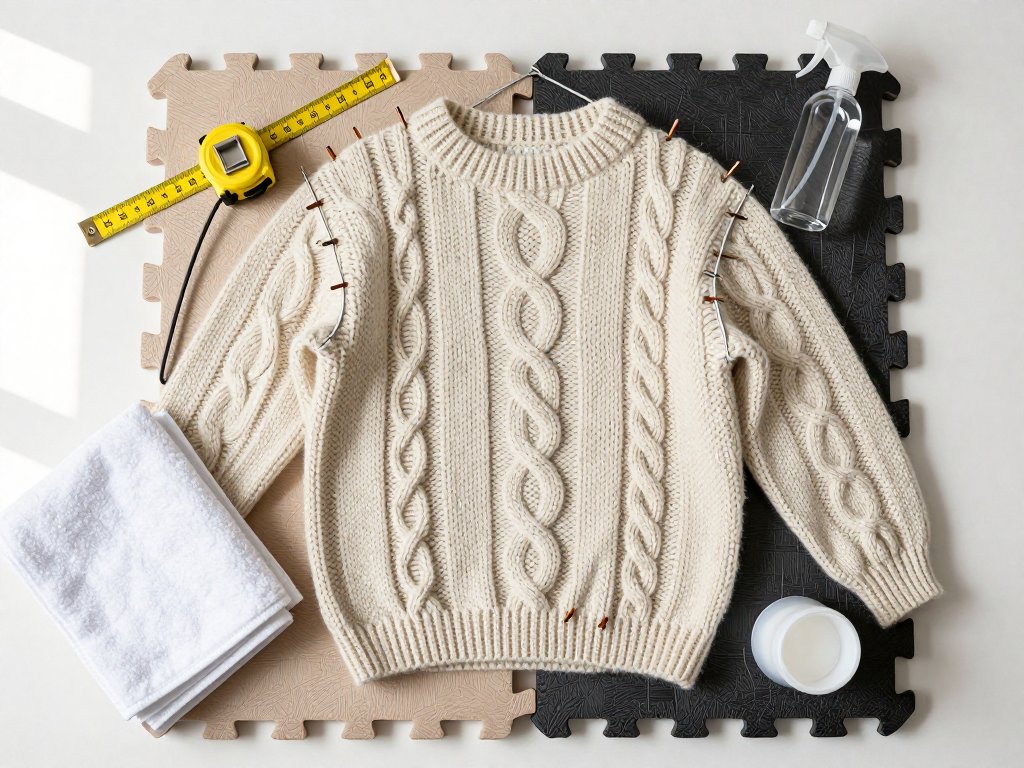
Cotton and cotton-blends respond beautifully to steam. Hold a steam iron just above the surface — never press the metal plate onto the stitches, or you will flatten them.
Dampen the basket lightly, shape it with your hands while it is damp, and set it to dry over a bowl or a jar to keep the base round and the rim even.
Acrylic does not block the same way, which is one more reason cotton behaves better in a basket. Let the basket dry completely before use.
Troubleshooting Common Problems
- The base ruffles. You are adding too many stitches. Work a round or two with no increases, then resume the correct spacing.
- The walls lean outward. Usually the fabric is too loose, or the back-loop round was missed. Try a smaller hook, tighter tension, and check that one round.
- The basket is floppy. Switch to single crochet, drop a hook size, or choose cotton over acrylic. A doubled base or a light stiffener will help.
- Visible gaps appear. Tighten your tension, try linked stitches, or add a felt liner. Gaps are common with loose single crochet.
- The handle stretches. The strap is too thin. Reinforce it with additional rounds of single crochet, or line it with a firm cord.
Your First Basket: Step by Step
Here is a small catch-all basket — roughly 10 cm across — that most beginners finish in one relaxed evening.
- Choose super-bulky cotton or cotton-blend yarn and a hook one size smaller than the label suggests.
- Make a magic ring, or chain three and join into a ring.
- Round 1: work six single crochet into the ring. Place a stitch marker in the first stitch.
- Round 2: work two single crochet into each stitch — twelve stitches. Move the marker up.
- Round 3: alternate one and two stitches — eighteen. Round 4: two, one, one — twenty-four.
- Lay the base flat after each round. Rippling means too many increases; cupping means too few.
- Keep increasing in this pattern until the base measures about 10 cm across, then stop.
- Work one round into the back loop only. This is the crisp corner where the base becomes the wall.
- Work even rounds — one single crochet in each stitch — until the wall is about 8 cm tall.
- For handles, chain five, skip five stitches, and continue; repeat on the opposite side for a pair.
- Work one final round of single crochet, working over the chain spaces to smooth the openings.
- Fasten off, weave in both ends firmly, then steam and shape the basket while damp.
Allow two to three hours for a first attempt, and rather less once your hands know the rhythm. The second basket is always quicker than the first.
A Closing Note
Baskets are forgiving teachers. They do not need to fit a body, and a slightly uneven round is hidden by the sheer thickness of the yarn.
Start small, keep your tension tight, mind the back-loop round, and stop increasing when the base is wide enough. Everything else is rhythm.
Begin with one ball and one evening. By the end of it you will have a basket, and a craft you can return to whenever the house needs a little more order.