There Is Something Special About Flowers That Never Fade
Have you ever bought a beautiful bouquet, only to watch it droop and brown a few days later? There is a quiet disappointment in that, is not there? You arranged them just so, found the perfect vase, and then — wilt.
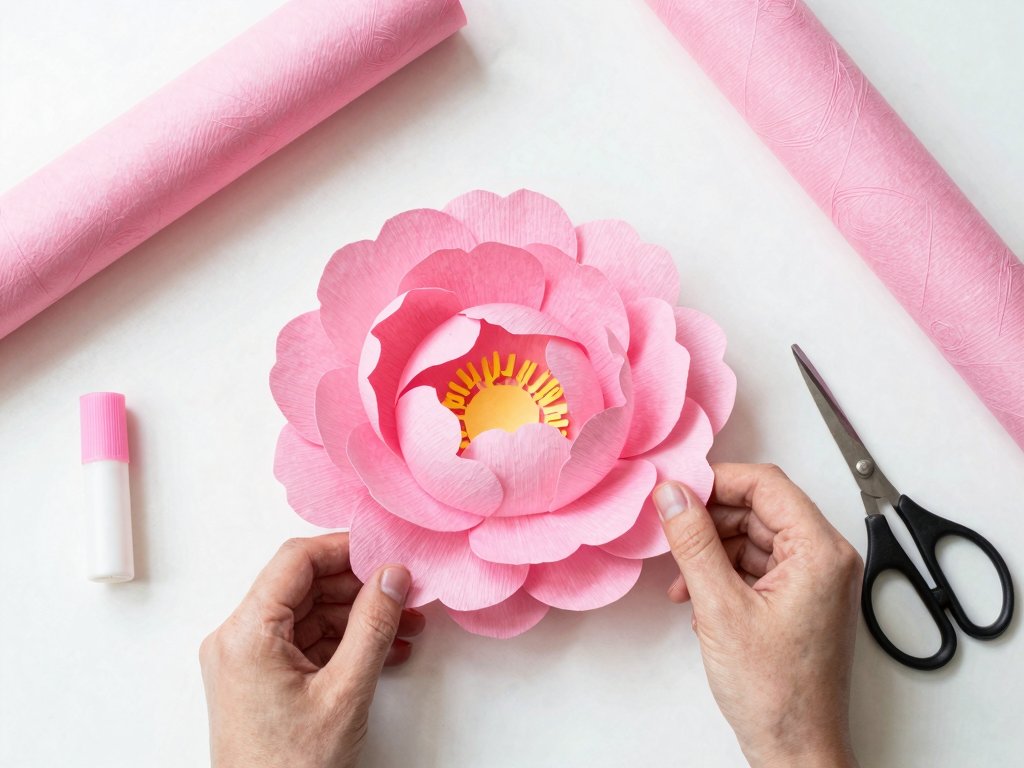
Crepe paper peonies solve that problem in the most delightful way. They capture the lush, romantic look of real peonies, but they will stay perfect on your shelf for years. And here is the best part: you do not need special skills or expensive supplies to make them. If you can curl paper and wrap a stem, you can create flowers that look almost real enough to smell.
This project is perfect for a quiet afternoon when the kids are napping or after everyone has gone to bed. It takes about 30 to 45 minutes for your first bloom, and once you get the hang of it, each flower gets faster and more beautiful.
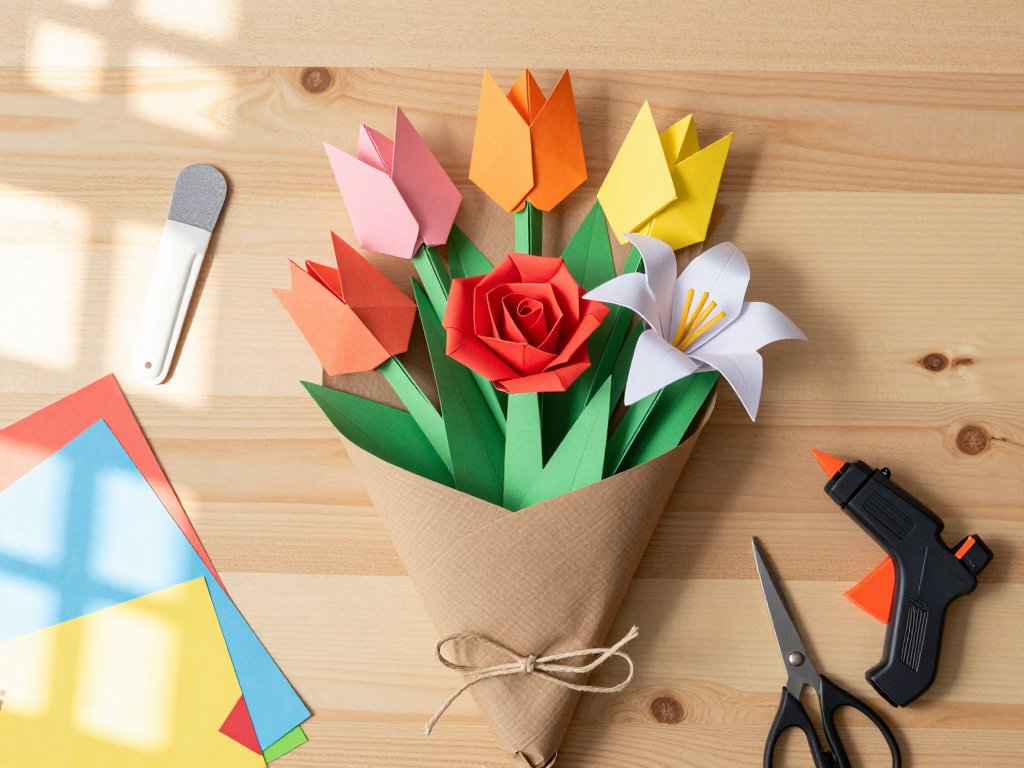
What You Will Need
One of the things I love most about crepe paper flowers is how simple the supply list is. You probably already have some of these items at home.
- Crepe paper in your chosen peony color (pink, blush, white, coral, or deep burgundy all work beautifully)
- Green crepe paper for leaves and calyx
- Floral wire (18 or 20 gauge works best for stems)
- Floral tape (green)
- Scissors
- Hot glue gun and glue sticks
- Small paintbrush (optional, for curling petals)
The total cost for supplies is around $15 to $20, and that is enough to make a dozen or more flowers. Compare that to a single bouquet from the store, and you can see why this craft is such a wonderful value.
Choosing Your Crepe Paper
Not all crepe paper is created equal, and this matters more than you might think. The standard crepe paper you find at dollar stores is fine for kids crafts, but for peonies that look realistic, you will want something with more stretch and body.
Look for Italian crepe paper or quality craft crepe. It has a higher thread count and stretches in one direction beautifully. The extra few dollars are absolutely worth it when you see how much more lifelike your petals look.
If you are just testing the waters, start with a single roll of medium pink. Peonies come in such a range of shades, but blush pink is the most forgiving and universally loved color.
Step 1: Cut Your Petal Templates
Before you start cutting, take a moment to understand how crepe paper works. It has a grain — a direction in which it stretches. The stretch should go across your petal, not top to bottom. This is what allows you to cup and shape each petal into something that mimics nature.
Start by cutting a simple paper template for three petal sizes:
- Small petals: about 1.5 inches wide and 2 inches tall
- Medium petals: about 2 inches wide and 2.5 inches tall
- Large petals: about 2.5 inches wide and 3 inches tall
You will need roughly 6 to 8 small petals, 8 to 10 medium petals, and 8 to 10 large petals per flower. Do not worry about making them perfect — peonies are naturally irregular, and that is what makes them beautiful.
Stack your crepe paper and cut several layers at once to save time. Trace your template with the grain running horizontally across the petal shape.
Step 2: Shape Each Petal
This is where the magic happens. Hold a petal between your thumbs and forefingers, with your thumbs in the center of the petal. Gently pull outward in opposite directions. The crepe paper will stretch and form a natural cup shape.
For the edges, gently curl them outward using a small paintbrush handle or even a knitting needle. Wrap the edge around the handle and pull downward. The paper will curl just like a real peony petal.
Take your time with this step. Shaping the petals is what separates a craft project from something truly special. Run your fingers along the stretched paper and feel how it transforms. There is something deeply satisfying about watching a flat piece of paper become a dimensional petal.
If you accidentally stretch too much and create a hole — just set that petal aside and cut another. It happens to everyone, and it is all part of the learning process.
Step 3: Build the Center
Real peonies have a tight cluster of small petals in the center. To recreate this, take a small rectangle of crepe paper (about 2 inches by 4 inches) in the same color. Fringe one long edge by cutting thin strips about three-quarters of the way down. Stretch the base gently and roll it tightly around the end of your floral wire. Secure with hot glue.
This fringed center gives your flower a realistic core. Without it, the flower can look flat and unnatural. Spend a few extra minutes here making sure the center is full and well-glued.
Step 4: Layer the Petals
Now comes the most rewarding part. Begin layering your petals around the center, starting with the smallest ones first.
Apply a small dot of hot glue to the base of each petal and press it against the floral wire, just below the fringed center. Overlap each petal slightly with the previous one. The first layer should have 4 to 5 small petals arranged tightly around the center.
For the second layer, use your medium petals. Place them slightly lower on the stem and stagger them so they fill the gaps between the first layer's petals. Gently curl the edges of each petal outward before gluing.
The third layer uses your large petals. Place them even lower, allowing the flower to open up and look full. As you add each layer, step back and look at your flower from different angles. Is there a bare spot? Add another petal there. Does it look too round? Peonies are a bit ruffled and irregular — embrace that.
This layering process is where the flower really comes to life. You might find yourself losing track of time, adjusting one petal here and another there. That is exactly how it should feel.
Step 5: Add Leaves and Calyx
Cut leaf shapes from your green crepe paper. Each leaf should be about 2 to 3 inches long with a pointed tip. Stretch the center of each leaf gently to give it dimension. Hot glue them to the stem, placing 2 to 3 leaves about an inch below the flower head.
For the calyx — the small green base that holds the petals — cut a small star shape from green crepe paper. Wrap it around the base of your petals and secure with floral tape. Stretch the points slightly so they curve outward naturally.
Wrap the entire stem with green floral tape, stretching it gently as you wind it around the wire. Start at the top, just below the calyx, and work your way down. The tape sticks to itself, so a little tension as you wrap is all you need.
Displaying Your Crepe Paper Peonies
These flowers look stunning in so many settings. A cluster of three in a ceramic pitcher on your kitchen table. A single bloom tucked into a small bud vase on your nightstand. A full arrangement in a tall vase as a centerpiece for a family dinner.
Because these flowers are lightweight, you can also use them in ways you could never use real flowers. Attach them to a gift box. Pin one to a handbag. Create a permanent wreath for your front door. Make a crown for a flower girl or a birthday girl.
My personal favorite: a small vase of three peonies on my desk where I can see them while I work. They remind me that beautiful things do not have to be expensive or complicated. Sometimes the loveliest projects start with a single piece of paper and a little bit of patience.
Tips for Your First Batch
Here are a few things I learned the hard way so you do not have to:
- Less glue is more. Hot glue strings can be messy. A small dot is plenty for each petal.
- Let your petals rest. If the crepe paper feels tight or resistant, set it down for a minute. The fibers relax and shape more easily.
- Work in good light. Seeing the subtle shades and shapes of each petal makes a big difference.
- Do not compare your first flower to photos online. Your first peony will be beautiful because you made it with your own hands. The next one will be even better.
- Save your templates. Once you have a flower shape you love, trace it onto cardstock so you can reuse it.
A Simple Joy That Lasts
There is a reason paper flower crafting has been beloved for generations. It asks very little of you — just paper, your hands, and a quiet moment. In return, it gives you something that stays beautiful through every season.
Your crepe paper peonies will not need water. They will not droop on a hot day. They will not trigger anyone's allergies. They will simply sit there, looking lovely, reminding you that you made something beautiful with your own two hands.
And when a friend asks, "Where did you get those flowers?" you get to smile and say, "I made them."
That never gets old.