Finding Your Creative Rhythm
There is something deeply calming about working with clay. The cool, pliable material in your hands seems to slow time, offering a rare pocket of stillness in the midst of busy days filled with caring for little ones and managing a household.
Air dry clay makes this experience accessible to everyone. No special equipment, no kiln, no intimidating studio space—just you, a block of clay, and a quiet afternoon while the kids are at school or napping.
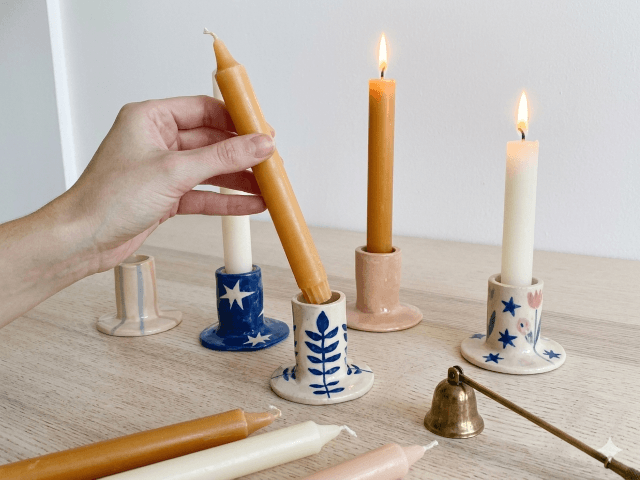
Creating elegant candle holders is one of the most rewarding projects you can undertake. These pieces serve both form and function, bringing a soft, flickering glow to your evenings while showcasing your creative touch.
Gathering Your Materials
You will need air dry clay (white or terracotta both work beautifully), a small rolling pin or smooth glass, a butter knife or clay tool, a sponge, sandpaper (fine grit), and a small candle or tea light to use as a form.
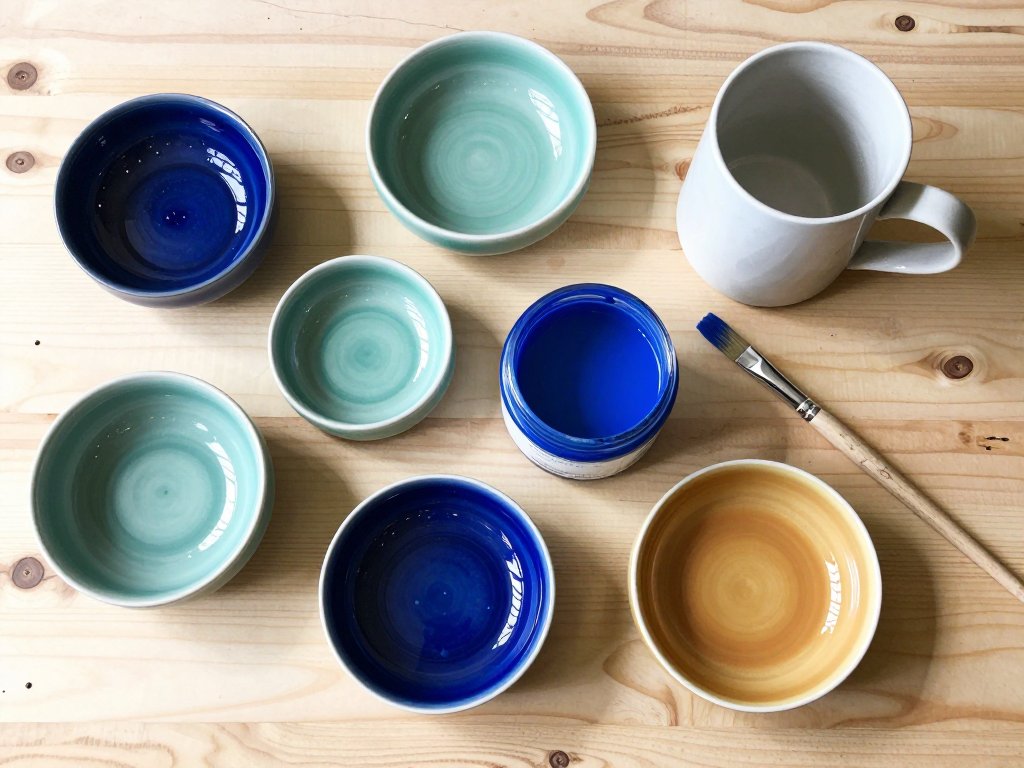
For finishing, gather acrylic paints in neutral tones—think warm whites, soft grays, or muted sage green. A matte varnish will protect your finished pieces and give them a subtle, professional sheen.
Set up your workspace with a clean cloth or plastic sheet. Clay work is forgiving, but a tidy surface helps you focus on the creative process without distraction.
Shaping Your Vision
Begin by kneading the clay for a few minutes. This warms it and removes air bubbles that could cause cracks later. Work at a gentle pace—there is no rush in this creative journey.
Roll the clay to about a quarter-inch thickness. Cut a circle for the base, making it slightly larger than your candle. A small plate or bowl makes an excellent template if you do not have circular cutters.
For the holder itself, roll a longer piece into a cylinder, then gently wrap it around your candle to create the walls. Smooth the seam with a damp sponge, turning what was once separate pieces into one unified form.
Add delicate details if you wish—gentle indentations with a fork create texture, or you might press lace into the clay for a romantic, vintage-inspired pattern. These small touches transform simple shapes into something uniquely yours.
The Art of Patience
Air dry clay requires time to cure properly. Place your pieces in a cool, dry area away from direct sunlight. Depending on thickness, this may take 24 to 48 hours.
Resist the urge to speed this process with heat—slow drying prevents warping and cracking. Use this waiting time to imagine where your candle holders will live in your home, or perhaps sketch ideas for your next creative project.
Once completely dry, the clay will feel cool and hard to the touch. Sand any rough edges gently, always moving in one direction to maintain smooth surfaces that feel pleasant in your hands.
Adding the Finishing Touches
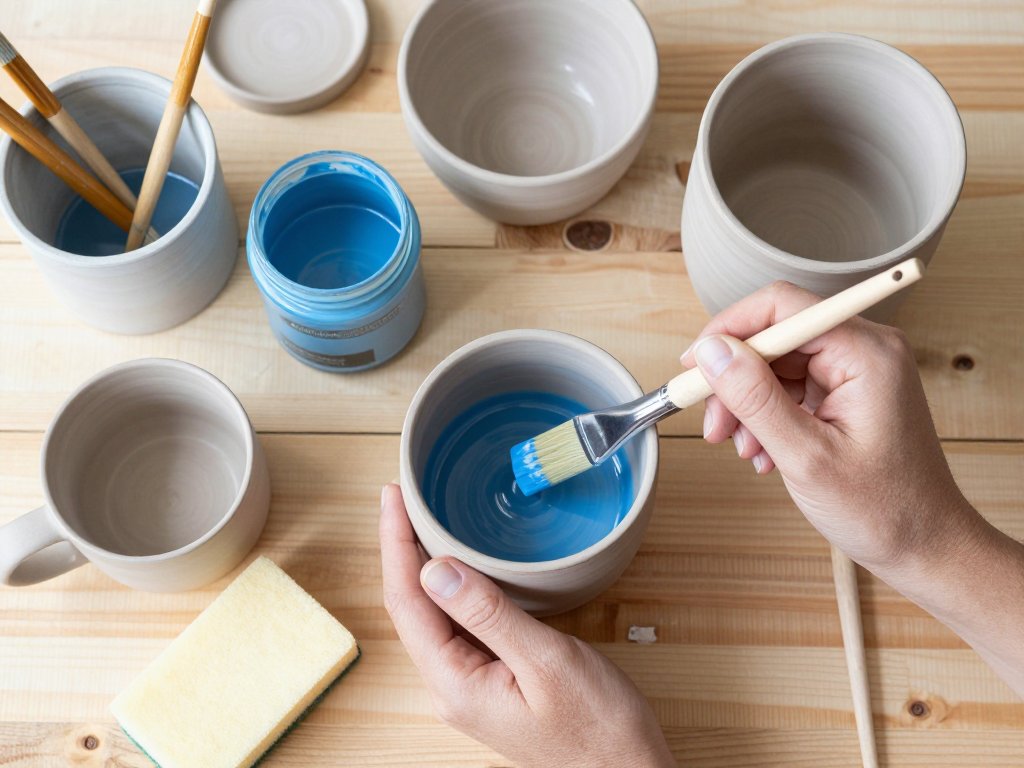
Now comes the transformation. Apply a base coat of paint, allowing each layer to dry completely. Two thin coats create better coverage than one thick application—another lesson in patience that yields beautiful results.
Consider a dry-brush technique for added dimension. Dip your brush lightly in paint, then wipe most of it off on a paper towel before gently brushing the raised areas of your texture. This highlights your design choices beautifully.
Seal your work with a matte varnish, applying it with soft, even strokes. This protective layer ensures your candle holders will grace your tables and shelves for years to come, weathering the occasional bump or spill with grace.
Creating Moments of Warmth
Place a tea light or slender candle into your holder. Strike a match and watch as the flame dances within your handcrafted creation. The soft glow reflects off the clay surface, casting gentle shadows that seem to whisper of quiet evenings and creative fulfillment.
These candle holders make thoughtful gifts for friends who understand the value of handmade treasures. Wrap them in tissue paper and tie with twine—the presentation becomes part of the gift itself.
You might find yourself making several in different sizes, creating a collection that grows with your skills. A small one for the bathroom vanity, a medium for the dinner table, perhaps a larger statement piece for the entryway.
Remember that each piece carries something special—the imprint of your hands, the choices you made in texture and color, the time you carved out for yourself. In a world that often demands so much of you, these candle holders stand as gentle reminders that you deserve creative expression too.
Light a candle this evening. Sit with your creation. Breathe in the calm you have crafted, one careful step at a time.