Introduction
Some drawings take an afternoon. The ones I love most took ninety seconds.
A brush pen is the tool that made that possible for me. It looks like a pen, fits in a pencil case, and behaves like a small, soft brush.
Press a little and you get a delicate hairline. Press more and the same tip swells into a bold, confident stroke. One pen, thousands of line weights.
That single trick is why brush pens are the fastest way to loosen up a stiff drawing. There is no nib to change, no water to manage, and almost no setup.
This guide is written for absolute beginners. If you have not drawn since school, you are exactly who I had in mind.
Everything here works in five- to ten-minute sessions, the kind you can fit between a nap and a school pickup. Let us start.
What a Brush Pen Is (and How It Differs from a Fineliner)
A brush pen is a pen with a flexible, tapered tip instead of a rigid metal nib. The tip bends as you press, and that bending is what changes your line.
Fibre-tip brush pens use a shaped synthetic tip. Real hair brush pens use sable or synthetic hair, like a tiny watercolour brush with a built-in ink supply.
A fineliner works the opposite way. Its nib is firm, so your line stays one width no matter how hard you push.
Fineliners are wonderful for detail, fine lettering, and even hatching. They are simply far less expressive, because they never surprise you.
A fountain pen sits between the two. Its nib flexes a little, but far less than a brush tip, and it asks for a lightness of touch that feels fussy at first.
The practical difference is pressure. With a fineliner you control the line with direction. With a brush pen you control it with weight and speed.
That is the whole idea. Think of a brush pen as drawing with pressure rather than with movement alone.
Types of Brush Pens and Choosing Your First Ones
You do not need many pens. Three is plenty at the start, and two of them can be cheap.
- Fibre-tip brush pens. Small, tidy, and firm. They give you the widest beginner control and almost no mess.
- Felt-tip brush pens. Softer and springier. They flex further, which means bigger thick-to-thin drama and a little more wobble.
- Real hair brush pens. The softest and most painterly. Beautiful edges, but they punish a heavy hand.
- Refillable brush pens. You fill the barrel with ink. Cheaper over a year, and lovely once you know you like the tool.
- Water-based pens. The ink stays water-soluble after it dries, so you can blend it later with a damp brush.
- Pigmented pens. Waterproof and permanent. Your lines stay crisp even if water passes over them afterward.
For a first pen, choose a small fibre-tip brush in black. Look for the words "small brush" or "fine brush" on the barrel.
Add one waterproof pigmented pen for outlines you intend to paint over, and one cheap water-based pen for soft washes.
That trio covers nearly every beginner project in this article, and it costs less than a takeaway dinner.
Paper, Bleed, and Feathering
Paper decides how a brush pen behaves, so it is worth a moment of thought before you buy anything fancy.
Smooth paper — hot-press watercolour paper, Bristol board, or a marker pad — lets the tip glide. Lines stay crisp and your thick-to-thin transitions read cleanly.
Toothy paper — cold-press watercolour paper or rough sketch paper — grabs the fibres and gives a rougher edge. It is lovely for foliage and unforgiving for hairlines.
Two words describe the problems to watch for: bleed and feathering.
Bleed is when ink soaks through to the back of the sheet. Feathering is when ink spreads sideways into fuzzy edges along the line.
Both mean the paper is too absorbent for your pen. Test every new pen on a scrap corner before you commit to a drawing.
For daily practice, plain 90 to 120 gsm sketch paper is fine. Keep the good watercolour paper for finished pieces.
Holding the Pen and Controlling Pressure
How you hold a brush pen matters more than how you hold a ballpoint, because your grip sets your line width.
Hold the pen like a brush, not like a pencil. Rest it lightly against the paper, then let your whole arm do the moving.
Grip close to the tip for control and fine detail. Grip higher up the barrel for long, sweeping strokes and looser marks.
Pressure is the real lesson. Light pressure gives a thin, elegant line. Firm pressure splays the tip into a bold one.
Try this on scrap paper: draw a single line, start light, gradually press, then release as you finish.
You should see the stroke begin thin, swell in the middle, and taper to a point. That is your first real brush pen stroke.
If your tip splays and never recovers, you are pressing far too hard. Ease off and let the tip do the work.
Rest the side of your hand on a scrap sheet laid over the page, never on the drawing itself. It keeps oils off the paper and steadies your stroke.
Rotate the page instead of twisting your wrist. Bring each stroke around to a comfortable angle and let the paper move for you.
Line Confidence and Drawing from the Shoulder
Wobbly lines come from the wrist, and most beginners draw entirely from the wrist. The fix is to move your whole arm.
Lock your wrist and drive the stroke from your shoulder. Long, confident lines come from that bigger motion, not from tiny finger movements.
Draw slowly on purpose. Speed hides hesitation, while a slow, deliberate stroke shows you exactly where your hand is going.
If a line feels wrong, do not fix it by scratching over it. Finish the stroke, look at it, and draw it again on the next sheet.
Correction strokes are the clearest sign of an unsure hand. Trust the line you committed to, even when it wanders.
Practise straight lines, then curves, then ovals, keeping each one a single unbroken motion. Confidence is a habit, not a talent.
Aim to fill the page edge to edge, not to make each line perfect. Filling space trains your arm, while perfecting single lines only trains your nerves.
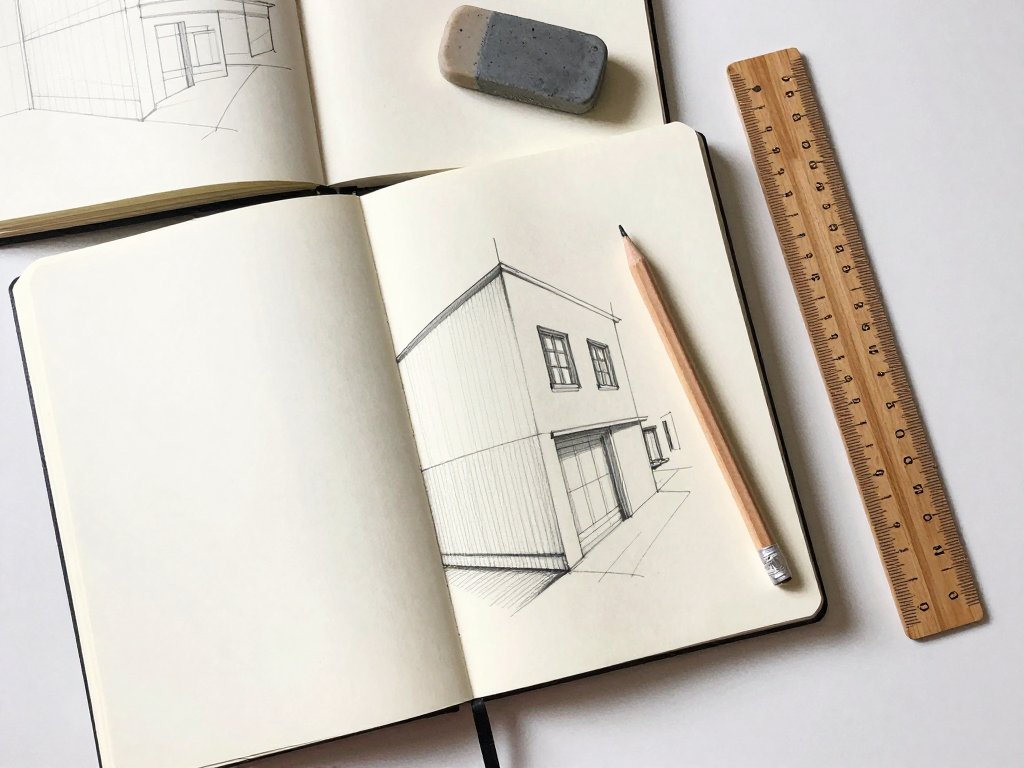
Once your ink lines feel steady, two-point perspective is a wonderful skill to pair with them, because buildings live and die by confident straight edges.
Your Five-Minute Daily Practice Routine
Short and often beats long and rare. Five to ten minutes a day will improve your drawing faster than one weekly marathon.
Here is a simple warm-up you can repeat exactly as written, in order, every day.
- Graduated lines (one minute). Draw a straight line that goes thin to thick to thin. Fill a small row of them.
- Thick-to-thin strokes (one minute). Make simple tapered marks, pressing at one end and lifting off at the other.
- Ovals (one minute). Draw overlapping ovals without lifting the pen. Keep them smooth and unhurried.
- Squiggles (one minute). Loose loops and waves to loosen your wrist and fill the page honestly.
- One small subject (two to five minutes). A leaf, a pear, a cup — whatever is on the table.
Do not judge the results. The point of a drill is repetition, not beauty.
If you only have five minutes, do the drills and skip the subject. If you have ten, you get both.
Simple Beginner Subjects, Step by Step
Every subject below fits in a few minutes and uses the same three ideas: a light shape, a confident outline, then a little shading.
Keep your pencil guide lines light and leave them in place until the ink is dry. A faint shape underneath gives your brush pen something gentle to follow.
A Leaf
Draw a light teardrop shape with a centre vein. Outline it with one confident stroke, thicker at the base and tapering to the tip.
Add two or three side veins as quick flicks. Leave the highlights bare and shade only where the leaf curls.
A Pear
Start with two overlapping circles — a small one on top, a large one below. Join them into a smooth pear silhouette.
Thicken the lower edge, leave the upper left light, and add a short stem. That contrast is what makes it look round.
A Teacup
Draw an oval for the rim, then curve two sides down to a smaller oval base. Add a handle as a simple open loop.
Make the near edge of the rim slightly thicker. Shade a soft shadow under the cup so it sits on the table.
A Bird
Begin with an oval body and a small circle head. Add a loose teardrop wing and a short triangular beak.
Draw the legs as two thin lines. Thicken the wing edges and leave the breast light for a soft, rounded feel.
Foliage and Plant Shapes
Draw a single stem, then add leaves along it in pairs. Vary each leaf slightly, because real plants never repeat.
Cluster the darker leaves behind the lighter ones. A few loose squiggles around the edges suggest the rest of the plant.
Water, Layering, and a Single Spot of Colour
Water-based brush pens can be softened with a damp brush while the ink is still wet, turning your lines into gentle grey washes.
Dip a small synthetic brush in clean water, squeeze it nearly dry, then drag it lightly through your line. The ink lifts and softens.
Water will not move pigmented or waterproof ink, which is useful for keeping some lines crisp while washing others.
Work on watercolour paper for washes, and test on scrap first. Ordinary sketch paper will buckle and pill.
Let each wash dry completely before you add another, or the surface will start to break down. Patience here is what keeps a soft grey from turning muddy.
Layering builds tone in three familiar ways. Hatching places parallel lines, and the closer they sit, the darker the area reads.
Cross-hatching adds a second set of lines at an angle over the first. It darkens quickly and leaves a visible direction.
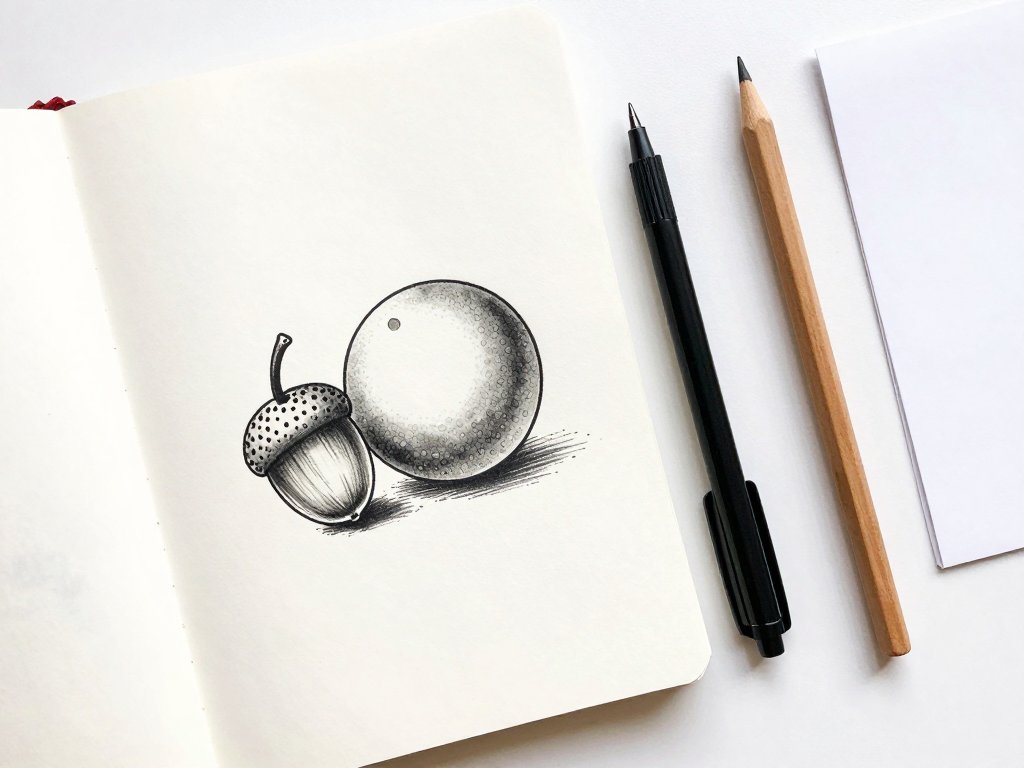
Stippling builds shadow from tiny dots instead of lines. It is the softest of the three, and lovely for round subjects.
For a single spot of colour, pick one watercolour pencil or a single drop of paint and add it to one focal point only.
A berry-red pear stem or one green leaf tip can carry a whole ink drawing. Restraint is what makes it sing.
Common Mistakes and How to Fix Them
Nearly every beginner problem comes from one of five habits, and each one has a simple cure.
- Scratching with a heavy grip. You are pressing instead of gliding. Ease off and lighten your hold until the tip just kisses the paper.
- A tight, cramped grip. Your hand aches and your lines shorten. Move your grip up the barrel and slacken your fingers.
- Wobbly lines. The wrist is doing the work. Lock it and drive the stroke from your shoulder instead.
- Over-working a drawing. Too many corrective strokes turn it muddy. Commit to one line and move on.
- Filling every space. Beginners shade everything. Leave the light areas bare and let the white paper breathe.
The cure for most of these is simply to slow down. A brush pen rewards patience far more than speed.
Keep a few of your early pages. The mistakes you make now are exactly what your hand is learning to leave behind.
Cheap Supplies and a Daily Sketchbook Habit
You do not need artist-grade anything to begin. A cheap fibre-tip brush pen and a plain notebook are enough to learn on.
Buy one good small brush pen, then buy the rest cheaply. Test each new pen before you trust it with a finished drawing.
Practise without wasting paper by drawing on the backs of scrap, junk mail, or old envelopes. Nobody grades your practice sheet.
Fill a page, flip it, and carry on. A cheap notebook you actually use beats an expensive one you are afraid to spoil.
Keep your supplies in one small pouch or tin by the kettle. Friction is the enemy of a daily habit.
Draw at the same quiet moment each day — after coffee, before the school run. A fixed cue turns practice into routine.
Date the corner of every page. In a month you will flip back and see real change, even on the days you felt stuck.
Final Thoughts
A brush pen is the kindest teacher a beginner can have. It forgives a light hand and rewards a confident one.
You do not need to draw well to enjoy it. You need ten minutes, one pen, and one small subject.
Start with the graduated lines today, then try a single leaf before bed. That is the whole assignment.
Keep the pages you like and the ones you do not. Both are the work, and both are getting better.