Introduction
Some crafts greet you with a supply list as long as your arm. Bleeding tissue paper art asks for almost nothing. Water, paper, and a pack of cheap colored tissue, and you are painting.
The idea is simple and just a little magical. Certain tissue papers release their dye when they get wet. Lay them on damp paper, press, and the color walks off the tissue and into your page.
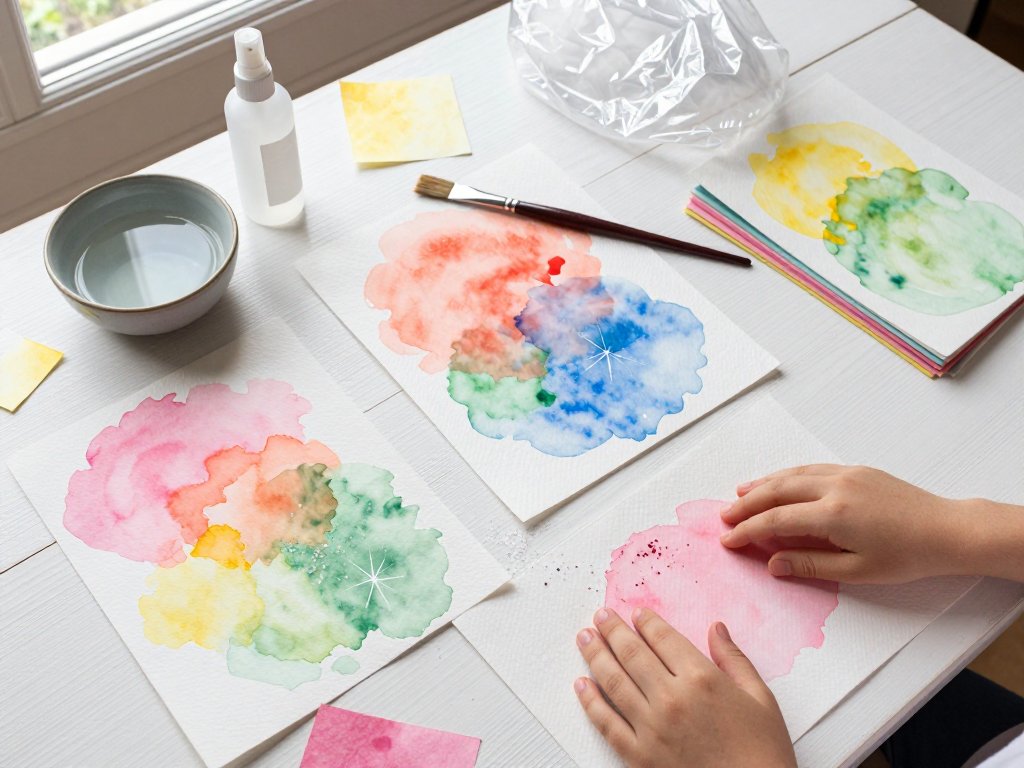
What you get looks like a soft watercolor wash: blurry edges, blended color, gentle bleeds. There is no brushwork to master. The paper does the painting, and you simply arrange it.
I made my first sheet on a rainy afternoon with my daughter at the kitchen table. Our results were blotchy, uneven, and genuinely pretty, and nobody at that table had to be good at art.
That is why this is such a forgiving first project. There are no wrong strokes to ruin, no perspective to get right, and no lines to color inside of.
If a sheet turns out muddy, it becomes collage material. If it turns out beautifully, it becomes a card. Either way, you win. Let me show you exactly how it works.
Why Bleeding Tissue Paper Is So Forgiving
Regular gift-wrap tissue paper is dyed, but that dye is fixed so it will not run. Bleeding tissue paper is made differently, because its color is designed to release when it meets water.
You will see it sold as "art tissue" or "bleeding tissue." If a package promises that the color bleeds, that is precisely what you want.
When water touches the tissue, the dye dissolves and wicks into the paper beneath it. The wetter the page, the farther the color travels and the softer its edge becomes.
Because the color moves on its own, you cannot really control it, and that is the entire point. You are guiding the result rather than drawing it.
This is the same soft-edge quality that makes wet-on-wet painting so appealing, but here it happens without a brush or a palette. Your hands stay mostly dry.
Different colors also bleed at different rates. Reds and pinks tend to travel fast and strong, while pale yellows and soft greens release slowly and gently.
There is no drying-time pressure either. You can leave a sheet half-finished, come back the next morning, and add another layer of color over the dried one.
Nothing you do at the start commits you to anything at the end. For a beginner, that freedom is worth more than any technique you could learn.
What You'll Need
Here is the exact list. You likely own half of it already, and the rest is inexpensive and easy to find.
- Bleeding tissue paper. Sold as "art tissue" or "bleeding tissue." Plain gift-wrap tissue often will not bleed, so check the label. A pack of assorted colors lasts for many projects.
- Heavier paper to paint on. Watercolor paper or mixed-media paper, around 140 lb (300 gsm). Printer paper is too thin and will pill and tear.
- Water. A small bowl or a spray bottle. Plain tap water is perfectly fine.
- A brush or a spray bottle. A wide flat brush, a foam brush, or a fine mist sprayer. All three work well, and each gives a slightly different look.
- Plastic wrap (cling film). For pressing the tissue down and for one of the texture variations later.
- A protected work surface. A plastic sheet, a tray, or a washable mat. The dye stains whatever it touches.
- Optional extras. Coarse salt, a hairdryer on a cool setting, paper towels, and a stack of newspaper for drying sheets between layers.
Two notes before you begin. First, test your tissue on a scrap of your paper before committing a whole sheet, because some brands bleed strongly and others faintly.
Second, keep your base paper truly heavy. This single supply choice decides whether your project works or falls apart, more than anything else on the list.
Tear or cut your tissue into pieces. Small squares, long strips, and torn shapes all behave a little differently, so make a generous mix of each.
Setting Up Your Space Before You Start
Five minutes of setup saves you an hour of cleanup, and it lets children join in without anyone worrying about the table.
Cover the whole work area with a plastic tablecloth, a cut-open trash bag, or a cheap shower curtain. The dye will find any bare wood.
Keep a roll of paper towels within reach and a bowl of clean water beside you for rinsing fingers. Wet dye travels surprisingly fast.
Work near a sink if you can, and keep finished wet sheets on a tray so they can travel to a drying spot without dripping across the floor.
If children are helping, give each person their own tray, water bowl, and paper. Shared water turns muddy quickly, and separate trays prevent turf wars.
Wear clothes you do not mind staining, or tie on an apron. Tissue dye can be stubborn on fabric, especially the strong reds and deep blues.
Finally, decide where the sheets will dry before you make any. A spare room, a laundry rack, or a sheet of newspaper on the floor all work nicely.
The Core Technique, Step by Step
This is the whole method, start to finish, in eight steps. Once you have done it once, you will not need the instructions again.
- Protect your table. Lay down plastic, a tray, or a washable mat. The dye can seep through the paper onto whatever sits beneath it.
- Wet your base paper. Brush or spray a thin, even film of water across the watercolor paper. You want it damp and slightly shiny, not puddled.
- Lay on the tissue. Press pieces of bleeding tissue color-side down onto the damp paper. Overlap them, leave gaps, and let the arrangement be loose.
- Wet the tissue. Mist or brush water over the top of the tissue until it is fully saturated. You should already see the color beginning to release.
- Press and wait. Cover the whole thing with plastic wrap and press gently with your hands or a book. Wait two to five minutes.
- Peel the tissue away. Lift the pieces slowly. A soft, washed-out print of color stays behind on your paper.
- Let it dry flat. Lay the sheet on newspaper or a drying rack. Because the paper is wet, it will curl as it dries.
- Press it flat. Once it is completely dry, sit the sheet under a heavy book for an hour to flatten it.
That is the entire technique. The color bleeds from the tissue into the wet page, and when you peel, the paper keeps a soft impression of everything you laid down.
Your first sheet is always the learning sheet. Watch how far the color travels, how the overlaps blend into new shades, and how fast the water soaks in.
Do not fuss over placement. The charm of this craft is that a loose, uneven arrangement usually looks better than a careful, planned one.
Three Variations Worth Trying
Once the basic method feels familiar, these three changes multiply what you can make. Each one uses the same supplies you already have.
Variation One: Crumpled Versus Flat Tissue
Flat tissue gives a smooth, even wash of color with fairly clean edges exactly where you placed it.
Crumple the tissue into a loose ball first, then open it out and press it down. The creases release dye unevenly, leaving a mottled, organic texture.
Crumpled tissue is my favorite for landscapes and skies, because the irregular blotches read like clouds. Flat tissue suits clean color blocks and geometric shapes.
Try both on a single sheet, side by side, and you will immediately see which look you prefer for your own projects.
Variation Two: Salt and Plastic Wrap Texture
While the colored page is still wet, sprinkle coarse salt over it. As the water dries, it pulls away from each grain and leaves a starburst of pale speckles.
Brush the salt off only once the paper is fully dry. Do not rush this step, because salt on a damp page simply smears the color around.
For a second texture, lay crumpled plastic wrap over the wet page and leave it there until dry. The film lifts into ridges and creates soft creases of lighter and darker color.
These two tricks add real interest without requiring any supply you would not already keep in a kitchen drawer.
Variation Three: Layering Two Colors
Let your first color dry completely, then lay a second color of tissue over the top and repeat the whole process.
The new color settles over the old one, and wherever they overlap you get a third blended shade. This is how you build depth.
Keep the layers light. Two or three passes are plenty, and more than that will turn everything into a flat gray-brown mud.
If you want the blends to stay bright, choose neighbors on the color wheel, like pink into orange or blue into violet, rather than opposites.
Choosing Colors That Blend Well
Color choice does more for the final look than any technique, so it is worth a minute of thought before you wet anything.
Choose two or three colors that sit near each other on the color wheel. Pink, orange, and yellow blend into warm, sunset-like washes that stay clear and bright.
Blues with greens and violets give you cool, watery sheets that work well for skies, seas, and wintry scenes.
Avoid pairing opposite colors, like red with green or blue with orange, unless you actually want a muted brown where they meet.
You can always build contrast with value instead of hue. A pale blue beside a deep blue creates drama without any risk of mud.
Limit yourself to three colors per sheet at first. A tight palette almost always looks more intentional and more beautiful than a rainbow.
Keep a scrap sheet beside you to test how each color bleeds and how it mixes with its neighbors before you commit it to a finished piece.
What to Do With Your Finished Sheets
The best part is that every dried sheet is already a small piece of art, so it turns into something useful with only scissors and glue.
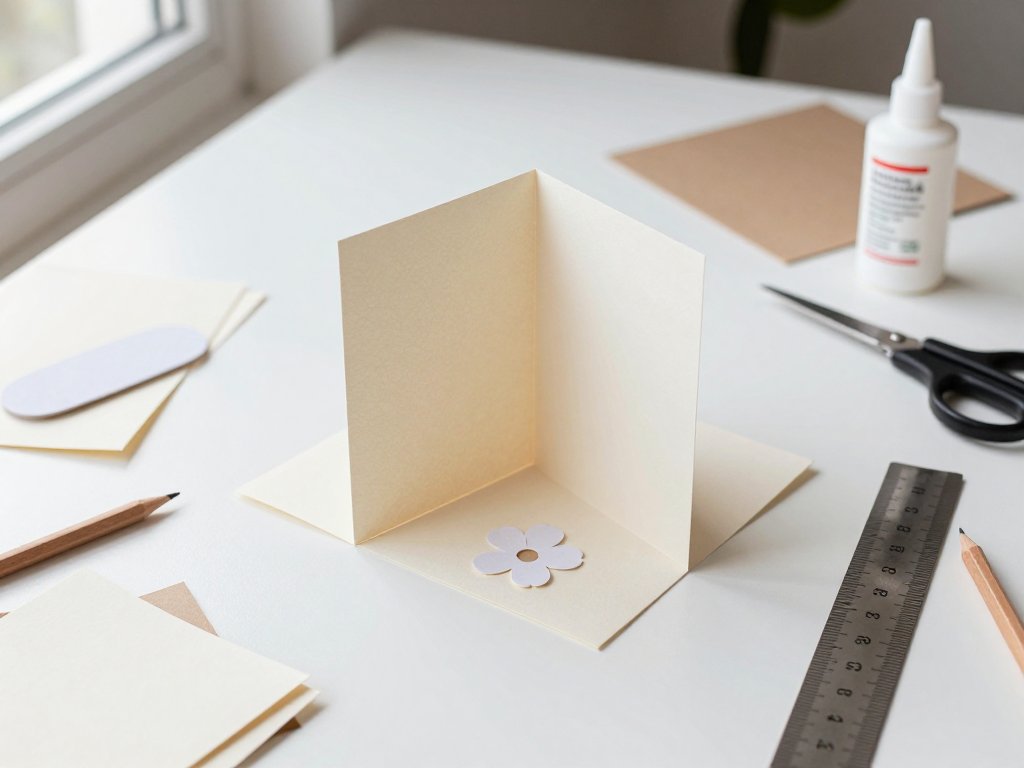
Greeting cards. Fold a piece of cardstock, cut a window or a shape from your tissue sheet, and glue it down. The soft color makes a lovely handmade card.
Journal covers. Glue a trimmed sheet across a notebook cover and seal it with a thin coat of matte medium. It wears beautifully over months of handling.
Collaged bookmarks. Cut your sheet into strips, layer a few together, and laminate or wrap them in clear tape. They are quick, easy, and endlessly giftable.
Book covers. A full sheet wraps a paperback like custom endpapers. This is a lovely way to dress up a favorite book or a homemade journal.
If cards are your thing, the same skills carry straight over to paper pop-up cards, where a colored tissue panel makes a soft, quiet background.
Small offcuts are never waste. Save them in a zip bag, because they become collage fodder, envelope liners, and tiny accent shapes later on.
You can also frame a particularly good sheet as it is. A simple frame and a wide mat turn a torn piece of tissue paper into wall-worthy art.
Troubleshooting: When It Goes Wrong
Almost every problem in this craft has a simple fix, and most of them come down to too much water or too thin a paper.
The paper pills or tears. You used printer paper or another thin stock. Heavier watercolor or mixed-media paper will hold up to the water.
The color keeps bleeding. That is normal while the page is wet. Stop adding water, walk away, and let it dry, because the bleeding slows as the moisture leaves.
The colors turn muddy. You pressed too hard or laid too many layers. Press gently next time and limit yourself to two or three colors that sit near each other on the wheel.
The tissue sticks to the page. You left it on too long, or the paper was soaking. Peel while the tissue is still damp, and mist lightly instead of flooding.
The color is too faint. Some tissue brands are shy. Add a second piece of the same color, or leave it in place a bit longer before you peel it away.
The sheet curls badly. It dried without any support. Weight it flat under books once it is dry, and it will relax and straighten out.
None of these problems ruin a sheet. A muddy patch or a torn corner simply becomes the part you cut away, or the part you cover with collage later.
Final Thoughts
Bleeding tissue paper art is the rare project that asks nothing of your skill and gives back something genuinely beautiful.
You are not trying to control the color here. You are inviting it in and seeing where it settles, and that looseness is the charm rather than a flaw.
Your first sheets will be uneven. Mine still are, and I have made dozens by now. The uneven ones are usually the ones I end up liking best.
So spread an old towel on the table, tear up some tissue, and let the water do the work. Keep the sheets that surprise you and turn the rest into cards.
This is a project you can set up in five minutes and abandon without any guilt at all. Come back tomorrow, and the dried color will be waiting, ready for one more layer.