Introduction
My mother kept her mediums in a shallow wooden box that smelled of linseed and dust. I can still see the bottles lined up inside it, cloudy, unlabeled, and a little mysterious.
For years I treated them as tools for someone more serious than me. Then one gray afternoon I thinned a whole sky with tap water and watched it dry flat and chalky.
That afternoon taught me more than any class ever did. Water and acrylic can be friends, but they are not the same thing, and a medium is how you change paint without breaking it.
This guide is about those bottles — gels, pastes, retarders, and flow improvers. What each one actually does, when to reach for it, and how to mix with confidence.
You do not need all of them. You need to understand a few, and then the rest of the wall suddenly makes sense.
So pull up a chair beside my old wooden box, and let us open one jar at a time.
Why Water Changes Acrylic Paint and Mediums Do Not
Acrylic paint is pigment suspended in a binder. That binder is an acrylic polymer emulsion, and it is the part that grips the canvas and locks the pigment in place as the water evaporates.
Add a little water and the binder stretches thin. Add too much and it loses its grip, dries dull, and can crack or lift months later.
Mediums are different. They are essentially the binder itself, plus water and a few additives, so they thin paint without diluting the glue that holds everything together.
That is the whole secret, honestly. Water works like a stretched rope, while a medium works like more rope of exactly the same kind.
Think of it as tea. Water dilutes the flavor, but more tea keeps the brew strong while it pours just as easily.
For a beginner, the practical rule is simple. Use water for cleaning brushes and dampening sponges, and reach for a medium whenever the paint itself needs to change character.
A spray bottle of water on the palette is fine, because that is about keeping things moist, not about changing the chemistry of the paint.
Gels: Gloss, Matte, Heavy-Body and Soft
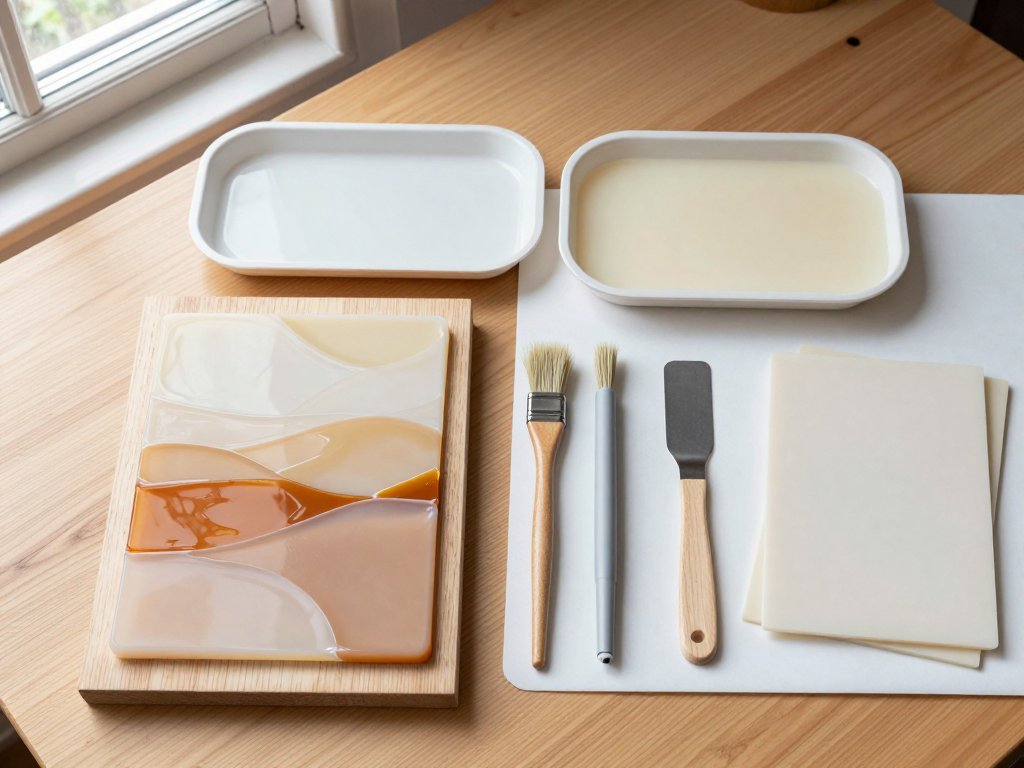
Gels are the workhorses of the acrylic world. They are thick, transparent, and available in gloss or matte, so they carry color without shifting its hue.
Gloss gel dries to a clear, shiny surface. It keeps colors luminous and deep, and it is the best choice when you want paint to look wet and rich.
Matte gel dries flat and slightly veiled. It softens shine and gives an even, chalky finish that is wonderful for backgrounds where glare distracts the eye.
Heavy-body gel is stiff enough to hold a peak. It builds thick, sculptural strokes you can see across the room, and a palette knife is happiest working with it.
Soft gel is smoother and looser. It extends color, helps glazes flow evenly, and disappears into the paint with barely a trace of its own.
Gel mediums also strengthen a glaze far better than water can. Because they keep the binder intact, a transparent layer mixed with gel dries durable instead of powdery.
If you are just learning to layer color, a soft gel is your quietest and most forgiving partner. It changes how the paint behaves without changing its soul.
Buy one gloss and one matte to start, and you will already feel the difference between shine and calm in your own hand.
You can also mix a little of each to land somewhere in between, though the finish will shift depending on which one dominates.
Gels are forgiving, so a beginner can experiment freely without risking a ruined painting. That is part of why they make such a gentle place to start.
Pastes: Modeling, Molding, Light, Fiber and Crackle
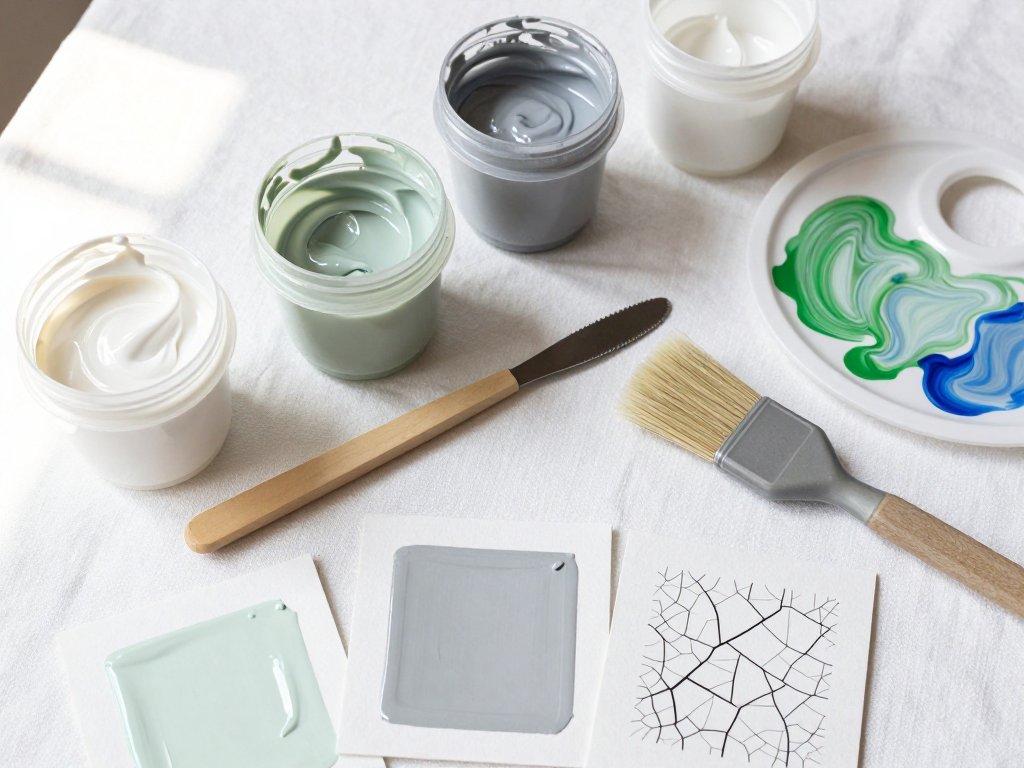
Pastes go where gels stop. They are opaque, thick, and full of filler, letting you push, sculpt, and scrape paint like frosting on a cake.
Modeling paste is the classic. It is dense and matte, holds a knife mark beautifully, and dries to a hard, porous surface that takes paint readily.
Molding paste is similar but smoother and a touch more flexible. It accepts stencils and fine detail without crumbling underneath the blade.
Light modeling paste feels like whipped cream. It is airy, holds a peak, and adds volume without much weight, which is kind to a stretched canvas.
Fiber paste is cloudy and stringy, full of soft paper fiber. It dries to a handmade-paper look that loves a thin wash of color.
Crackle paste is a small magic trick. It dries with fine, deliberate cracks, like an old wall or a dried riverbed, and pulls paint into every line.
Drying time matters here. A thin skim dries within an hour, but a thick mound can take a day or more, and a heat gun only risks skinning the top while the middle stays wet.
Apply pastes with a palette knife or a stiff brush, then paint over them once dry. They accept color like a thirsty surface, so the paint settles into the texture instead of sitting on top of it.
Do not be shy with them. Pastes reward a confident hand, and a single heavy stroke can carry an entire small painting.
Clean your knife and brush promptly, because paste sets hard and can clog the ferrule if it dries in place.
Try a little paste on a scrap of card first. Seeing how the texture dries and takes paint will tell you more than any description.
Retarders and Slow-Dri: Buying Time on the Palette
Acrylics dry fast, and on a warm afternoon they dry faster still. A retarder is a liquid that slows that drying and buys you open time on the palette.
Add a small amount to your paint or your water pot and the color stays workable longer. Blends soften, edges stay open, and you can rework a sky instead of fighting a dry patch.
The usual rule of thumb is about ten percent. That means no more than one part retarder to nine or ten parts paint.
A little goes a long way, and more is not better. Too much retarder leaves the film soft and sticky for days, and in thick layers it can wrinkle as the surface dries before the core does.
Slow-dri mediums work the same way with a gentler touch. Many beginners find them easier to control than a pure retarder.
A retarder is not for sealing a finished piece. It is for the working moment, and it should be mixed through the paint, never poured on top.
Store your mixture in a closed jar and keep it out of direct sun. Retarder evaporates slowly, but heat still shortens its useful life.
If a painting still feels tacky after a day, you simply used too much. Let it rest somewhere warm and dry rather than adding more paint on top.
A small dropper bottle is far easier to control than pouring from a large one, so transfer a little at a time.
Flow Improver: Getting That Ink-Like Consistency
Flow improver, sometimes called flow release, breaks the surface tension of the paint. A single drop turns a stiff blob into a smooth, spreading liquid that levels itself flat.
The result is an ink-like consistency without the chalkiness that water alone brings. Lines get finer, washes get even, and pours stay glassy.
This is the medium behind smooth acrylic pouring and controlled washes. A few drops in a cup of paint can turn a stubborn dollop into a fluid that moves on its own.
For pour work, diluting with flow improver and a small splash of water keeps the binder strong enough to adhere. A pure water pour can dry cracked, dull, and powdery.
For washes, a brush loaded with flow-improved color glides across a damp surface without scrubbing. It pairs naturally with glazing, where transparency and smoothness matter most.
Start with one or two drops per palette dollop. It is powerful stuff, and a heavy hand turns bright paint watery and weak.
Keep a separate water cup for it too, so you do not accidentally wash a normal brush into a flow-improved puddle and wonder why everything spread.
Mixing Ratios, Wet Mediums and Labeling Your Own Jars
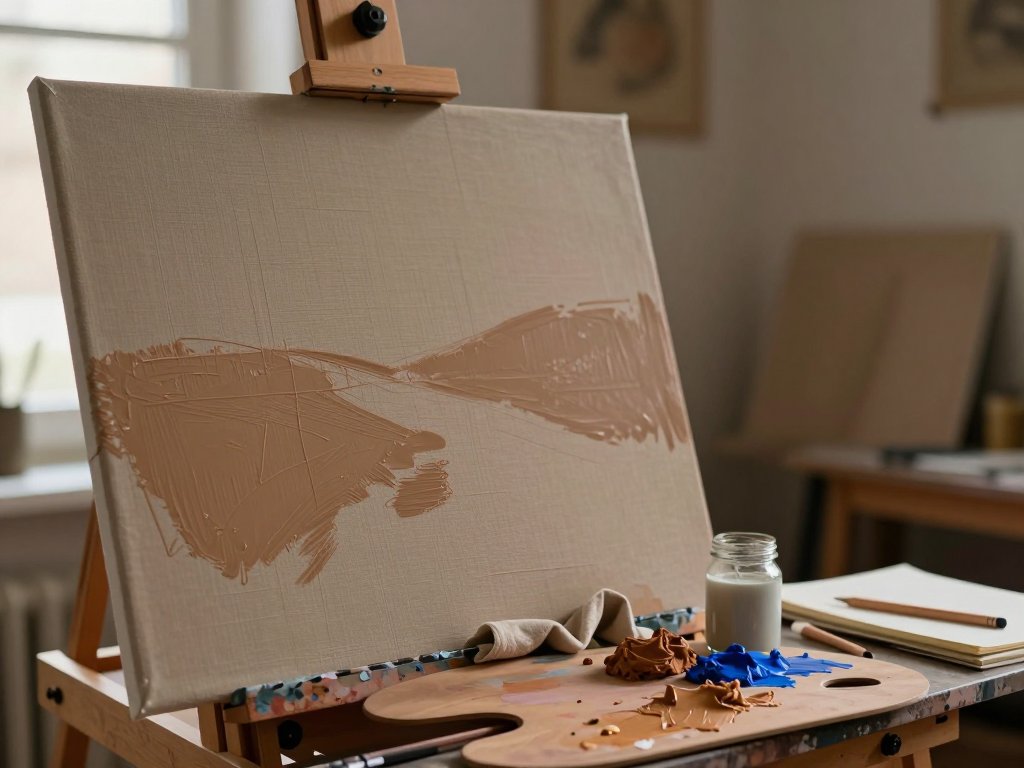
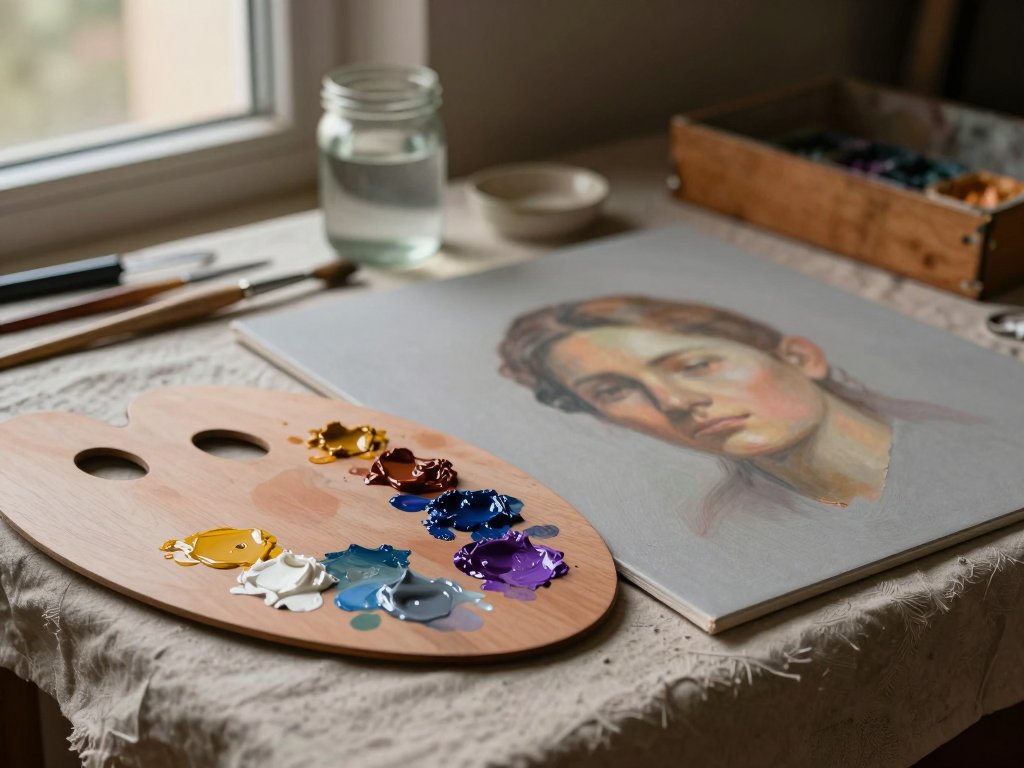
Mixing on a palette is where all of this becomes real. Squeeze out your paint, then add medium a little at a time with a knife, folding rather than stirring, until the texture feels right.
A good starting ratio for a glaze is roughly one part paint to two or three parts soft gel or glazing medium.
For texture, reverse that idea. Use mostly paste with a spoonful of paint, mixed just enough to tint the surface.
Ask yourself what you want the paint to do — spread, stand up, or stay open — and let that answer pick up the bottle.
In glazing, this ratio becomes a craft of its own, and the same medium that repairs a dull mix also builds luminous layers of light. If transparency is your goal, this companion guide, Acrylic Glazing: Washes, Layers and Translucency, is a natural next read.
Keep a spray bottle of water nearby for moisture, but reach for a medium when the paint itself needs to change.
A wet medium stays smooth and workable and blends easily into neighbors, so a slightly damp palette is often more pleasant than a bone-dry one.
Label your own mixed jars. A strip of masking tape and a marker is enough, so write the medium, the date, and the ratio while it is fresh in your mind.
Mediums keep well, but a labeled jar saves you from guessing later. My mother's unmarked bottles were beautiful, and completely mysterious.
If a mix gets too thick, add a drop of medium rather than water. If it skins over between sessions, stir it back together and use it soon.
Finishing: Varnish, Mediums and Isolation Layers
When a painting is finally dry, the surface still needs protection and an even finish. A last coat of varnish or medium seals it and gives a consistent sheen across the whole piece.
Choose your finish once, and think about the room where the painting will live. Gloss deepens color and reflects light, while matte softens glare and feels calmer on a wall.
Try not to mix them unpredictably across a single piece. A patchy mix of shiny and flat can look accidental rather than intentional.
An isolation layer is a thin coat of clear medium brushed over dry paint. It locks a layer down so the next one can be wiped or glazed without lifting the color underneath.
This is how you build depth safely. Let each layer dry, seal it if you plan to scrub or glaze hard, then carry on.
Medium as a topcoat works well for pieces that will not take heavy handling. Varnish is tougher and is the best option when a painting will be touched or framed.
Apply thin coats and let each one dry fully, resisting the urge to glop it on. Thin layers dry clear, while thick ones can stay cloudy for a long time.
Check the label before you seal anything, since some varnishes must be applied only to fully cured paint, which can take days.
Work in a ventilated room and use a soft, wide brush made for the job. A few slow, even passes beat a hurried single coat every time.
Three Beginner Mistakes I Made So You Do Not Have To
I once thinned an entire painting with water, convinced it would be easier to work with. It dried flat, pale, and slightly powdery, a quiet lesson in the binder I had washed away.
That is the first and most common mistake: over-thinning with water. Use a medium instead, and the color keeps both its strength and its grip.
The second mistake is using too much retarder. A generous pour feels helpful in the moment and then leaves a tacky, wrinkled surface that never quite sets.
Stay near that ten percent mark, and trust that a little opens your working time just fine.
The third mistake is mixing matte and gloss mediums without a plan. Some areas end up shining, some go flat, and the whole thing looks unfinished rather than varied.
Decide the finish for a piece early, then stay consistent, or vary it deliberately in planned zones.
None of these mistakes ruined anything permanently, and painting forgives generously. Each one simply taught me to slow down and read the bottle before I squeezed.
That is the easy part of learning acrylics: your mistakes dry, and then you paint over them.
You Do Not Need Every Bottle
You do not need every bottle on the shelf. A gloss gel, a matte gel, one modeling paste, and a small bottle of retarder will carry you through most of your work.
Add a flow improver when you want ink-like washes, and one good medium for a final protective coat. That is a complete, easy kit for a beginner.
Start small. Pick one medium this week and see how it changes a color you already love, with no pressure to master the whole wall at once.
Learning how to use acrylic mediums is really learning to notice, how paint moves, how it dries, and how light settles on the finished surface.
Your next project is the best place to begin. Clean your knives, open a single jar, and let the paint tell you what it needs.
Somewhere in a shallow wooden box, another set of cloudy bottles is waiting to be understood. Yours will not stay mysterious for long.
Go gently, keep your tape and marker handy, and enjoy the quiet pleasure of a color that finally behaves the way you hoped.