Introduction
I will be honest with you. Every summer I tell myself this will be the season I finally tackle that ambitious project I pinned last February.
And every summer, about halfway through, I realize I do not have the time, the patience, or the right supplies to pull it off.
The half-finished whatever ends up in a box, I feel vaguely guilty every time I see it, and the whole cycle repeats the following year.
After enough iterations of this pattern, I started rethinking my approach entirely. Instead of one big project that requires a week of concentration and a shopping trip, I began looking for small, satisfying crafts I could complete in a single afternoon with materials I already had or could grab for under ten dollars.
The result? I actually finished things. Lots of them. And the momentum from finishing one project made me want to start the next.
Here are ten summer craft projects that fit that philosophy. They are simple enough for a beginner, interesting enough for someone who has been crafting for years, and cheap enough that you will not mind buying supplies for the whole list.
And here is the best part: most of these projects teach a transferable skill. The measuring habits you build for the wax melts carry into the clay coasters. The knotting rhythm from the friendship bracelets makes the macrame hanger feel familiar. You are not just making things. You are building a personal library of techniques that make the next project easier.
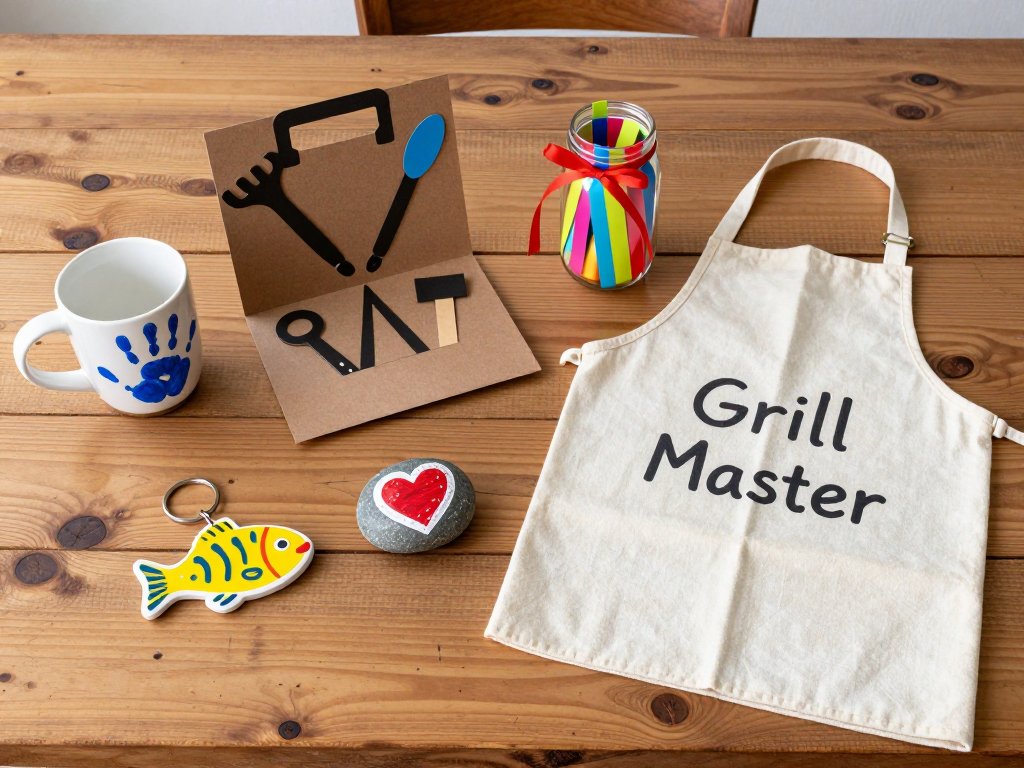
1. Painted Rock Plant Markers
If you have a garden or even a few pots on a balcony, you need a way to tell your basil from your mint.
Painted rock markers are the easiest solution. Find smooth, flat stones — river rocks work perfectly — wash them, and paint the name of each herb or vegetable on them with acrylic paint.
Seal with a clear craft spray or a coat of mod podge, and you are done.
The whole project costs about five dollars if you already have paint, and each marker takes maybe ten minutes.
Pro tip: write the names in white paint on dark grey stones. The contrast makes them readable from across the garden, and they look much more polished than plastic tags from the garden centre.
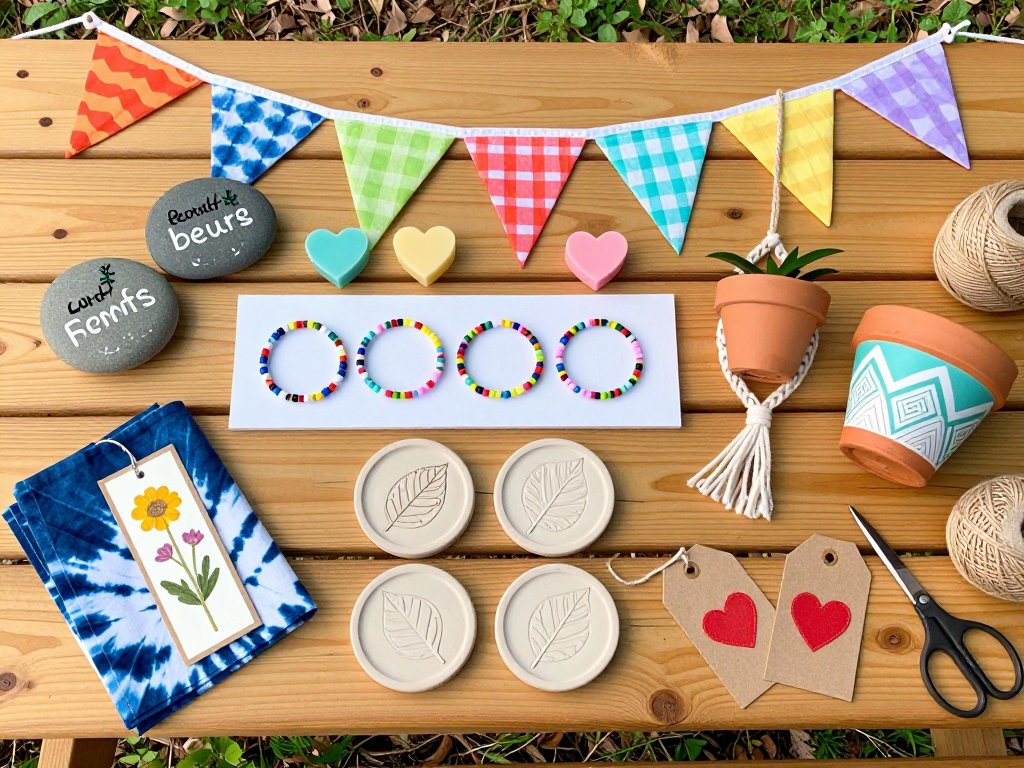
2. Fabric Scrap Bunting
That bag of fabric scraps you have been meaning to throw away? Turn it into bunting instead.
Cut triangles — no need to be precise about it, roughly the same size is close enough — fold the top edge over a length of twine or ribbon, and sew or glue them in place.
Hang the finished string across a porch, a kid's bedroom, or a fence for a party.
It takes about an hour to make a six-foot string, and the total cost is zero if you already have fabric and string.
The bunting is also fully washable and can be reused year after year.
3. DIY Soy Wax Melts
Wax melts are essentially candles without the wick, and they are surprisingly easy to make at home.
Buy a block of soy wax (about eight dollars online), a bottle of fragrance oil meant for candle making (another six to eight dollars), and a silicone mold shaped like small hearts, flowers, or stars.
Melt the wax in a double boiler, stir in the fragrance, pour into the mold, and let it cool for an hour.
A single batch makes about twenty melts, which works out to roughly seventy cents per melt — compared to three or four dollars each at a boutique store.
Use a candle wax calculator to nail the wax-to-fragrance ratio. Too much oil and the melts will be greasy instead of scented. Too little and you will barely smell them. The calculator takes the guesswork out of it.
4. Beginner Friendship Bracelets
Friendship bracelets are the gateway craft for a reason. All you need is embroidery floss (a dollar a skein at any craft store) and a safety pin or piece of tape to hold your work.
Start with a simple candy stripe pattern using two colours: cut four strands of each colour, about sixty centimetres long, tie them together at the top, tape the knot to a table, and make forward knots from left to right.
Switch colours every row. You will have a wearable bracelet in about forty-five minutes.
The best part is that these use almost no material. A single skein of floss can make three or four bracelets, so the cost per bracelet is roughly twenty-five cents. That makes them ideal for group projects, summer camps, or sleepover activities.
Once you master the candy stripe, try a chevron pattern. The technique is the same forward knot, but you work from the outside edges inward, creating a V-shaped design.
Chevron bracelets look more intricate than candy stripes but take only about fifteen minutes longer.
Four strands of two colours produce a clean, bold chevron. For a more delicate look, use six strands of three colours and let the pattern alternate naturally.
5. Pressed Flower Bookmarks
Pressed flower crafts feel fancy, but they are absurdly simple. Pick a few small flowers and leaves from your garden, place them between the pages of a heavy book, and wait three to five days.
Once they are dry and flat, arrange them on a strip of cardstock, cover with a layer of clear contact paper or laminating sheet, and trim the edges.
You now have a bookmark that looks like it came from a stationery shop but cost you nothing but patience.
This is a wonderful project to do with children. They can pick the flowers themselves, arrange them however they like, and the finished bookmarks make thoughtful gifts for grandparents or teachers.
If you want to preserve larger blossoms like roses or zinnias, separate the petals before pressing and reassemble them on the cardstock.
This technique produces a flatter, more professional-looking result with less risk of mould forming in thick flower centres.
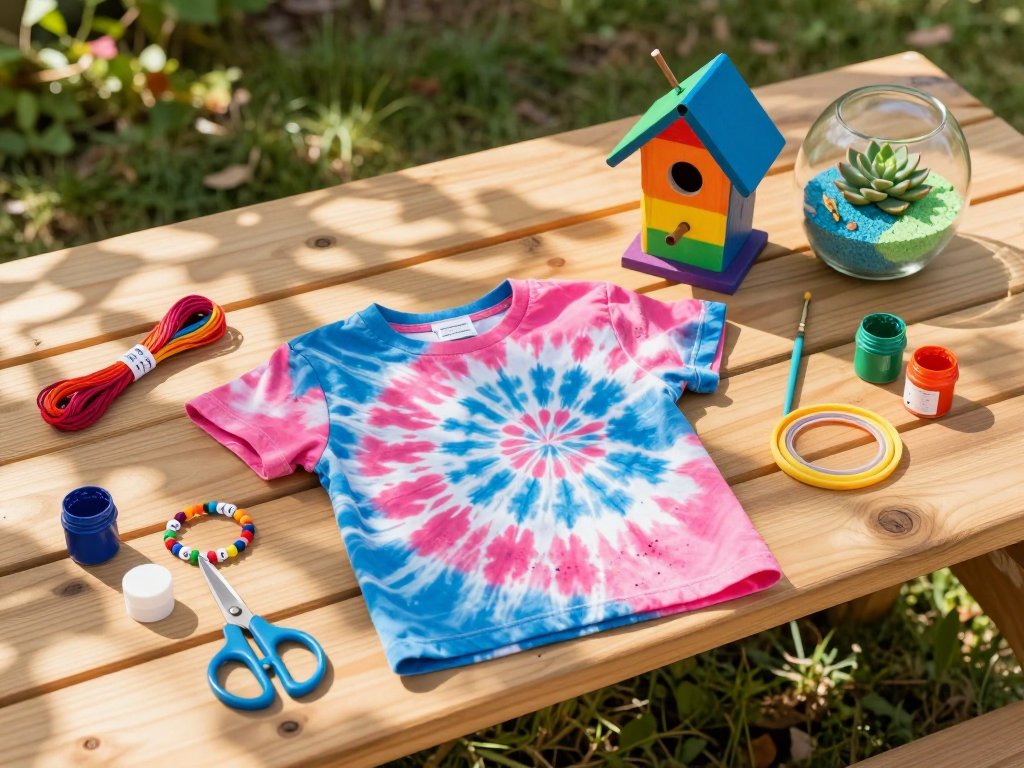
6. Tie-Dye Napkins
Tie-dye does not have to mean neon t-shirts from the nineties. White cotton napkins take dye beautifully and the result is elegant enough for a summer dinner table.
Buy a pack of plain white cotton napkins (eight for about twelve dollars) and a bottle of fabric dye in a colour you love — indigo blue, sage green, and dusty rose all work well.
Twist each napkin into a spiral, secure with rubber bands, apply the dye according to the package instructions, and let it set for six to eight hours.
Rinse, wash, and iron.
The cost per napkin works out to about two dollars, compared to eight to fifteen dollars for similar hand-dyed napkins from home goods stores. And you get to decide exactly which colours to use.
If you want a more controlled pattern, try a shibori-inspired fold instead of a spiral.
Fold the napkin into a narrow accordion, bind it tightly with rubber bands at regular intervals, and apply dye only to the exposed sections.
The result is a neat striped pattern that looks especially good in indigo on white.
The binding method also works well for making matching cloth napkin rings from the leftover dye.
7. Air-Dry Clay Coasters
Air-dry clay is one of those materials I ignored for years because I assumed it was either difficult to work with or the results looked childlike.
Neither is true. A 500-gram block costs about seven dollars and will make four to six coasters.
Roll the clay to about half a centimetre thick, cut circles using a cookie cutter or a glass as a guide, smooth the edges with a damp finger, and let them dry for twenty-four hours.
Once dry, sand any rough spots with fine-grit sandpaper and seal with a matte varnish.
If you want to add patterns, press leaves, lace, or rubber stamps into the clay before it dries.
The imprint picks up every detail beautifully. A word of caution about drying: turn the coasters over halfway through the drying time.
If you leave them on a flat surface the whole time, the bottom can stay slightly damp and develop a musty smell.
Flipping them ensures even airflow and a clean finish on both sides.
8. Easy Macrame Plant Hanger
A macrame plant hanger looks complicated, but it is really just a series of simple knots repeated in a pattern.
You need three lengths of cotton rope, each about three metres long, and a metal ring to hold the top.
Fold the ropes in half through the ring, then make a series of square knots and spiral knots down the length.
At the bottom, gather all the ends and tie them off to form the basket where the pot sits.
There are plenty of free tutorials online, but here is the short version: a square knot is two half-knots in opposite directions, and a spiral knot is a series of half-knots in the same direction.
Alternate between them and you will have a finished hanger in about two hours. Total material cost: roughly five dollars for the rope.
One tip I learned the hard way: pre-stretch your rope before you start knotting. Cotton rope has natural give, and if you do not pull it taut while working, the hanger will stretch and sag once you hang a pot in it.
Give each knot a firm tug as you go, and the finished hanger will hold its shape for years.
9. Painted Terra Cotta Pot Makeover
Plain terra cotta pots are about a dollar each at any garden centre. With a coat of acrylic paint and a little creativity, they become something you would pay fifteen dollars for at a boutique.
Clean the pot, apply a base coat of outdoor acrylic paint in a colour you like, let it dry, and add details — stripes, dots, geometric patterns, or even a simple landscape.
The paint calculator is handy here if you are doing a set of pots and want to buy exactly the amount of paint you need instead of guessing.
A little math upfront saves a trip back to the store and keeps leftover paint from sitting in a cupboard for years.
10. Hand-Stitched Gift Tags
Gift tags are something most of us buy without thinking, but handmade ones take about five minutes each and make a gift feel special before it is even opened.
Cut rectangles from brown kraft paper or cardstock, punch a hole in one corner, and use embroidery floss to stitch a simple design — a star, a heart, or the recipient's initial.
A backstitch is all you need to know: bring the needle up through the paper, down a stitch length away, and back up through the end of the previous stitch.
It is that simple.
You can make a dozen tags from a single sheet of cardstock and a length of floss, bringing the cost down to pennies per tag. Pair them with the tie-dye napkins or a batch of wax melts for a complete handmade gift set.
Why Small Projects Win
The reason these ten projects made the list is not that they are the most impressive crafts you could attempt.
It is that they are finishable. A finished project, even a small one, gives you a confidence boost that a half-finished ambitious project never will.
You made something. You used it or gave it away. You enjoyed the process. That is the whole point of crafting, and it is surprisingly easy to forget when we get caught up comparing our work to what we see online.
Pick one from this list, gather the supplies you already have, and see how far you get this afternoon. My bet is you will finish it, and that feeling will carry you straight into the next project.
Summer has a way of making time feel both endless and fleeting. The days are long, the evenings are warm, and there is something about the season that invites slow, hands-on work.
Whether you make one project or all ten, the hours you spend creating something with your own hands will feel fuller than an afternoon spent scrolling through a feed.
If you pick up a new skill along the way — how to knot macrame, how to dye fabric, how to recognise when air-dry clay is dry enough to sand — that knowledge stays with you long after summer ends.