Why This Project Is Perfect for Busy Moms
As a stay-at-home mom, you know how precious (and rare) uninterrupted crafting time can be. Between school drop-offs, snack requests, and endless loads of laundry, sitting down for a multi-hour DIY project often feels impossible. That’s why this wood bead trivet is designed for your real life: you can split it into three 15-minute blocks, work around nap times, and pause whenever little ones need you.
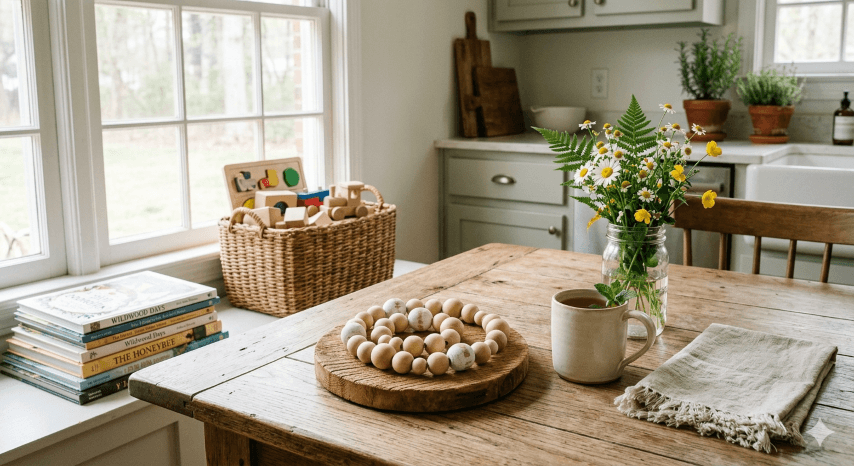
You don’t need any prior crafting experience, fancy tools, or a dedicated studio space. All you need is a small corner of your kitchen table, a few affordable supplies, and a willingness to embrace imperfect, handmade charm. The finished trivet adds a warm, rustic touch to your home while protecting surfaces from hot dishes, and it makes a thoughtful gift for fellow moms, teachers, or friends who love cozy decor.
Gather Your Supplies
Most of these materials are available at your local craft store, on Amazon, or even tucked away in your existing craft stash. We’ve kept the list short so you can start immediately, without a big shopping trip:
- Wood beads: Assorted sizes (round, oval, or square), unfinished or lightly stained. Aim for 10-20 beads total, mixing 1-inch and 0.5-inch sizes for visual interest.
- Base material: A reclaimed wood slice, small wooden board, or 4-6 inch square of thick plywood. Thrift stores often have cheap wood slices perfect for this project.
- Wood glue: A strong, waterproof adhesive like Titebond III. A small bottle will last through dozens of future projects.
- Sandpaper: Medium (120-grit) and fine (220-grit) grit. A small sanding block costs under $5 and works for countless crafts.
- Finish: Natural oil (Danish oil works well) or beeswax for a soft, food-safe sheen.
- Optional: Chalk paint, distressing wax, light stain, clamps or heavy books, pencil, ruler, clean cloth.
Step 1: Prep the Base (10 Minutes)
Start by wiping your wood base with a damp cloth to remove dust or debris. If you’re using a reclaimed wood slice, check for loose bark or splinters and sand those away first. This step is easy to do while the kids snack at the table next to you.
Use 120-grit sandpaper to smooth all edges and the surface of the base. Wipe away dust with a clean cloth, then switch to 220-grit sandpaper for a polished, smooth finish. Even with interruptions from little ones, this step takes 10 minutes max.
Lightly sketch a guide on the base with a pencil: a circle, rectangle, or freeform shape where you’ll place the beads. This helps keep your design balanced, even if you step away and come back to it later.
Step 2: Arrange Your Beads (15 Minutes)
Lay your beads on the base without glue first to test your layout. For a true farmhouse look, mix large and small beads, and leave small gaps of negative space. Asymmetrical arrangements feel more handmade and cozy than perfectly uniform grids.
Play with spacing until you’re happy with the flow. If you have kids, let them help pick bead placements—their playful choices often add the best character. Natural wood tones are classic, but a few beads with subtle distressed white or soft gray paint add a shabby-chic touch.
Step 3: Glue the Beads (15 Minutes)
Once you’re happy with the layout, start gluing. Use a small brush or toothpick to dab a thin line of wood glue on the underside of each bead. Press each bead firmly onto the base, following your pencil guide.
Place a heavy book or clamp on top of the beads for 5-10 minutes while the glue sets. Check that all beads are level before the glue dries completely. If a bead shifts, gently adjust it within the first 5 minutes of gluing.
Step 4: Let It Dry (Overnight)
Set the trivet aside for 24 hours to let the glue cure completely. This is a great step to do overnight, so it’s ready for finishing the next day. Keep it out of reach of kids and pets while it dries.
Step 5: Finish the Surface (10 Minutes)
Once the glue is dry, lightly sand any excess glue spots with 220-grit sandpaper. Wipe away dust, then brush on a thin coat of oil or wax. Let it soak for 15 minutes, then wipe off the excess with a clean cloth. Repeat 2-3 times for a rich, durable finish.
For extra farmhouse charm, rub a small amount of distressing wax on the edges of the beads and base. Buff with a soft cloth to create a worn, lived-in look that fits perfectly with farmhouse decor.
Step 6: Optional Final Touches
Add small felt pads to the bottom corners of the base to protect delicate surfaces. If you want a pop of color, lightly brush chalk paint on a few accent beads, then seal with a clear coat. You can also tie a small twine bow around one corner for extra rustic charm.
Farmhouse Aesthetic Tips
Use reclaimed wood with visible grain for the base to enhance the rustic vibe. Stick to neutral palettes: whites, creams, soft earth tones, and natural wood shades blend seamlessly with most farmhouse decor. Mix smooth beads with a rough-sawn base for textural contrast that feels intentional and cozy.
Caring for Your Trivet
Wipe the trivet with a damp cloth to clean; avoid soaking it in water. Re-oil the surface every few months to keep the wood nourished and the finish vibrant. It’s durable enough to handle daily use, even with kids helping set the table.
Final Thoughts
Creating this farmhouse wood bead trivet is a small, rewarding way to carve out creative time for yourself. It’s a project that fits into your busy life, delivers a functional finished product, and adds a touch of handmade charm to your home. Enjoy the process, experiment with patterns, and take pride in making something beautiful with your own hands.