Introduction
There is a particular kind of fabric that behaves like a living thing. You gather it into narrow pleats, work a few rows of thread across the top, and it springs back under your fingers.
That is English smocking, and it has been made by hand in roughly the same way for a very long time.
It looks complicated from a distance. Up close, it is a grid of dots, a needle, and one stitch repeated until a pattern appears.
This guide takes you from a plain rectangle of cloth to a finished smocked panel. No machine and no previous embroidery experience are needed.
What it does ask for is patience with preparation. Smocking rewards the stitcher who measures carefully and rushes nothing.
A first thing to try: find a shirt with a gathered cuff and run your thumb along the little folds. That elastic give is the same principle you are about to stitch by hand.
What Smocking Actually Is
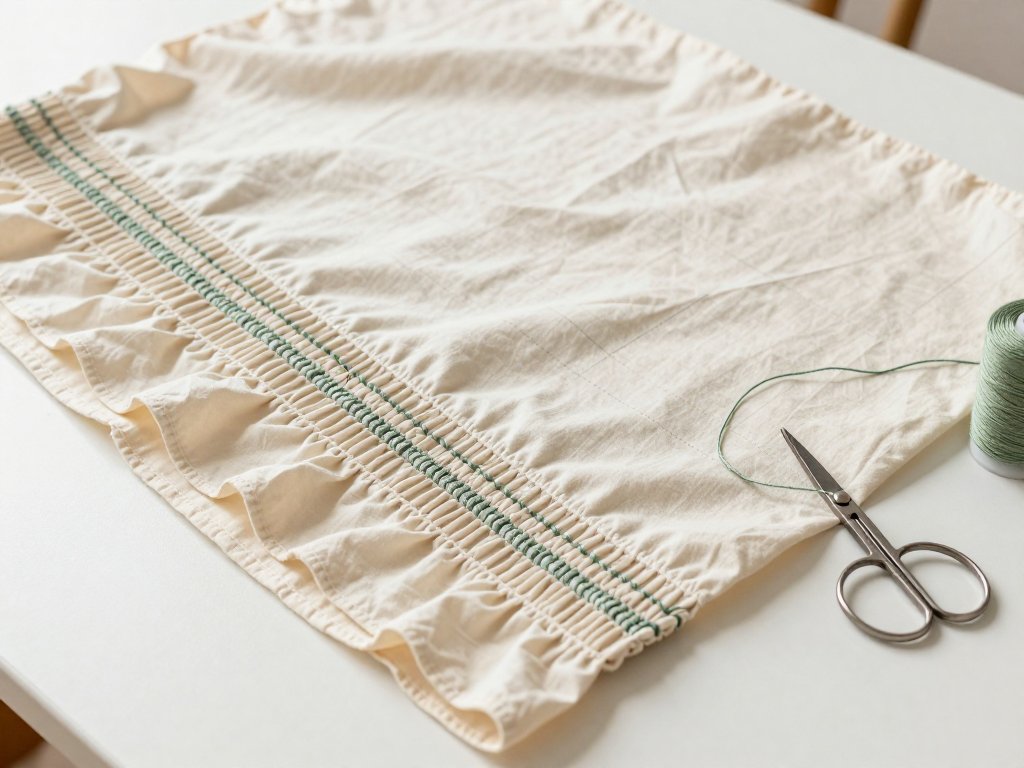
Smocking is embroidery worked over fabric that has already been gathered into even pleats.
The gathering comes first. Rows of small running stitches compress the cloth into a regular set of folds, and only then does the decorative stitching begin.
This order matters, because the embroidery is not decoration laid on top of flat cloth. It is a structure that holds the pleats in place at set intervals.
Between the stitched rows, the pleats are still free to open. That is why a smocked panel stretches across the chest and then settles back.
Flat embroidery does not do this. Smocking is elastic because the fabric underneath is still pleated — held, but never flattened.
That single fact explains why the technique survived so long on working clothes. It makes a garment fit closely at the edges and give generously in the middle.
A Short History: The Smock-Frock and Its Afterlife
The Rural Smock-Frock
The word smock comes from Old English, where it meant a garment — a simple shirt or shift. The technique grew out of ordinary working dress, not court fashion.
Through the eighteenth and nineteenth centuries, rural labourers across England wore a loose outer garment called a smock-frock.
Carters, shepherds, waggoners and farm workers wore them over their other clothes, and most were made of stout linen or wool in natural unbleached colours.
These were not cheap garments. A good frock was mended, turned, and handed on to the next wearer.
The fullness was gathered at the collar, the shoulders, the cuffs, and sometimes the waist. Smocking held those gathers in place.
This was functional before it was beautiful. The gathered yoke let the garment move over the shoulders and chest as a man lifted, reached and rode.
At the same time it kept the neck and wrists close, so cold air and chaff stayed out. A smock could be loose everywhere and still fit properly at the edges.
The stitching soon became a point of pride. Honeycomb, cable and wave stitches were worked in contrasting thread, and some smocks carried small motifs across the yoke.
A well-smocked frock signalled a man's standing in his parish as clearly as a good coat would. The work was visible, and it was meant to be.
From Workwear to Children's Dresses
The smock-frock faded as factory-made clothing spread and rural work changed. By the late nineteenth century it survived mainly as a memory in the countryside.
Then smocking was rediscovered — first by craftspeople who valued handwork over machine finish, and later by dressmakers looking for something softer than a tailored seam.
Its new home was children's clothing. A smocked yoke gave a growing child room to move, and the technique suited the short sleeves and full skirts of small dresses.
Through the twentieth century, smocked dresses, bonnets and nightgowns became a familiar sight in nurseries and on christening days.
The craft had another strong revival in the 1970s, when a generation of home sewers took it up again. Many patterns still circulating today date from those years.
Smocking Is Not "Canadian Smocking"
The shared name causes real confusion, so it is worth settling early.
English smocking — the subject of this guide — is embroidery on pre-pleated fabric, worked from the right side with floss or fine cotton.
Canadian smocking is a different technique entirely. It is fabric manipulation, worked on the reverse of a single flat layer of cloth.
There is no pre-pleating and no embroidery thread. A grid is marked on the back, and stitches pull points together to form a lattice of raised bubbles and rosettes.
Both are lovely to look at. They share only a name and a fondness for grids.
Hand Pleating or a Pleater
Before any stitching, the flat fabric must become pleats. There are two routes, and beginners are often told they need the expensive one.
A pleater is a small frame holding rollers and long needles. Fabric is fed through by hand and comes out in even pleats with gathering threads already in place.
It is fast and remarkably consistent. It is also costly, fiddly to thread, and happiest with a firmly woven cotton.
Hand gathering needs only a needle, thread and a ruler. You mark a grid of dots, run a line of small stitches down each column, and draw them up.
The results are slightly less uniform than a pleater's. They are perfectly good for learning, and plenty of experienced smockers still prefer the hand method for small pieces.
Start by hand. If you fall in love with the craft and want to make dresses regularly, a pleater becomes worth the money later.
Materials That Behave
Fabric choice decides more of your outcome than any stitch. Smocking needs cloth that gathers softly and holds a pleat without creasing hard.
- A light to medium weight woven cotton — voile, batiste, lawn, or a soft cotton poplin
- Embroidery floss, or a fine cotton thread such as a perle cotton or a good machine cotton
- A fine hand needle with a sharp point and a small eye, narrow enough not to spread the pleats
- Small sharp scissors, kept for thread only so the blades stay true
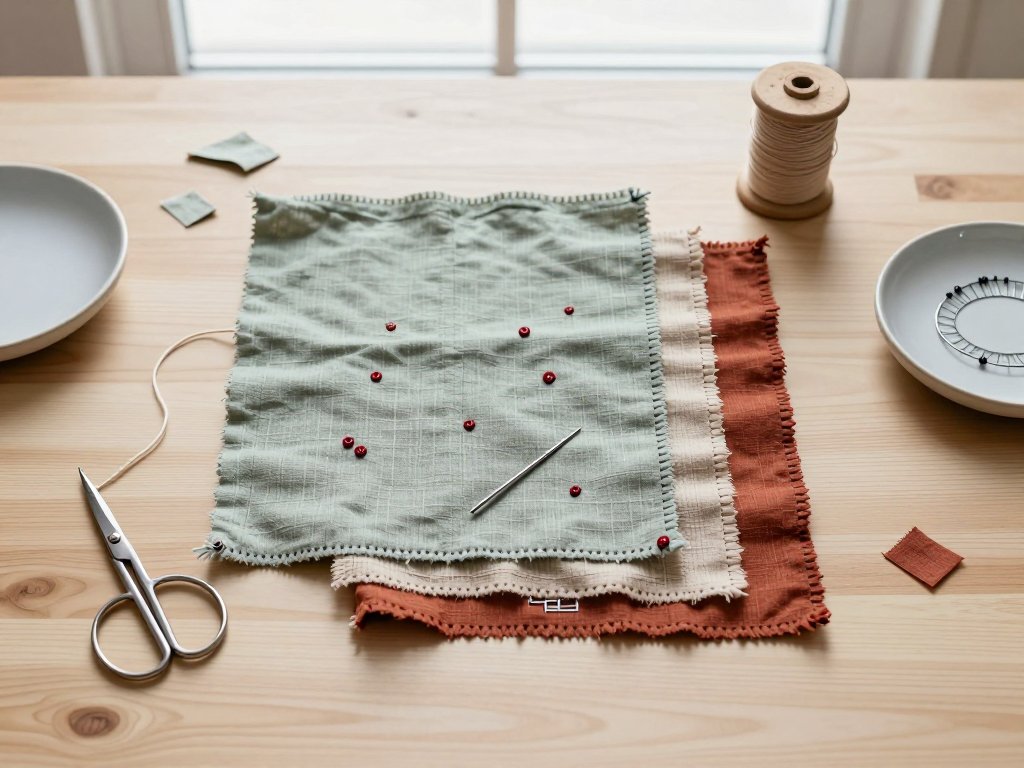
- A water-soluble fabric marker, plus a ruler and paper for planning the grid
- Contrasting cotton for the gathering threads, so you can find them again later
Quilting-weight cotton is the most common wrong turn. It is stiff, tightly woven and sized to hold a shape — everything smocking does not want.
Hold a candidate fabric up to a window. If you can see the weave clearly and it drapes in soft folds, it will gather.
If it crackles when you crumple it, put it back on the shelf.
Creating the Dot Grid
Everything depends on the grid. If the dots are uneven, the pleats will be uneven, and no amount of careful stitching will hide it.
Work on the wrong side of the fabric, because that is where the gathering stitches belong.
A common beginner spacing is half an inch between rows and a quarter inch between dots within a row. That gives pleats wide enough to see and to stitch comfortably.
Mark the first row with a ruler and a long straight line, then measure each dot along it. Do not eyeball the spacing, even for a small piece.
Count the dots aloud or tick them off on paper. Accuracy here is the whole game.
- Cut your fabric to roughly three times the finished width, plus seam allowances.
- Press the fabric flat and mark a straight baseline with the water-soluble marker.
- Measure half an inch up from the baseline and draw the next row line; repeat for as many rows as the pattern needs.
- Mark a dot every quarter inch along each row, measuring from the previous dot each time rather than stepping the pen forward.
- Check the grid by measuring diagonally across several dots; the distances should repeat exactly.
Let the marker dry before you handle the cloth, or you will smudge the line you just measured.
Gathering the Pleats
With the grid marked, thread a needle with contrasting cotton and knot the end.
Work down one column of dots with small running stitches, picking up each dot in turn. Keep the stitches the same size, because they set the rhythm of the pleat.
Do not carry the thread across from one column to the next. Finish the column, secure it, and begin again — otherwise the fabric pulls sideways.
- Bring the needle up at the first dot in the top row and take a small stitch down to the next dot.
- Continue down the column to the last dot, then leave the thread hanging without knotting it off.
- Repeat for every column, keeping the tension light and even.
- Pull each gathering thread gently, easing the fabric along the thread rather than yanking it.
- Draw the pleats up until the panel reaches the width you planned.
- Wind the thread ends around a pin in a figure of eight to hold the pleats while you work.
Wind, do not knot. A knot in a gathering thread is difficult to undo later, and you will need to undo it.
Reading Rows and a Smocking Pattern
Smocking patterns are written in a shorthand that looks cryptic until the logic clicks.
"Row 1, row 3" simply means the first and third lines of gathering stitches, counting down from the top of the panel.
"Cable across 2 rows" means the stitch spans the space between two adjacent rows, moving up and down as it travels across the pleats.
Stitches are described by which rows they touch. A single-row stitch sits on one line; a two-row stitch climbs between two.
The texture comes from alternation. Neighbouring stitches lean in opposite directions, and that opposition is what makes the surface look woven rather than embroidered.
Most patterns also state a ratio — three to one, or two and a half to one. That is how much fabric to gather for the finished width you want.
The Core Beginner Stitches
Five stitches will carry you a long way. Learn them in the order below, because each one assumes the last.
Stem Stitch Smocking
A single-row stitch that makes a firm, corded line. Work from left to right if you are right-handed.
- Bring the needle up on row 1 at the left edge, catching the first pleat.
- Take a small slanting stitch across the pleat, entering slightly below the point where the needle came out.
- Pull through gently, keeping the working thread below the needle.
- Repeat across the row, always entering at the base of the previous stitch.
Outline Stitch
Outline is stem's quieter twin. The movement is identical; only the position of the working thread changes.
- Bring the needle up at the left of row 1.
- Take a small slanting stitch over the pleat, exactly as for stem.
- Keep the working thread above the needle as you pull through.
- Continue along the row, letting the stitches overlap slightly.
The difference is subtle on the surface but real. Outline sits flatter and stem sits rounder, and patterns often use both in different rows for contrast.
Cable Stitch
Cable is the firmest and least elastic of the group, and it is the stitch most smocking is built on.
- Bring the needle up on row 1 at the left edge.
- Take a stitch down to row 2 on the same pleat.
- Bring the needle up on row 2 at the next pleat and stitch back up to row 1.
- Continue alternating up and down, so a vertical zigzag forms between the two rows.
Keep each stitch snug against the last. Gaps between cable stitches are what make a finished panel look loose.
Wave Stitch
Wave stitch is cable that travels. Instead of alternating on every pleat, it lingers.
- Work three stitches along the upper row, moving across three pleats.
- Drop to the lower row and work three stitches there.
- Return to the upper row and repeat.
- Carry on across the panel, keeping the counts equal on both rows.
The line ripples between the rows, which is where the name comes from. It is forgiving of slight unevenness and good for a first decorative band.
Honeycomb Stitch
Honeycomb is usually taught last, and for good reason: it is worked between rows that already exist.
You need two established lines of stitching, usually cable or outline, to anchor it. It fills the space between them with a hexagonal lattice.
- Bring the needle up on the upper row, between two pleats.
- Take a small stitch across the lower row, spanning two pleats.
- Return to the upper row and take a stitch one pleat further along.
- Continue across the panel, then work back in the opposite direction to complete the cells.
Honeycomb is the stretchiest of the five. Stitched too tightly it collapses; left slightly relaxed it opens into the pattern that gives it its name.
Tension and How Much to Gather
Two failures account for most disappointing first pieces, and they are opposites.
Gather too tightly and the fabric puckers into hard ridges. The cloth cannot relax, the stitches sit proud, and the panel feels stiff as cardboard.
Gather too loosely and the pleats shift while you work. The pattern blurs, and the honeycomb cells close up instead of opening.
The right tension is firm enough to hold the pleat and soft enough that the fabric still has give.
Try this on a scrap: gather a six-inch strip down to two inches, then press it gently between your palms. It should feel springy, not solid.
Stitch tension matters just as much. Your thread should lie on the surface without dragging the pleats out of line.
If the fabric dimples at every stitch, you are pulling too hard. If loops of thread sit above the cloth, you are pulling too little.
Work a sample band before you commit to a garment. Twenty minutes on a scrap will save you an evening of unpicking.
Finishing: Securing, Pressing and Washing
The last row needs to be locked, or the whole panel will creep out of shape in the wash.
Work a few small backstitches at the end of each row, through the pleats, and finish off on the wrong side.
Then remove the gathering threads. Cut the pin loops and pull each thread out slowly, one row at a time, supporting the fabric as you go.
Pressing is where careful work is most easily ruined. Never press the smocked area flat.
Set the panel face down on a thick towel or a padded board. Let steam do the work, holding the iron just above the surface rather than bearing down.
If you must touch the cloth, press around the smocking rather than across it. A flattened honeycomb never comes back.
- Hand wash in cool water with a mild soap, and never wring the panel
- Roll it in a towel to remove water, then dry flat and reshape the pleats with your fingers
- Steam rather than iron, and store the finished piece folded rather than on a hanger
Three Small First Projects
A Smocked Baby Band or Bonnet
A band is the smallest useful thing you can make, and it teaches the whole process in an afternoon.
Cut a strip about three times the intended head width and four inches deep. Mark three or four rows and gather.
Work two rows of cable and one of wave, then join the short ends into a ring. A bonnet is the same band with a shaped crown added.
A Cushion Panel
A cushion gives you a flat rectangle, which is the friendliest possible shape for a first proper piece.
For a fourteen-inch cushion, cut the panel about thirty-six inches wide. Mark seven rows at half-inch spacing.
Work cable on rows one and two, honeycomb between rows three and four, and wave near the bottom. Trim the seam allowances, add a backing, and sew the panel into a cushion.
A Simple Yoke for a Child's Dress
A yoke is the classic use for smocking, and it is only slightly harder than the cushion.
Gather a rectangular panel to the width of the child's chest, then stitch three rows of cable with honeycomb between the lower two.
Bind the top edge, attach the skirt below, and the smocking does the shaping that darts would otherwise do.
Common Beginner Mistakes
Most first attempts fail in one of four ways, and all four are avoidable.
- Uneven dot spacing, usually from stepping the pen along instead of measuring each time
- Mixing thread weights, so one row sits heavy while the next disappears into the cloth
- Stitching through the gathering threads, which locks them in place and makes removal impossible
- Gathering too tightly, out of a wish to make the pleats look neat and even
Each has a plain remedy: measure every dot, keep one thread for the whole piece, keep your needle above the gathering lines, and gather to the ratio rather than to your nerves.
Two more are worth naming. Choosing stiff fabric is the first. The second is starting on a garment instead of a sample.
A Slow Craft With a Long Memory
Smocking is not quick. A panel takes several evenings, and a dress takes longer than that.
That is the point of it, or at least a large part of the pleasure. The work cannot be hurried, and it does not want to be.
There is something steadying about a row of small stitches that only need to be even. The world outside the hoop gets quieter for a while.
And there is company in it. The stitches you are working — cable, wave, honeycomb — were worked by rural hands two hundred years ago on garments meant to face the weather.
Yours may end up on a cushion, or a baby's bonnet, or the yoke of a dress that gets handed down. The structure underneath is the same.
If hand stitching on cloth already settles you, our slow stitch guide makes a gentle companion to this one.
Start with a scrap and a grid of dots. The rest is repetition, and repetition is where the calm lives.