Introduction
There is a moment in jewelry making when two pieces of silver stop being two pieces. The seam closes, the metal goes from dull to liquid-bright for a heartbeat, and then it is one object. Nothing else in this craft feels quite like it.
Soldering is the join that holds handmade jewelry together. It is also the step that frightens beginners most, usually because it is taught as a mystery rather than a technique. It is not a mystery. It is heat, cleanliness, and a very small amount of metal alloy.
This guide is about joining silver with a small torch and silver solder. We will cover what soldering actually is, the words you will meet at the bench, and the setup that keeps you safe.
Then we will place solder two different ways, and solder a ring seam together slowly, with the reason behind each move.
You do not need a studio. A corner of a garage, a sturdy table, and about an hour of quiet attention will do.
What Soldering Is, and What It Is Not
Welding melts the parent metal. The two edges become a pool and fuse into one another, often with a filler rod of similar composition. In silver work this is a delicate business, because sterling melts around 890 °C (1,640 °F) and gives very little warning before it slumps.
Brazing uses a filler metal that melts above roughly 450 °C but well below the melting point of the pieces being joined. The parent metal never liquefies. The filler does the work, drawn into the gap and hardening there.
Strictly speaking, silver soldering is brazing. The filler flows between about 650 °C and 780 °C, far above the engineering threshold for soldering. Jewelers call it soldering anyway, and so will we. The distinction matters less than the mechanism.
That mechanism is capillary action. A liquid is pulled into a narrow gap by surface tension, the same way water climbs the space between two panes of glass. Solder does not sit on top of a joint. It is sucked into it.
This is why fit matters more than quantity. A tight seam pulls solder inward and leaves almost nothing visible. A loose seam has no capillary pull, so the solder sits on the surface in a lump and pretends to be a join.
The Vocabulary a Beginner Meets First
Metalwork has its own language, and most of it is precise. Learning six words before you light anything will make every tutorial you read afterwards legible.
Solder Grades and the Flow Ladder
Silver solder is sold as sheet or wire in grades, each with its own melting range. The ladder usually runs extra-easy, easy, medium, hard, with flow temperatures climbing in steps of roughly 40 to 50 °C.
Extra-easy flows near 650 °C (1,200 °F). Easy sits around 690 °C (1,275 °F), medium near 740 °C (1,360 °F), and hard around 775 °C (1,425 °F). Your supplier's chart is the authority for the exact alloy in your hand.
The grades exist so you can build a piece in stages without undoing earlier work. Solder a joint with hard, and a later easy join will flow before the first one stirs. Always work from hard to easy, never backwards.
Pallions and Flux
Pallions are small pre-cut chips of solder, usually snipped from sheet with shears. A useful size for a ring seam is about one millimetre square. Tweezers place them; fingers do not, for reasons your fingertips will explain.
Flux is a chemical coating that does two jobs. It dissolves the oxide that forms on hot metal, and it lowers surface tension so the solder can run. Without flux, clean silver still refuses solder.
Paste flux is borax-based, thick and white, and stays where you put it. Liquid flux, often called self-pickling, is applied with a brush and works faster on small seams. Both contain fluorides, so read the label and keep the lid on.
Anneal, Quench, Pickle, Firestain
Annealing softens work-hardened silver by heating it and letting the crystal structure relax. Quenching is the rapid cooling in water that follows, which locks in that softness and knocks off flux residue.
Pickle is a mild acid bath that removes the black copper oxide left by heating. Firestain is different: a grey-purple haze of copper oxide that has diffused into the silver surface itself, and it needs abrasion rather than chemistry.
Safety and Setup Before the First Flame
A torch is a small, honest tool. It does exactly what you point it at, which is why the bench around it must be clear before you begin.
Work near an open window or under extraction. Flux fumes are not harmless, and neither is the smoke from burned paper or overlooked residue. A small fan pulling air away from your face is enough for occasional work.
Wear safety glasses, not reading glasses. Solder can spit, and flux bubbles pop. Tie long hair back, roll sleeves to the elbow, and avoid synthetic fabrics near the flame, which melt onto skin rather than brushing away.
Clear a metre of bench with nothing flammable on it. Cotton cloth is acceptable; paper towel, solvent bottles, and plastic bags are not. Keep a quench bowl of water within reach, and know where it is without looking.
Solder on a charcoal block, a ceramic honeycomb board, or a magnesia block. Each holds heat, protects the bench, and gives you somewhere to rest hot work. Charcoal also reduces oxygen at the surface, which helps a seam close.
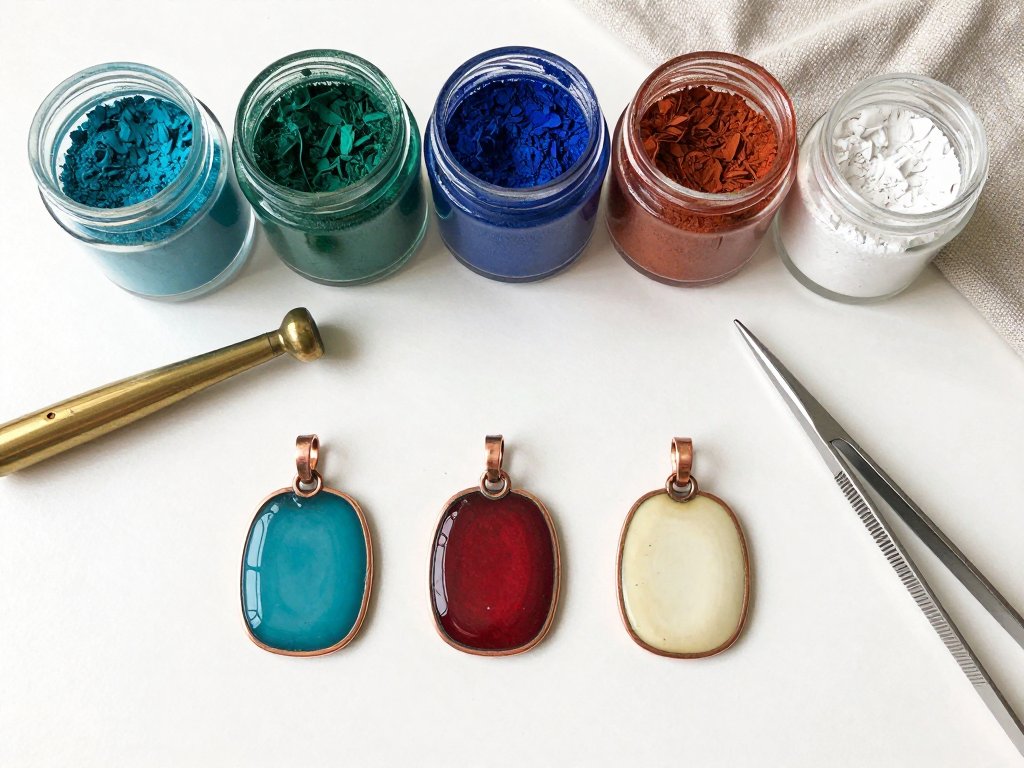
That heat-safe tile is the same surface other torch techniques rely on. If you have watched colour bloom onto copper, the setup behind torch-fired enamel jewelry starts with exactly this kind of block and this same respect for heat.
Finally, put everything in the same place every time. Torch on the right, flux at ten o'clock, tweezers in front of you. A clear bench is not tidiness. It is the difference between reaching for solder and reaching through a flame.
Choosing a Torch and Reading Its Flame
For small joins, a butane micro-torch is enough and costs very little. It lights with a click, stores in a drawer, and produces a flame hot enough to flow easy solder on a ring band or a small pendant.
Its limit is heat volume, not temperature. A butane torch delivers a narrow flame with modest energy, so a large piece of silver wicks heat away faster than the torch can add it. The solder never reaches flow, and you melt nothing while feeling like a failure.
For bigger work, a plumber's propane torch or a Smith Little Torch with disposable tanks is the next step. The Little Torch offers interchangeable tips and a precise, controllable flame, and it will happily handle a cuff bracelet or a backplate the size of a coin.
The flame itself has three useful personalities. A neutral flame has a crisp inner cone and is the default for silver, delivering heat without adding or removing oxygen. Set it slightly soft and let the cone do the work.
An oxidising flame is short, hissing, and fierce. It is hotter, but it pushes oxygen into the metal, which encourages firescale and pitting on sterling. Beginners rarely need it.
A reducing flame is long, feathery, and yellow-tipped, with excess fuel. It can protect a surface from oxidation, though the soot it leaves must be cleaned away before soldering.
Read your flame before every join. A butane torch that has been running a while may have a drifting, flickering cone; a propane torch may be set too high and roaring. A quiet, stable, well-defined flame is a working flame.
Metal Prep: The Step Everyone Skips
Solder will not flow into a seam that is dirty, and it will not flow into a seam that is loose. Those two failures account for most of the despair at beginner benches.
File the joint faces flat and true. A ring band's ends should meet along their full thickness, not touch at one corner. Draw a fine file across both ends, then check the fit against a light source.
Degrease with dish soap and warm water, or wipe with alcohol. Skin oil is invisible and stubborn. Handle the pieces with tweezers or clean cotton afterwards, not fingers.
Why does a polished joint solder better? Because capillary action depends on surface contact. A burred or scratched edge holds the pieces a hair apart, and that hair is enough to break the pull. A smooth face closes fully.
How tight is tight? Aim for a gap you cannot see, no more than about 0.05 to 0.1 millimetres. Two filed surfaces brought together with light pressure is roughly right. Do not chamfer a channel and fill it; that is welding with extra steps.
If the joint is loose, fix the metal. Squeeze, file, or re-form until the seam closes. Solder is not a gap filler, and a joint built on one will fail in the wearer's hands, not yours.
Sweat Soldering and Pick Soldering
There are two ways to get solder to a seam, and they suit different geometries. Knowing which you are doing removes a great deal of guessing.
Sweat soldering means placing solder on one piece first. You flux the surface, set pallions across it, and heat until they slump and spread flat, like water on a warm plate. The piece has now "sweated" a thin film of solder.
Then you flux both surfaces, bring the parts together, and reheat. The solder film reflows and capillary action draws it into the seam. The join happens with almost no visible filler.
Use sweat soldering when a flat surface meets another flat surface. A bezel strip onto a backplate, a decorative overlay onto a disc, or two halves of a hollow form are all sweat jobs.
Pick soldering is the opposite order. The parts are already assembled and fluxed. You heat the whole piece, then touch a pallion, a snippet of wire, or a hot probe carrying solder to the seam.
Pick soldering is ideal for a seam you cannot reach with tweezers, for a repair, or for a join where placing a chip would move the parts. The solder leaps to the hottest point, which should be the seam and not the surrounding metal.
Both methods depend on the same rule: the solder goes where the heat is. Your job is to make the seam the hottest place at the moment of flow, not to chase the solder with a flame.
Step by Step: Sweat-Soldering a Ring Band Seam
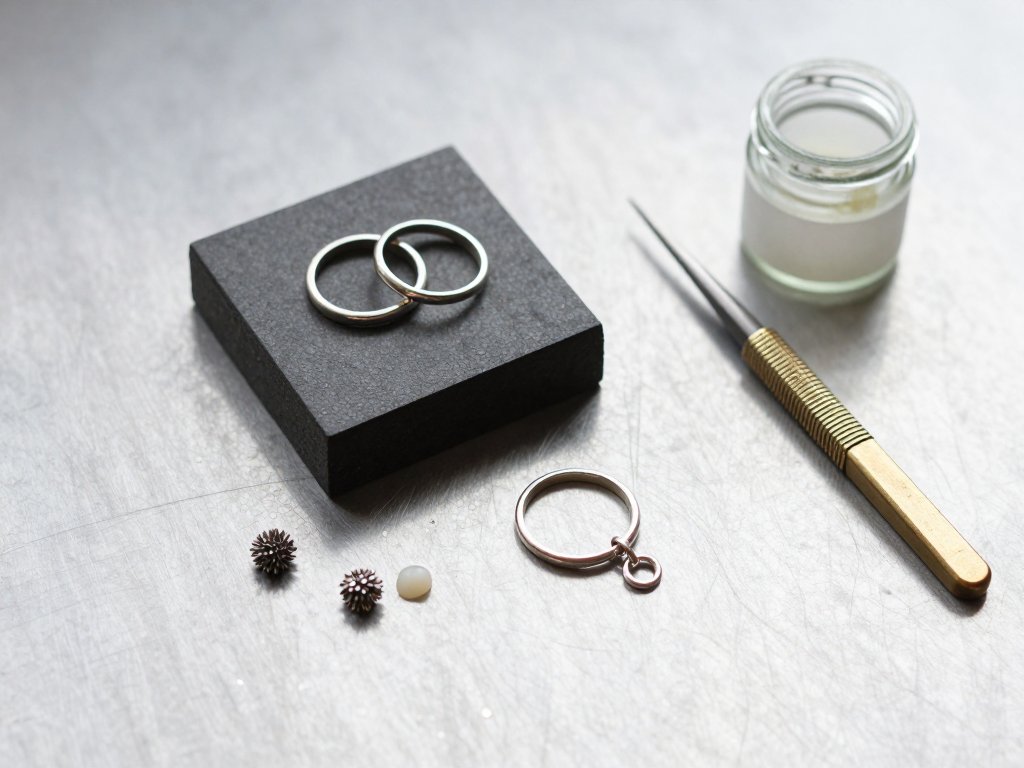
A ring band is the best first soldering project. It is small, the seam is accessible, and you can see both sides of the joint while it closes. Work in easy solder for a first attempt.
- Form the band and file both ends flat and square. Close the ring and check the seam against a lamp; if light shows through, file again until it does not.
- Clean the ring in warm soapy water, rinse, and dry. From this point, handle it with tweezers or a clean cloth only.
- Set the ring seam-up on your charcoal block. Paint paste flux along the seam, inside and out, and warm the block gently so the flux settles into the gap.
- Place two small pallions on the seam, one on the outside and one just inside. They should touch the joint, not sit beside it. Add a touch more flux over them.
- Light the torch and adjust to a neutral flame. Move the flame around the whole band, not the seam, keeping the cone just off the metal.
- Watch the flux. It will bubble, then go clear and watery. This is your signal that the metal is approaching temperature; keep the torch moving evenly.
- When the ring reaches flow temperature, the pallions collapse and a bright line runs around the seam. That flash is the whole event, and it lasts a second. Pull the torch away immediately.
- Wait until the red glow fades, then quench in water. Drop the ring into warm pickle for a few minutes, rinse, and inspect the seam under good light.
If You Would Rather Set a Bezel
The same sequence works for a bezel on a backplate, with one change: sweat the bezel first. Flux the bottom edge, stand it on a charcoal block, and heat until a ring of solder film appears along the base.
Let it cool, flux the backplate, set the bezel in place, and reheat the assembly from below. The solder reflows and pulls under the wall. Weight the bezel with a third hand if it tries to drift.
Heat Control, and the Error That Ruins Joins
The single most common beginner mistake is pointing the flame at the solder. Solder is not glue and does not respond to direct heat. It responds to the temperature of the metal around it.
A flame aimed at a pallion melts that pallion while the joint stays cold. The solder balls up, oxidises, and refuses to run. The metal is then too dirty to reflow without a pickling and a fresh start.
Instead, bring the whole piece up to temperature. Play the flame over the band, the backplate, the mass of the work, and let heat travel inward to the seam. The solder flows when the joint, not the flame, is hot enough.
For a small ring this takes fifteen or twenty seconds. For a larger piece it may take a minute of steady, circling heat. Patience here is not virtue; it is technique.
Previous joins are the second heat problem. Easy solder flows around 650 °C, so any later heating that approaches that temperature will loosen your earlier seam.
Two habits protect you. First, build in order from hard solder to easy, so each stage flows below the last. Second, heat-sink the earlier join: clamp it in a third hand with a clay or charcoal shield, or wrap it in wet paper.
Wet paper sounds improvised because it is, and it works. The water holds the local temperature down while the rest of the piece comes up to flow. Re-wet it as it steams.
Pickle, Rinse, and the Problem of Firestain
After soldering, silver wears a dark coat of copper oxide. Pickle removes it. Sodium bisulfate, sold as a jewelry pickle, is the traditional choice; a citric acid solution mixed at roughly one tablespoon per cup of warm water is a gentler alternative.
Use a glass or ceramic container, never metal. Warm pickle works in minutes; cold pickle works in an hour, if you are patient. Keep it below a simmer, because hot acid fumes are unpleasant and unnecessary.
Use copper tongs. Steel tongs in pickle create a small electroplating cell that deposits copper onto your silver, leaving a pink blush that is tedious to polish out.
Rinse thoroughly in clean water afterwards, and dry with a soft cloth. Pickle left in a seam will creep out later as a green stain on the wearer's skin.
Firestain is the grey-purple shadow that survives pickling. It is copper oxide that has moved into the metal, and no acid will lift it. A stiff bristle brush with pumice, or a light abrasive such as fine emery followed by rouge, is the remedy.
Deep firestain may need depletion: repeated heating and pickling to draw fine silver to the surface. For a first project, polish it down and accept a faint haze. It is a heat problem, and heat problems get smaller with practice.
Troubleshooting: When the Solder Will Not Behave
Almost every failure at the soldering bench has a physical cause, and most of them are visible if you know what to look for.
The Solder Balls Up and Will Not Flow
This is nearly always dirty metal, insufficient flux, or a piece that never reached temperature. Re-pickle, re-flux generously, and heat the whole piece rather than the pallion. Check that the seam is tight; a wide gap will not draw.
The Join Breaks Later
A cold joint looks joined and is not. The solder sat on the surface without penetrating, usually because the piece was pulled from the heat too early. A joint with too little solder fails the same way, cracking along a thin line.
Clean the joint back to bright metal, reflux, and redo it with slightly more solder and a longer, gentler heat. Do not simply add solder on top of a failed seam.
Solder Spreads Everywhere
Too much flux or too much heat lets solder wander across the surface. Flux acts as a bridge for capillary flow, so a flooded joint encourages a flood of solder. Use less flux, smaller pallions, and pull the torch away the instant the seam flashes.
Pitted Seams
Pits come from overheating, from an oxidising flame, or from flux that boiled before the solder flowed. Keep the flame neutral, keep it moving, and do not linger once the seam closes.
Firestain That Will Not Come Off
If pickling and brushing leave the haze, the oxide has gone deeper than the surface. Work through finer abrasives, or plan a depletion cycle before finishing. Prevention is cheaper: a neutral flame and less time at temperature.
Start Smaller Than You Think
The temptation is to begin with the piece you actually want to make. Resist it. A ring band, a simple pendant, a single bezel on a flat backplate: these teach every skill you need without punishing a mistake.
A complex multi-part piece asks you to manage four or five heat cycles, each one threatening the joins before it. That is a second-year problem. A first-year problem is a clean seam and a flame you trust.
The bench itself is modest. A butane micro-torch runs fifteen to thirty dollars, a charcoal block about ten, and a small pot of pickle under ten. Flux, easy solder, tweezers, and a third hand add perhaps fifty more.
Call it a hundred to a hundred and fifty dollars to be soldering this weekend, with tools that will last years. Compare that to the cost of one commercially made ring and the arithmetic becomes friendly.
Your first seam will probably be lumpy. Your second will be better, and your fifth will make you wonder why you were nervous. Silver soldering rewards nothing so much as repetition, and repetition is free.
Light the torch, clear the bench, and bring the whole piece up to heat. That is the entire secret, and now it is yours.