Introduction
In the back rooms of old farmhouses you will sometimes find a rug that looks less drawn than remembered: a heart set slightly off centre, a house with a crooked chimney, a cat with one ear higher than the other.
These are hooked rugs, made by pulling short loops of wool up through a coarse cloth, one loop at a time, with a small hook. The surface is dense and springy underfoot. The drawing is plain, and almost nothing about it is precise.
That last quality is exactly why rug hooking suits a beginner. The work is slow, quiet and forgiving, and it turns worn wool into something worth keeping. You do not need to be a confident draughtsman. You need a hook, a square of cloth and a little patience.
If you have ever looked at a primitive rug in an antique shop and wondered how such a rough surface could hold such a clear shape, the answer is simpler than you expect.
Where the Craft Came From
Rug hooking grew out of economy rather than art. In nineteenth-century farm households across New England, the Canadian Maritimes and Ontario, worn wool clothing was too valuable to discard and too thin to mend again.
So it was cut or torn into narrow strips — the old word for them is shirret — and pulled through whatever coarse fabric was at hand.
Burlap feed sacks and heavy linen served as backing. The work happened in the evenings, by lamplight, with a hook whose handle was often a whittled dowel.
The designs came from the maker's own life: a heart, a house, a dog, a basket of flowers, a ship under sail. Little was copied from pattern books, because in most households there were none.
By the late nineteenth century the craft had a market. The Grenfell mats of Newfoundland and Labrador, sold to supply ships and hospitals, carried hunting and fishing scenes worked in silk stockings and wool. In Maine, Waldoboro makers shaded their loops into sculpted flowers.
What Rug Hooking Is, and What It Is Not
Rug hooking pulls short loops up through a backing with a hand hook, leaving them standing like a tiny carpet pile; it is not punch needle embroidery, which pushes a continuous thread down through the cloth, and it is not a power tufting gun.
That distinction matters more than it sounds. Because every loop is made from the front and stays visible as you work, you can see the surface building under your hand. There is no hidden wrong side to worry about until the very end.
It also means the craft is unusually tolerant. A loop that sits badly can be pulled out with the same hook that made it, and the cloth underneath closes up again. Very few textile crafts allow that kind of undoing.
In the 1930s a Massachusetts teacher named Pearl McGown began teaching the technique in a standardised way. Her numbering for strip width — a #8 cut measures eight thirty-seconds of an inch — is still how hookers describe their wool today.
The Materials You Actually Need
The tool list is short, and most of it can be found secondhand. What matters is that each piece is suited to the others: a hook too large for fine cloth will tear it, and strips too wide for the weave will drag.
- Wool strips. Cut or torn from old blankets, skirts, jackets and trousers. Thick knitting yarn can substitute, but wool fabric gives the matte, mottled look of a true primitive rug.
- Backing. Monks cloth is the beginner's choice: a cotton weave with a visible grid that keeps your rows straight. Heavy linen is the traditional option and lasts longer.
- A hand hook. A wooden handle with a short steel shaft ending in a small hooked tip. Check that the inside of the hook is smooth; a burr will snag every strip.
- A frame or hoop. The cloth must be drum-tight. A simple lap frame with gripper strips, or a large embroidery hoop, will do for a first small piece.
- Sharp scissors. Small, strong and sharp, kept for fabric only. Blunt blades crush wool instead of cutting it.
You will also want a permanent marker or tailor's chalk for the pattern, and a spare cloth to rest the work on so the loops are not flattened as you turn it.
Before you buy anything, look through your own house. Is there a wool coat that has finally given up, or a blanket with a worn edge, waiting in a cupboard?
Choosing Wool and Cutting It Into Strips
Almost any wool fabric will hook, but not all of it will wear well. Tightly woven wool — coating, suiting, blanket weight — holds a loop and survives foot traffic. Loosely woven wool pulls apart in the hook.
Test a scrap before you commit to it. Cut a half-inch strip, hook a few loops, then tug each one firmly. If the strip breaks or the cloth ravels into threads, the fabric is too weak or too loosely spun for a floor rug.
Width is measured in thirty-seconds of an inch, a habit inherited from the McGown years. A #6 cut is fine and fussy; a #8 or #9 is the comfortable middle; a #10 or wider gives the chunky, hand-hewn surface of a primitive rug.
Beginners usually start too fine. Wide strips cover cloth faster, show the wool's colour variation and forgive uneven spacing. For a first primitive piece, cut at #9 and do not apologise for it.
To cut, fold the fabric into layers and slice with sharp scissors or a rotary cutter against a mat. Keep the strips in a basket sorted by colour, because hunting for a shade mid-row breaks your rhythm badly.
Tearing is the older method, and it produces a different rug. A torn strip has a soft, feathered edge that blooms into the pile and gives the mottled look of nineteenth-century work. It also narrows as it stretches, so tear a little wider than you would cut.
Some fabrics should stay out of the basket. Synthetics melt and shine; anything with a heavy finish feels slick under the hook; loose knits ravel into a fringe of threads. Fraying cotton jersey is the commonest beginner mistake.
Getting the Pattern Onto the Cloth
You do not need a lightbox. Monks cloth is open enough that a paper template pinned underneath shows through clearly when you hold it to a window, and that is often the easiest method of all.
Draw the motif on plain paper in heavy dark marker, then pin the paper to the back of the cloth, centred and square to the weave. Trace the lines with a permanent marker, pressing lightly so the ink sits on the surface rather than flooding the weave.
If your cloth is too dark or too tightly woven to see through, work from the front. Tailor's chalk shows on most backings and brushes away afterwards. A fine permanent marker is more permanent than you may want, but it hides under the loops anyway.
Freehand drawing is entirely acceptable here, and historically it was the norm. A heart drawn in one continuous line, a house as a square with a triangle on top, a cat as an oval with ears: these shapes do not improve with tracing.
Leave a margin of at least two inches of bare cloth around the design. The edge will be turned and bound later, and loops hooked too close to it will pull free during finishing.
The Loop-Pulling Motion
Hold the hook like a pencil, with the handle resting against the web of your hand and the tip angled down toward the cloth. The motion is small and comes mostly from the wrist, not the shoulder.
- Push the hook down through the cloth from the front, about a quarter inch from where the previous loop came up.
- Catch a strip underneath, close to its end, and draw a loop of it up through the same hole until the loop stands about half an inch tall.
- Move along the row and repeat, leaving each new loop standing beside the last, not on top of it.
- Keep the tail of the strip underneath the cloth, held gently by your other hand, so the loops cannot pull back through.
That is the whole technique. Everything else in rug hooking is a variation on this one motion: a decision about how tall to make the loop and how close to set the next one.
Work from the front and look at the surface, not at your hands. Beginners who watch the underside produce neat backs and lumpy fronts, and the front is the only side anyone will ever see.
Keep the strip under gentle tension. Pull too hard and the loops shrink and the cloth puckers; pull too little and they sit loose and will work their way out within a season.
Loop Height, and Why Consistency Beats Perfection
Loop height — the pile — is the single thing that most affects how a finished rug looks and feels. Too tall and the rug is spongy and catches chair legs. Too short and the wool disappears into the weave.
For a first piece, aim for loops about a quarter to three-eighths of an inch tall. Primitive rugs traditionally run taller, closer to half an inch, which is part of why they look so substantial underfoot.
The exact height matters far less than the consistency. A rug with every loop at a modest height looks calm and even. A rug with loops ranging from short to tall looks moth-eaten, however good the drawing is.
You will find your natural height within the first twenty loops. Once you have it, check yourself every few rows by running a flat palm across the surface; your hand notices a change in height long before your eye does.
Loop height is also a design tool. Working one area taller than another creates a raised motif that catches the light — a technique the Waldoboro makers pushed to sculptural extremes.
Spacing Rows and Packing the Loops
Loops should sit close enough that the backing disappears, but not so close that they crush one another. The rule of thumb is that neighbouring loops should just touch when the pile is brushed upright.
Row spacing follows the strip width. A #9 strip wants rows about three-eighths of an inch apart. Set them wider and you will see bare cloth between the lines, which no amount of later brushing will fix.
If the cloth shows through after a row, do not panic and add a second row on top. Instead, go back along the same line and add loops between the existing ones, which fills the gap without doubling the height.
Judge the density with the work flat on the table and your palm pressed over it, not by peering at the surface from an angle. Pressed flat, the pile tells you the truth about coverage.
Outlining a Motif, Then Filling It
Hook the outline of a shape first, all the way around, before you fill the middle. The outline acts as a wall: it holds the fill loops in place and gives you a clear boundary to work against.
Use a single dark or contrasting colour for the outline, at least for your first few pieces. It reads as a drawn line and it makes a slightly wobbly shape look deliberate rather than accidental.
Then fill inward in rows that follow the shape's contours. On a heart, work in curves that echo the outer edge. On a house, work in straight rows parallel to the walls, so the pile has a direction.
When you reach a corner or a tight curve, do not force a long strip around it. Cut the strip, start again from the other side, and let the two ends meet. The join disappears into the pile.
Stand back and look at the piece from across the room. Can you still tell what the shape is at that distance? If not, the outline needs a wider band of colour.
Designing Your First Primitive Pattern
Primitive designs work best when they are simple, symmetrical enough to be readable and slightly irregular on purpose. Choose one motif and give it plenty of empty space around it.
A heart is the classic starting shape: two curves, a point, and a border of contrasting loops. Draw it wide rather than tall, because a narrow heart closes up once the pile is packed.
A small house is nearly as easy and looks more ambitious. A square body, a triangular roof, one door, two windows, a chimney placed off-centre. Hook the roof in a darker shade so it reads as a separate plane.
A cat is the traditional folk motif and the most forgiving of a shaky hand. An oval body, a round head, two triangles for ears, a curved tail. Do not attempt whiskers; they vanish in the pile.
For a border, consider hit-or-miss: a random sequence of coloured blocks, two loops wide, running around the edge. It uses up odd strips, requires no drawing, and hides an uneven outer edge better than any neat stripe.
Sketch three versions on paper before you commit one to cloth. The version you like on paper is usually the one that survives being simplified, and simplification is what primitive work is.
Finishing: Binding, Backing and Care
Trim the backing to about an inch and a quarter beyond the last row of loops. Fold it to the back and whip it down with strong thread, working small stitches through the folded edge all the way around.
Corners need a diagonal snip before folding, or they will bulk into a lump. Fold one side, then the next, and stitch the mitre closed so the corner sits flat on the floor.
For a rug that will be walked on, add a backing cloth. Cut a piece of heavy cotton or canvas slightly smaller than the rug, turn its edges under, and stitch it to the whipped edge with a loose stitch that allows the wool to move.
Trim any long loops level with sharp scissors once the piece is finished. Work slowly and take off very little; the slight irregularity of the pile is what gives a primitive rug its character.
To care for it, shake rather than beat, vacuum with the beater bar off and the suction low, and spot clean with cool water and a little mild soap. Rotate the rug twice a year so the traffic wear stays even.
Keep it out of direct sun and off damp concrete. Wool holds moisture, and a hooked rug left against a cold stone floor will eventually smell of the cellar, no matter how well it was made.
Think about where the rug will actually live. A doorstep that gets walked over daily asks far more of the wool than a strip beside a bed, where it is seen more than stood on.
When Something Goes Wrong
Loops pulling out. Almost always a tension problem, not a hook problem. The tail underneath is too short, or you are pulling the strip so tight that the loop cannot lock against the weave. Leave longer tails and pull more gently.
Backing showing through. The rows are too far apart or the loops too short for the strip width. Add loops between the existing ones along the same line rather than starting a new row on top.
Uneven heights. Usually fatigue. After an hour your hand stops measuring consistently and starts guessing. Work in shorter sessions, and check the surface with your palm at the end of each one.
Sore hands and wrists. A tight frame helps more than a softer grip, because you stop fighting the cloth. So does a hook with a thicker handle, and a cushion under the frame so you are not reaching down to the table.
None of these problems ruin a piece. Almost every fault in rug hooking can be undone with the same hook that made it, which is a rare comfort in any craft.
Conclusion: The Case for the Slightly Crooked Line
The primitive style was never an attempt at realism that fell short. It was a way of drawing with wool that suited the material, the light and the time the maker had.
Your first rug will have loops of slightly different heights and a heart that leans a little to one side. That is not a failure of technique; it is what a handmade object looks like before machines learned to hide their work.
Which shape keeps coming back to you as you read — a heart, a house, a cat by the door? That is probably the one to draw first.
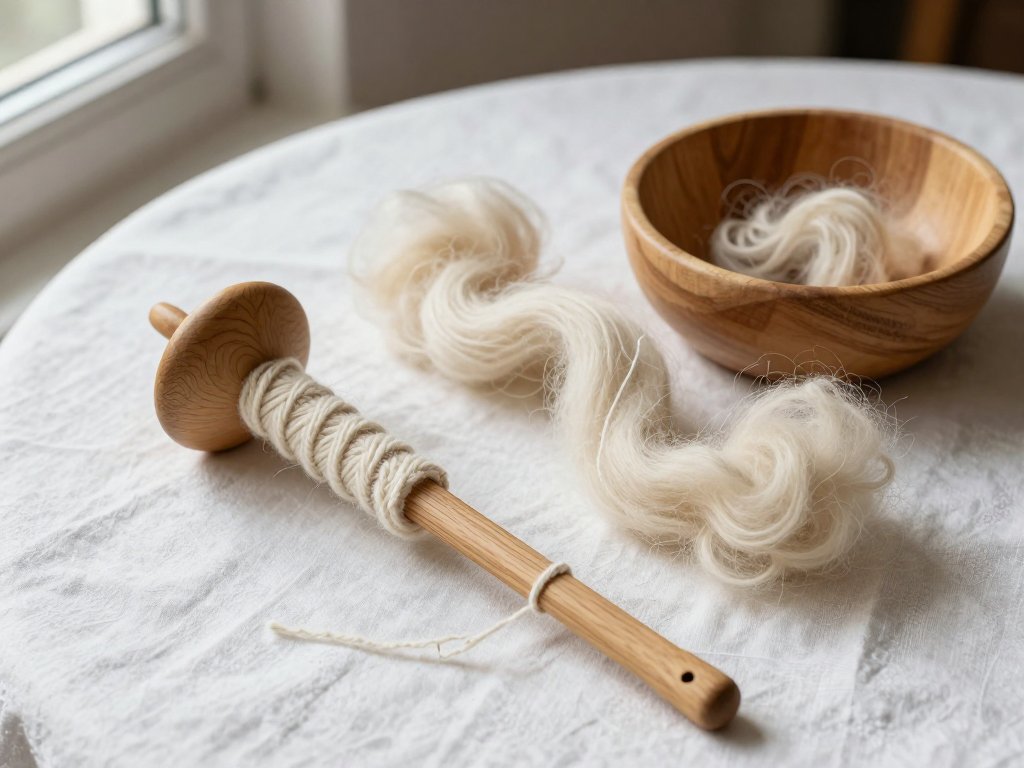
If you would like to spin your own wool before you cut it into strips, the guide to drop spindle spinning starts from raw fleece.
Start small, keep the frame tight and let the surface be a little rough. The rugs that survive a hundred years in a farmhouse are not the neatest ones. They are the ones somebody finished.