Introduction
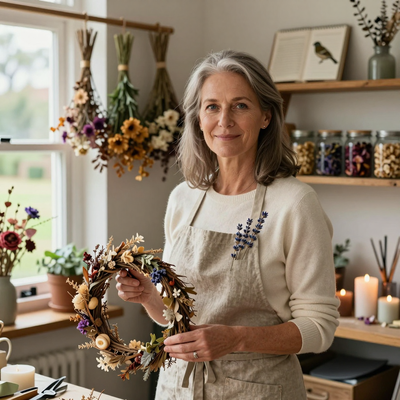
There is something quietly revolutionary about sitting down with a needle, a length of thread, and an empty canvas.
In a world that demands speed, needlepoint asks for patience. In an age of digital everything, it offers texture.
And for thousands of women across the centuries — from medieval nuns illuminating ecclesiastical vestments to Victorian ladies recording their gardens in wool — it has offered something more: a quiet space to think, to create, and to leave a small, stitched mark on the world.
You may have walked past needlepoint canvases in a craft store and felt a flicker of curiosity mixed with intimidation.
The intricate patterns, the tiny stitches, the sense that this is something your grandmother did and therefore must require decades of practice.
Let me reassure you: needlepoint is one of the most accessible needle arts you can learn.
If you can thread a needle and make a diagonal stitch, you already have the foundation.
Everything else is just practice, and the practice itself is the pleasure.
A Brief History: Why Needlepoint Endures
Needlepoint belongs to an ancient family of canvas work embroidery. The earliest surviving examples come from ancient Egypt, where stitched fragments were found in the tombs of pharaohs.
But the craft as we know it today truly came into its own during the sixteenth century, when tent stitch — the fundamental diagonal stitch of needlepoint — became the preferred method for creating elaborate upholstery, wall hangings, and cushion covers in European households.
By the seventeenth century, needlepoint had become a staple of gentlewomen's education across England and France.
Young women worked elaborate pictorial scenes depicting biblical stories, classical mythology, and pastoral landscapes. These pieces were not merely decorative; they were demonstrations of skill, patience, and refinement.
A well-executed needlepoint picture could hang in a parlor for generations, a testament to the maker's artistry.
The Victorian era brought a democratization of the craft. The invention of Berlin wool work — printed patterns on grid paper, imported from Germany — made complex designs accessible to stitchers of all skill levels.
Women who could not afford formal artistic training could nonetheless create stunning floral compositions and geometric patterns.
The wool itself was brightly colored and readily available, thanks to the expanding textile industries of the Industrial Revolution.
In the twentieth century, needlepoint experienced waves of popularity and decline. It was a staple of mid-century American homemaking, then fell out of fashion as women entered the workforce and had less time for time-intensive crafts.
But like all enduring art forms, needlepoint never truly disappeared. It waited. And now, in the 2020s, it has returned with remarkable energy.
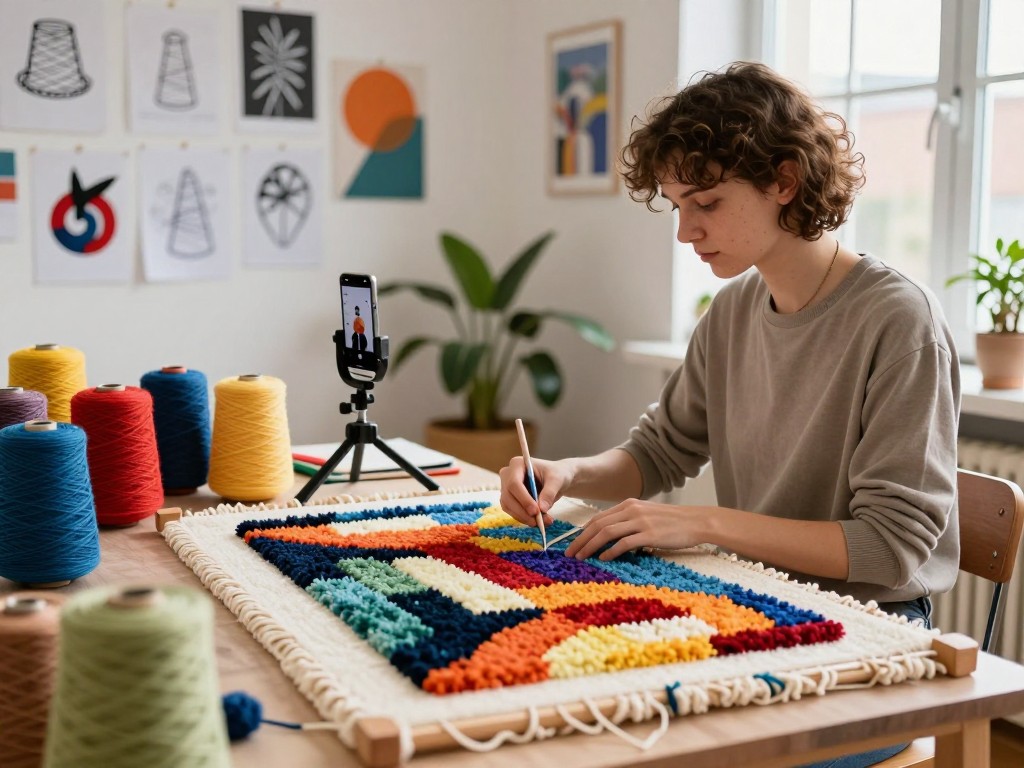
A new generation of stitchers — many of them young women seeking analog respite from digital overload — have discovered the satisfaction of working with their hands.
Modern designers have reimagined needlepoint canvases with contemporary motifs: abstract geometrics, feminist slogans, pop culture references, and minimalist botanicals.
The craft has shed its stuffy reputation and emerged as something fresh, vibrant, and deeply personal.
What You Need to Begin: A Gentle Starter Kit
One of the great joys of needlepoint is that the materials are simple, portable, and relatively inexpensive. You can assemble everything you need for under fifty dollars, and most items will last through many projects.
Canvas
The foundation of every needlepoint project is the canvas itself. Unlike the fine-weave fabrics used in sewing or cross-stitch, needlepoint canvas is stiff and open, with visible grid lines that guide your stitches.
It comes in several mesh sizes, measured by the number of threads per inch. For a beginner, the best choice is a 10-mesh or 12-mesh canvas.
These are coarse enough that you can see each intersection clearly, and you will finish a project in a satisfyingly short time.
A 10-mesh canvas means ten threads per inch, which produces a bold, substantial stitch. A 14-mesh canvas is finer and better suited to detailed work, but it is also slower and more demanding on the eyes.
Start with 10 or 12. You will feel accomplished sooner, and accomplishment is what keeps beginners stitching.
Canvas comes in two basic types: mono canvas, which has single threads forming the grid, and Penelope canvas, which has paired threads.
Mono canvas is more common and easier for beginners to work with. You can buy it precut to standard sizes or by the yard from needlepoint shops and online retailers.
Most beginners start with a precut piece approximately twelve inches square, which gives enough room for a small design without being overwhelming.
Yarn
Needlepoint yarn is different from the embroidery floss you may have used in cross-stitch. It is thicker, stronger, and designed to cover the canvas completely.
The most traditional choice is Persian wool, a three-ply yarn that you can separate into individual strands.
For a 10-mesh canvas, you will typically use two or three strands together. For a 12-mesh canvas, two strands are usually sufficient.
Persian wool comes in an extraordinary range of colors, from subtle neutrals to jewel-bright primaries.
The best brands include DMC, Anchor, and Paterna. If you are working on a kit, the yarn will be included, which takes the guesswork out of color selection.
If you are designing your own project, start with four or five colors that please you.
There is no wrong choice. The colors you love are the colors you will enjoy stitching.
For budget-conscious beginners, acrylic yarns are available and perfectly serviceable. They lack the soft sheen of wool but are machine washable and considerably less expensive. Many modern needlepoint designers use a blend of wool and acrylic to balance cost and quality.
Needles
Needlepoint uses tapestry needles, which have a blunt tip and a large eye. The blunt tip is essential — it slides between the canvas threads without piercing them, preserving the integrity of the grid.
A size 18 or 20 tapestry needle is ideal for 10- to 12-mesh canvas. The eye is large enough to accommodate wool yarn without fraying it, and the needle length is comfortable for the rocking motion of stitching.
Buy a small assortment of needles in sizes 18, 20, and 22. They are inexpensive and easy to lose, so having spares is wise.
Magnetic needle minders — small magnets that hold your needle when you set your work down — are a small investment that will save you many frustrated searches through couch cushions.
Other Essentials
A few additional items will make your stitching experience more enjoyable:
A frame or stretcher bars. While you can hold small pieces of canvas in your hand, a frame keeps the canvas taut and your stitches even. Stretcher bars are interlocking wooden strips that assemble into a rectangle. You attach the canvas with tacks or staples, and the tension keeps your work flat. For small projects, a lap stand or a simple hoop-style frame works well. Sharp embroidery scissors. A small, sharp pair of scissors is essential for snipping yarn tails cleanly. Dull scissors will fray the wool and make a mess of your work. Good lighting. Needlepoint is a detailed craft, and your eyes will thank you for a bright, consistent light source. A daylight LED lamp positioned over your stitching area makes a tremendous difference, especially in the evening. A needle threader. The eye of a tapestry needle is large, but if your eyesight is less than perfect, a simple wire loop threader is a small mercy worth having.The Fundamental Stitches: Your Gateway to the Craft
Needlepoint is built on a small vocabulary of stitches. You can create thousands of patterns by combining and varying these basic building blocks. For a beginner, three stitches are enough to start: the tent stitch, the continental stitch, and the basketweave stitch. Each has its own character and best use.
The Tent Stitch
The tent stitch is the most basic and the most important stitch in needlepoint. It is a single diagonal stitch that crosses one intersection of the canvas grid, moving from bottom left to top right (or the reverse, depending on your preference).
Every needlepoint journey begins with this stitch, and many experienced stitchers return to it again and again for its clean, uniform appearance.
To make a tent stitch: bring your needle up from the back of the canvas at the bottom left of a grid intersection.
Insert it at the top right of the same intersection. Pull through gently — not so tight that the canvas puckers, not so loose that the yarn leaves a gap.
The ideal tension leaves the stitch lying flat against the canvas, covering the intersection completely without distorting the grid.
Work in rows from right to left if you are right-handed, or left to right if you are left-handed. Each row of tent stitches creates a diagonal line on the back of the canvas. The front will show a neat pattern of parallel diagonals, all leaning in the same direction.
The Continental Stitch
The continental stitch is a variation of the tent stitch that creates a longer diagonal on the back of the canvas.
It is worked in horizontal rows, and the needle travels diagonally upward over one canvas intersection, then downward under the canvas to begin the next stitch.
The continental stitch produces a slightly thicker, more textured surface than the basic tent stitch, and it covers the canvas more completely.
The continental stitch is particularly useful for outlines and borders, where you want a distinct visual boundary between color areas. It is also slightly faster to work once you develop a rhythm, because the needle follows a predictable up-and-down path.
The main disadvantage of the continental stitch is that it distorts the canvas. The diagonal tension pulls the canvas slightly out of shape, creating a parallelogram effect.
This is normal and correctable. Blocking your finished piece — wetting it and stretching it back into square — resolves the distortion completely.
Do not let this deter you. Distortion is a sign that you are stitching with consistent tension, which is a good thing.
The Basketweave Stitch
The basketweave stitch is the most advanced of the three fundamental stitches, but it is worth learning early because it solves the distortion problem.
Basketweave is worked in diagonal rows, and the interlocking pattern of stitches on the back of the canvas resembles a woven basket — hence the name.
Because the tension is distributed evenly across the canvas in multiple directions, basketweave does not pull the fabric out of shape.
Basketweave is the preferred stitch for large background areas in traditional needlepoint. It produces a smooth, even surface that looks professional and wears well. The learning curve is slightly steeper than tent or continental, but once the rhythm clicks into place, many stitchers find it meditative and satisfying.
To work basketweave, think of stitching in diagonal lines that move from the top right of your design area to the bottom left.
Each diagonal row alternates between horizontal and vertical movements on the back of the canvas.
The pattern is: stitch up, stitch right, stitch up, stitch left — and repeat. If this sounds confusing, you are not alone.
Every needlepointer learned by doing, and the muscle memory develops surprisingly quickly. A video tutorial or a detailed stitch diagram can bridge the gap between reading and understanding, but ultimately your hands will learn what your eyes cannot quite grasp from words alone.
Choosing Your First Project
The best first project is one you can finish in a few weeks of casual evening stitching.
A small ornament, a bookmark, or a coaster-sized piece measuring four to six inches square will teach you the fundamentals without overwhelming you.
Many needlepoint shops and online retailers sell beginner kits that include a printed canvas, yarn, needle, and instructions.
These kits are designed by professionals who have chosen appropriate colors, stitch counts, and design complexity for a first project.
Look for a kit that uses 10- or 12-mesh canvas and only one or two stitches.
Avoid kits with extensive background stitching in basketweave until you have completed a smaller project.
The background is where beginners often lose momentum — it requires patience and repetition, and it is easy to set aside and forget.
A kit with a small design area and minimal background will give you the satisfaction of completion rather than the frustration of an endless expanse of a single color.
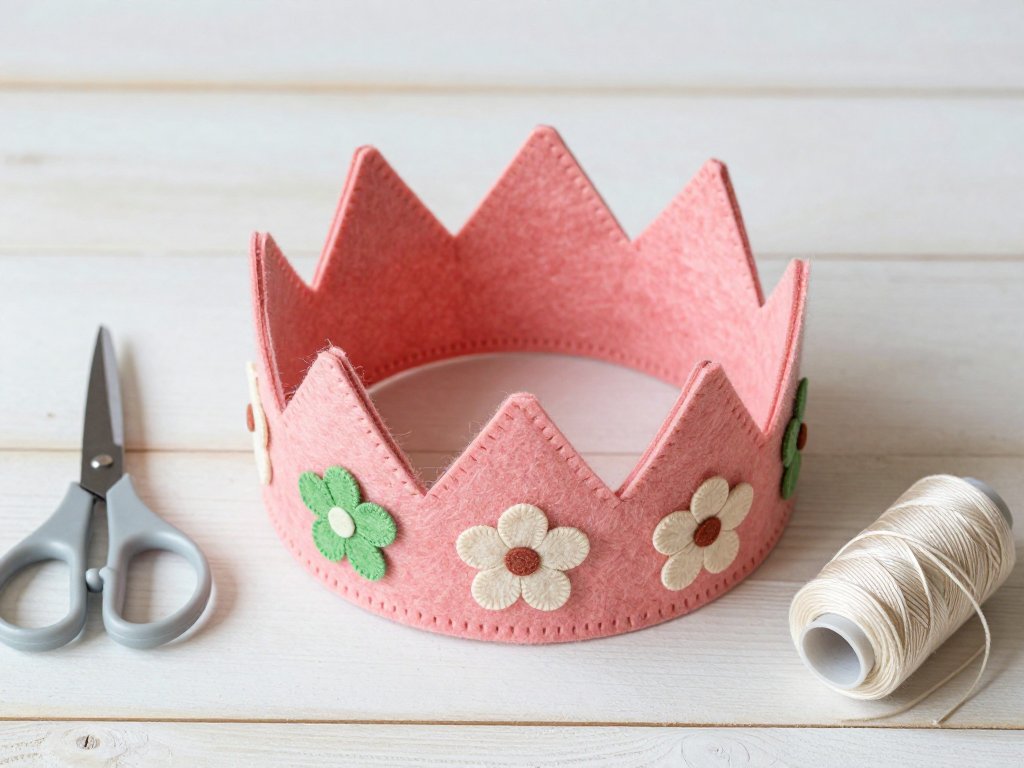
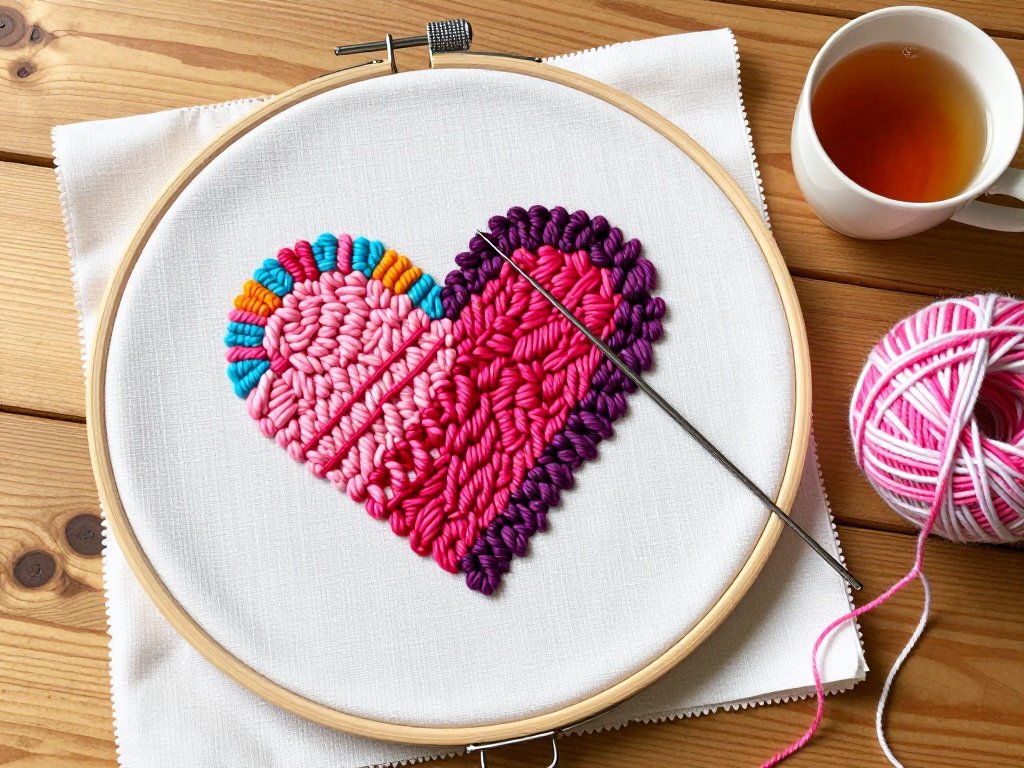
If you prefer to design your own project, start with a simple geometric shape — a star, a heart, a leaf — worked in tent stitch on a small piece of 10-mesh canvas.
Choose three colors that work well together and outline the shape in a fourth color.
This teaches you color placement, stitch direction, and edge finishing in a single manageable piece.
Reading a Needlepoint Pattern
Needlepoint patterns, whether printed on the canvas or charted on paper, use a grid system.
Each square on the grid represents one stitch, and each color on the grid corresponds to a specific yarn color.
A key at the edge of the pattern maps the symbols or colors to their yarn equivalents.
On a printed canvas, the design is painted directly onto the mesh. You stitch over the painted areas following the color guide.
This is the simplest method for beginners because there is no ambiguity about where each stitch goes.
On a charted pattern, the design is printed on paper, and you must count threads on a blank canvas to place your stitches correctly.
Charted patterns are more flexible — you can resize them, repeat motifs, and combine designs — but they require careful attention to counting.
For your first project, a printed canvas is the better choice. Once you have completed two or three printed projects and feel confident in your stitching, try a simple charted pattern to expand your skills.
Practical Tips for Steady Progress
Every stitcher develops their own rhythm, but a few universal tips will make your early projects more enjoyable:
Cut your yarn at arm's length. A piece of yarn from your fingertips to your elbow — approximately eighteen inches — is the ideal working length.
Longer pieces tangle and fray from repeated passage through the canvas. Shorter pieces waste time with frequent rethreading.
If you find yourself fighting knots, your yarn is too long.
Park your needle when not in use. If you need to pause mid-row, leave your needle threaded and insert it into the canvas a few inches away from your working area. This prevents the needle from falling out and the yarn from pulling back through the canvas.
Stitch in good light. Needlepoint is forgiving of many imperfections, but uneven tension is hard to disguise. Consistent lighting helps you see the canvas grid clearly, which leads to more uniform stitches. Evening stitchers benefit enormously from a dedicated craft lamp with a daylight bulb.
Take breaks. Needlepoint is meditative, but your hands and eyes need rest. The rocking motion of stitching can strain your wrist if you work for hours without a pause.
Every thirty minutes, set your work down, stretch your fingers, and look at something twenty feet away for a few seconds.
Your future self will thank you.
Embrace imperfection. Your first project will not look like the picture on the kit. Some stitches will be looser than others.
A thread may pull slightly in the wrong direction. A color boundary may be less crisp than you hoped.
This is not failure. This is the evidence of a human hand at work. The small irregularities in handmade needlepoint are what distinguish it from machine-made fabric.
They carry the memory of your attention, your effort, and your care.
Caring for Your Finished Pieces
A well-made needlepoint piece can last for generations. Proper finishing ensures that your work remains beautiful and intact.
Blocking. After you complete your stitching, the canvas may be slightly distorted from the tension of your stitches.
Blocking restores it to its original shape. Wet the piece thoroughly with cold water, then stretch it gently back into square shape on a blocking board, securing the edges with rustproof pushpins.
Allow it to dry completely — this may take twenty-four to forty-eight hours, depending on humidity.
Once dry, the canvas will hold its shape.
Cleaning. Needlepoint is surprisingly durable. For light dust and surface dirt, a gentle vacuum using a brush attachment works well.
For deeper cleaning, hand wash in cool water with a mild wool wash like Eucalan or Soak.
Do not wring or twist the canvas — this distorts the stitches. Roll it in a clean towel to remove excess water, then block and dry as described above.
Avoid dry cleaning, which can discolor the wool and degrade the canvas.
Finishing. Your stitched piece can become a pillow, a framed picture, a handbag, a ornament, or a book cover.
Many local needlepoint shops offer finishing services, or you can sew your own backing using a sturdy cotton or velvet fabric.
For framed pieces, archival mounting methods — acid-free mat board, UV-protective glass — will prevent yellowing and fading over the years.
The Quiet Pleasure of Stitching
There is a reason needlepoint has survived for centuries while countless other crafts have come and gone.
It is not because needlepoint produces the most useful objects — though it can. It is not because it is the fastest or easiest craft — though it is genuinely accessible.
Needlepoint endures because the act of stitching itself is a form of quiet attention that the modern world seldom asks of us.
When you sit down with a canvas, you are not merely filling a grid. You are joining a long line of women — and some men — who have found in this small, repetitive motion a way to think, to grieve, to celebrate, or simply to be still.
The stitches accumulate one at a time, and with each one, something intangible grows: patience, focus, and a quiet pride in making something with your own hands.
Your grandmother may have known this feeling. Your great-grandmother certainly did. And now, with your first tent stitch, you are becoming part of that same story — a story written not in words, but in wool and thread, one diagonal at a time.
So choose a canvas that speaks to you. Thread your needle. Make that first diagonal stitch. The rest will follow.