Introduction
You do not need a potter's wheel to fill your kitchen with beautiful dinnerware. Some of the most treasured ceramics in human history never touched one.
The pinch pot is the oldest vessel-making technique we know. Our ancestors shaped clay with their palms long before anyone dreamed of a spinning disc.
Hand-building slows everything down. It turns pottery into a calm, unhurried practice — perfect for a quiet weekend at home with nowhere to be.
There is a particular joy in eating from a bowl you shaped yourself. Every meal becomes a small celebration of your own hands.
By the end of this guide, you will know how to make plates, bowls, and mugs by hand, from wedging to the final glaze. No experience needed — only curiosity and a little patience.
Let us begin with why this approach suits beginners so beautifully.
Why Hand-Building Suits Beginners
Throwing on a wheel demands coordination that takes months to develop. The clay wobbles, collapses, and humbles even the most patient souls.
Hand-building removes all of that pressure. Your hands move at the speed of your thoughts, and every gesture stays easy to control.
Mistakes are gentle here. A lopsided pinch bowl becomes a characterful piece rather than a failure — you will learn to love the wobble.
You also need almost no equipment to begin. A kitchen table, some clay, and a few simple tools are genuinely enough for your first weekend.
Best of all, hand-built dinnerware carries a soft, organic quality that factory-made pieces simply cannot copy. Your fingerprints become part of the design.
And because the process is slow, it gives your mind space to settle. Many potters describe hand-building as the most restful hour of their week.
The Three Hand-Building Methods
Every hand-built pot grows from one of three methods: pinching, coiling, or slabbing. Each has its own rhythm, its own texture, and its own personality.
Pinching is the most intuitive. You press a ball of clay into a hollow shape using only your thumbs and fingers, feeling the walls thin beneath your touch.
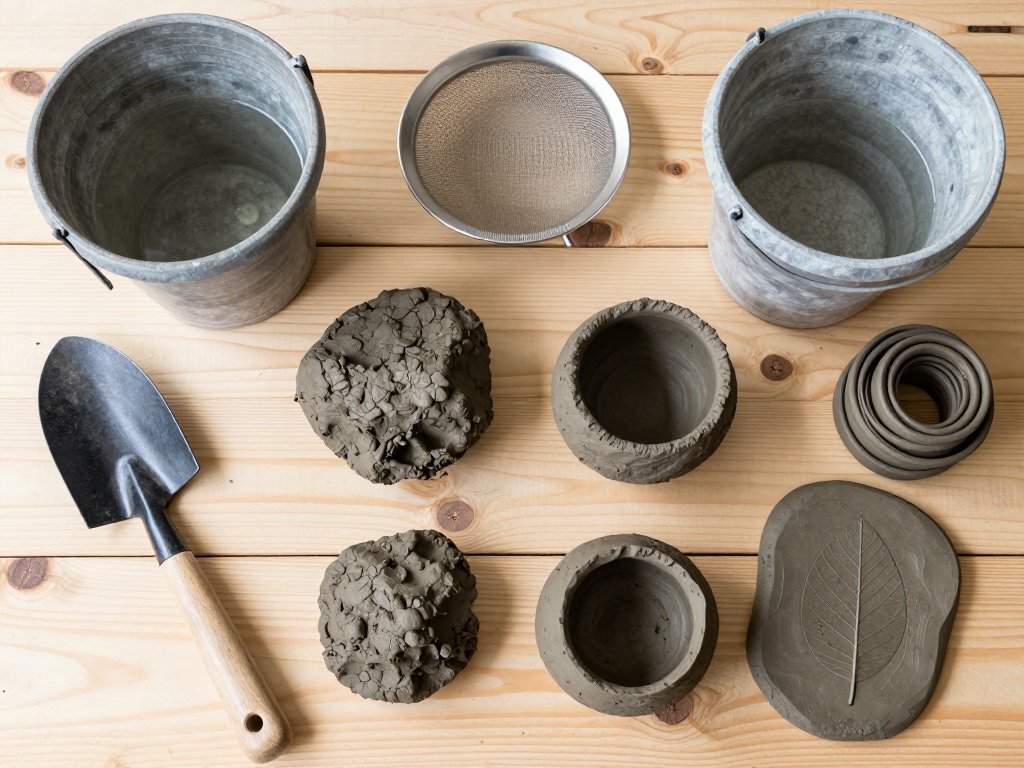
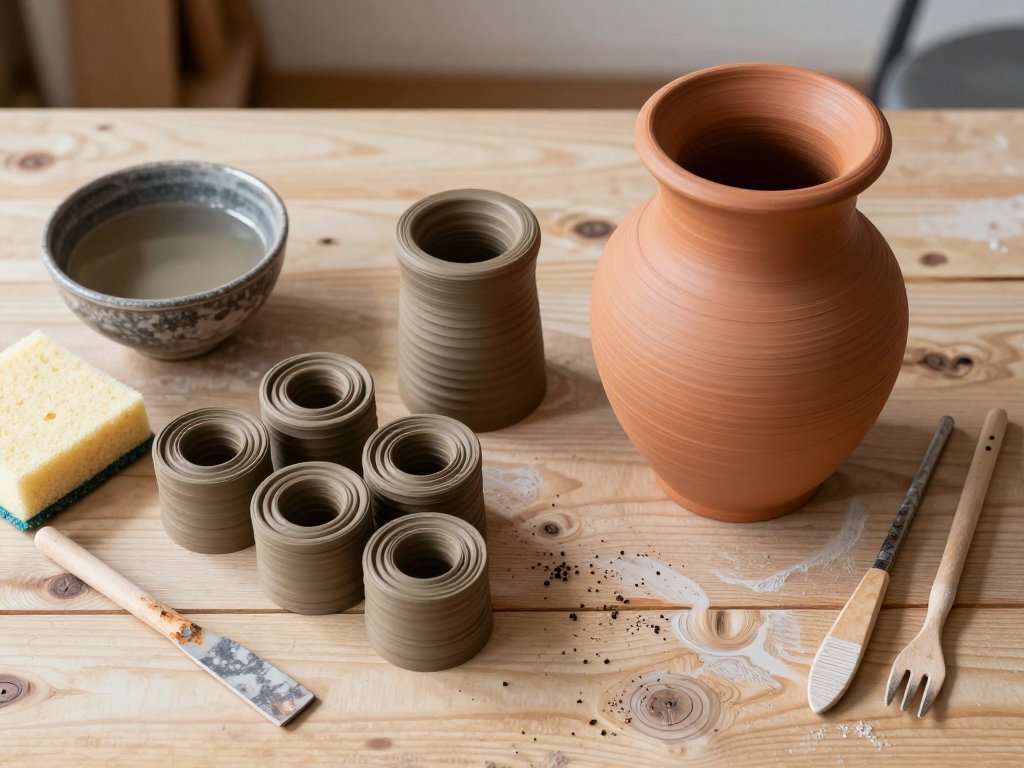
Coiling builds forms from long rolled snakes stacked in spirals. It is ideal for tall, rounded vessels and leaves a gentle ridged texture.
Slabbing uses flat sheets of rolled clay, cut and joined into crisp, geometric forms. Plates, trays, and mugs love this method.
Which method suits which piece? Pinch for small bowls, coil for deep salad bowls, and slab for plates and mugs.
You can also combine methods freely. A slab mug with a coiled handle feels both sturdy and graceful in the hand.
Beginners often worry about choosing the "right" method. There is no wrong answer — only the one that feels good in your fingers today.
Choosing Your Clay
For dinnerware, stoneware is the beginner's best friend. It is durable, dense, and forgiving across a wide firing range.
Earthenware is softer and fires at a lower temperature. It shapes easily but stays porous after firing, which matters for food safety.
Porous clay absorbs water and can harbor bacteria, which is why earthenware needs careful, complete glazing to be safe for daily meals.
Stoneware, by contrast, becomes vitrified — almost glass-like — when fired hot enough. Water cannot seep into its walls.
If you are unsure where to start, choose a mid-range stoneware clay in a warm speckled color. It photographs beautifully and feels lovely under your hands.
Always read the bag before you buy. Look for words like "food-safe," "dinnerware safe," or "cone 6 stoneware" printed on the label.
Tools and Supplies
Gathering supplies is half the joy of a new craft. Happily, the list for hand-building is short, affordable, and easy to find online or at any ceramics shop.
- Canvas cloth to work on — it keeps clay from sticking and absorbs extra moisture.
- A rolling pin or slab roller for even sheets of clay.
- Wooden ribs for smoothing curves and shaping walls.
- A needle tool for cutting, trimming, and detail work.
- A scoring tool — a fork or serrated rib works too — for roughing edges before joining.
- A sponge for moistening and smoothing surfaces.
- A bat, or flat wooden board, to move your work without touching it.
That is the whole kit, and most of it fits neatly in a shoebox.
Set up your workspace near a sink if you can. Clay is dusty when dry and slippery when wet, so an apron and an old towel are wise companions.
Keep a small container of water and a plastic bag for covering unfinished pieces within reach. You will reach for them constantly.
Preparing Your Clay and Wedging
Fresh clay from the bag needs one ritual before it becomes dinnerware: wedging.
Wedging pushes out trapped air bubbles and evens out the moisture inside the clay, so it dries and fires evenly.
Air bubbles are the enemy of fired pots. They expand in the kiln's heat and can crack a piece clean apart.
To wedge, press the clay down and forward with the heels of your hands, then fold it back on itself like bread dough.
Repeat this motion about twenty times, turning the clay a quarter turn each time so every part gets worked.
You will feel the clay grow smoother and more uniform under your palms. That quiet transformation never gets old.
If the clay feels too dry and crumbly, mist it with water and let it rest in a sealed bag overnight. Patience fixes most clay problems.
Making a Pinch Bowl
Your first bowl deserves a generous ball of clay — about the size of a small orange, or a little larger for a cereal bowl.
- Roll the clay into a smooth sphere with no cracks on the surface.
- Push your thumb into the center, stopping about a centimeter from the bottom.
- Pinch around the walls with thumb and fingers, rotating the bowl slowly as you go.
- Keep the walls an even thickness — about the width of your little finger.
- Cradle the bowl in your palm and gently shape the rim with your fingertips.
Work slowly and let the clay tell you where it wants to go. Ten minutes of patient pinching makes a lovely, useable bowl.
Rotate the bowl often, a little at a time, so your thumbprint rhythm stays even around the whole circle.
If a wall gets too thin, pinch it back together and smooth it over. Nothing here is permanent until the kiln says so.
Building a Coil Bowl
Coiling builds a bowl from the bottom up, one ring at a time. It is meditative in the truest sense of the word.
- Roll a slab and cut a flat circle for the base.
- Roll long, even coils about the thickness of your thumb.
- Score the edge of the base and press the first coil firmly onto it.
- Stack coils in a spiral, scoring and pressing every joint as you go.
- Smooth the inside with a rib as you work, leaving the outside textured if you like.
Keep the coils slightly damp with a wet sponge so the joints melt into one another seamlessly.
The finished bowl has a gentle, ridged beauty that slab-built pots never quite achieve.
You can widen or narrow the bowl by placing each new coil slightly outward or inward. The shape is entirely your choice.
Making a Slab Plate
Plates are wonderfully simple once you trust the slab. A rolling pin and a steady hand do most of the work.
- Roll a slab of clay to an even half-centimeter thickness.
- Lay a plate or bowl upside down on the clay as a template and trace around it.
- Cut out the circle with your needle tool.
- Lift the circle onto a bat with a canvas sheet beneath it.
- Drape the clay over a shallow bowl to create the rim curve, or leave it flat for a coupe plate.
For a raised rim, lay a thick coil around the edge and blend it in with your fingers for a soft, rolled look.
Plates dry fastest at the rim, so keep them covered loosely as they firm up, or the edges will curl.
Make two or three plates at once. They stack beautifully and you will be glad of the extras.
Adding a Handle to a Mug
A mug without a handle is just a cup. The handle is what makes it feel like yours, warm and familiar in the hand.
- Shape the mug body from a slab, joining the seam with scored, slipped edges.
- Roll a thick coil for the handle and bend it into a comfortable curve.
- Score both ends of the coil and the spots where they will attach.
- Apply slip — liquid clay — to the scored areas.
- Press the handle on firmly, then blend the joints with a finger or wooden rib.
Let the handle stiffen a little before you test it with your fingers. A floppy handle is a sad, wobbly thing.
Make the handle thick enough for three fingers to slip through. Thin handles look delicate but break easily in daily use.
Attach the handle slightly above the center of the mug's body. That small placement choice changes how the mug balances.
Scoring and Slipping
Why do potters score and slip before joining clay? Because dry clay surfaces simply refuse to bond with one another.
Scoring roughens the surface with crosshatch marks, creating little teeth for the slip to grip.
Slip is simply clay mixed with water into a creamy paste. It acts as the glue between two scored surfaces.
Press the pieces together firmly, and the score marks vanish into one seamless wall.
Skip this step and your handle will fall off in the kiln — a lesson nearly every potter learns exactly once.
When in doubt, score a little more than you think you need and press a little harder than feels polite.
Drying Slowly
The most common dinnerware tragedy is not a broken pot. It is a warped one.
Clay shrinks as it dries, and uneven drying pulls rims out of round and curls plate edges upward.
Cover your pieces loosely with plastic for the first day or two. Then uncover them gradually, a little more each day.
Turn bowls upside down and keep plates flat so the underside dries at the same rate as the top.
A week of patient drying saves a month of heartbreak. Slow is safe, and safe is beautiful.
If you are in a hurry, resist the urge to speed things up with a heater. Rapid drying is the fastest route to cracks.
Leather-Hard Trimming
When clay feels like firm cheddar cheese — cool, stiff, and slightly damp — it has reached the leather-hard stage.
This is the perfect moment to refine your work. The clay holds its shape but still yields gently to your tools.
Trim excess clay from the bases of your bowls and mugs with your needle tool, carving a neat foot ring.
Smooth rims and seams with a damp sponge, wiping away every fingerprint and stray crumb of clay.
Sign your name and the date on the bottom of each piece. Future you will smile at that small signature.
Decorating Before Firing
Now comes the quiet magic: making your pieces unmistakably yours.
Stamps pressed into soft clay leave lovely repeating patterns. Carve your own from polymer clay, or press in leaves, lace, and found objects.
Carving, called sgraffito, scratches through a layer of colored slip to reveal the raw clay beneath.
Underglazes paint onto raw clay like watercolors. They stay soft and matte until the glaze firing brings them to life.
Keep decoration simple at first. A single stamped band or one hand-painted leaf is more than enough.
Remember that your piece will shrink about ten percent in the kiln. A pattern that looks large now will look perfectly balanced later.
Bisque and Glaze Firing, Explained Simply
Your finished pots must pass through the kiln twice. Each firing has its own distinct purpose.
The first firing, called bisque, transforms fragile greenware into hard, porous ceramic at a lower temperature.
Bisque ware can now be handled safely and glazed without any fear of the piece dissolving back into mud.
The second firing, the glaze firing, melts the glaze into a glassy, waterproof surface at a higher temperature.
Two firings sounds like a lot, but each one is just a few hours of patient heat doing quiet, dependable work.
If you do not own a kiln, search for a local ceramics studio or community kiln. Many offer firing services for a small fee.
Food-Safe Glazes for Dinnerware
Not every glaze belongs on a plate. Some contain metals that can leach into food over time.
Look for glazes labeled "food-safe" or "dinnerware safe" — the certification is printed right on the label.
Glaze the inside of every bowl, mug, and plate completely. Bare clay there will stain and can harbor bacteria.
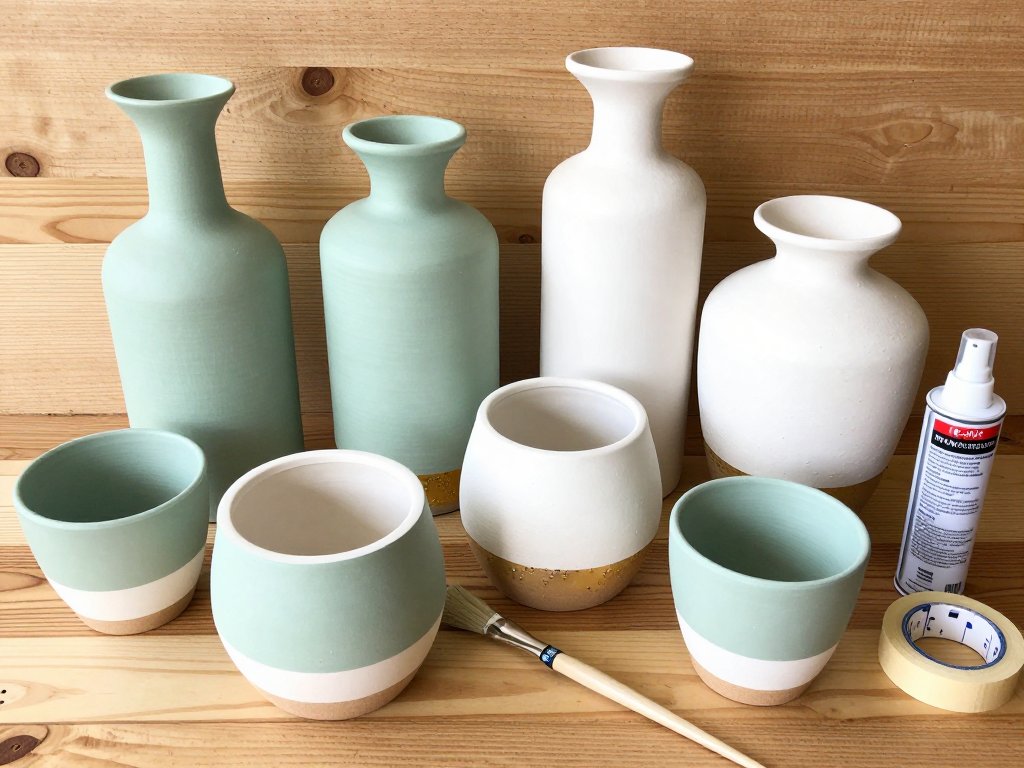
Leave the foot ring unglazed so the piece does not stick to the kiln shelf during firing.
When in doubt, choose a simple clear glaze over a bold colorful one. Clarity is its own kind of elegance.
Apply two or three even coats for full coverage, letting each layer dry before the next.
Common Beginner Mistakes
Every potter makes the same three mistakes at first. Knowing them in advance is half the cure.
Walls that are too thick feel heavy in the hand and crack in the kiln. Walls that are too thin collapse and warp. Aim for the width of your little finger, everywhere.
Uneven rims wobble when you drink from them. Check your rims by eye and by touch, then smooth them twice for good measure.
Air bubbles hide patiently until the kiln, where they burst with disappointing pops. Thorough wedging sends them away.
None of these mistakes are fatal. They are simply the clay teaching you to listen more closely.
Keep your first pieces anyway. In a year, you will hold them and see exactly how far your hands have traveled.
Conclusion
Now you know the whole journey — from a lump of clay to a plate that holds your morning toast.
Your first piece will be imperfect. Cherish it anyway, for it marks the beginning of something lasting.
Hand-building asks for nothing but your attention and a few quiet hours. It gives back objects with warmth and history baked into them.
Set aside a weekend. Wedge some clay. Let your hands remember what they have always known how to do.
Your kitchen is waiting for its first handmade plate. Go and make it.