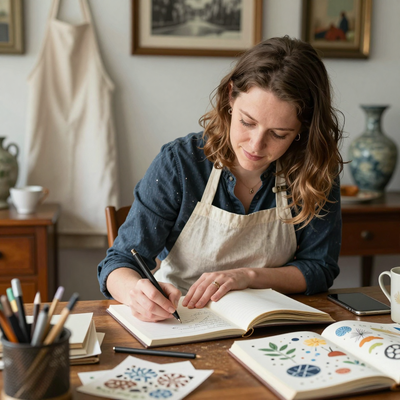
Introduction
There is something quietly transformative about stringing a pearl. The weight of each bead in your palm, the way light catches its lustrous surface, the satisfying click as it slides into place beside its neighbor — this is the kind of making that feels both ancient and entirely your own.
Pearls have adorned necks for millennia, from the courts of Cleopatra to the ateliers of Coco Chanel, yet they remain surprisingly approachable for the home jeweler.
DIY pearl jewelry occupies a rare space in the craft world: it looks far more expensive than its materials cost, it requires no soldering or heavy machinery, and the finished piece carries an intimacy that factory-produced jewelry simply cannot replicate.
Whether you are crafting a gift for a loved one or treating yourself to an afternoon of quiet creation, a hand-strung pearl necklace is one of the most rewarding projects a beginner can undertake.
This guide will walk you through every stage — from understanding the pearls themselves to attaching the final clasp — with the kind of detail that transforms uncertainty into confidence. By the end, you will have not only a finished necklace but the knowledge to design countless variations.
Selecting Your Pearls: A Primer for Beginners
Before you thread a single bead, you must decide what kind of pearl you will work with. The word "pearl" evokes natural gems harvested from oysters, but the modern jewelry world offers several compelling options, each with distinct character and practical considerations.
Freshwater Pearls
Freshwater pearls are the gold standard for beginner jewelry making. Cultivated in mussels, primarily in China, these pearls are genuine nacre — the same material that coats natural pearls — but are far more affordable than their saltwater cousins.
They come in a dizzying array of shapes: round, oval, rice-shaped, and the charmingly irregular baroque.
Colors range from classic white and cream to soft pink, lavender, champagne, and even peacock green.
For a first project, consider 6-8mm freshwater pearls in a uniform round or near-round shape.
They are large enough to handle easily yet delicate enough to create an elegant drape.
A strand of 30 to 40 pearls will yield a 16- to 18-inch necklace, depending on bead size and the space between them.
Faux Pearls
Faux pearls — also called imitation or simulated pearls — are manufactured from glass, plastic, or ceramic beads coated with a pearlescent finish.
The best examples are surprisingly convincing, with a convincing luster and weight that approaches genuine freshwater pearls.
High-end faux pearls from brands like Majorica or vintage Miriam Haskell pieces have been cherished for generations.
For the budget-conscious beginner or someone experimenting with bold color palettes, faux pearls offer the freedom to practice without anxiety.
A mistake costs pennies rather than dollars. And because they are uniformly shaped and sized, they are slightly easier to string consistently than natural pearls, which can vary subtly from bead to bead.
Glass Pearl Beads
Glass pearl beads sit somewhere between faux and fine. These are individual glass beads (often Czech or Japanese in origin) coated with multiple layers of pearlescent finish, then sometimes lacquered for durability.
They catch light with a brilliance that plastic-based faux pearls cannot match, yet they remain significantly less expensive than freshwater pearls.
Glass pearl beads are an excellent choice for multi-strand designs or bracelets where the number of beads multiplies the cost.
Their consistent weight and perfectly spherical shape make them a pleasure to work with, and the range of available colors — from deep indigo to rose gold — invites creative experimentation beyond the traditional white pearl palette.
Essential Tools and Materials
A well-prepared workspace is the foundation of enjoyable jewelry making. You do not need a professional bench or expensive equipment, but having the right tools at hand transforms frustration into flow.
Beading Wire and Thread
The choice of stringing material depends on whether you plan to knot between pearls — a technique we will discuss shortly — or string them without knots.
For knotting, the traditional material is silk thread, available in weights labeled A (fine, for small pearls) through FFF (heavy, for large pearls).
Silk offers beautiful drape and a classic feel, though it requires careful handling to avoid fraying.
For beginners or those knotting with larger pearls, a synthetic alternative like Nymo or Griffin beading thread offers greater tensile strength and less stretch.
For unknotted designs, flexible beading wire such as Soft Touch or Accu-Flex in 0.018- or 0.024-inch gauge provides excellent durability and a clean finish.
The wire passes through the beads smoothly and holds its shape well, making it ideal for simple stringing projects.
Wire Gauge Selection
When your design calls for wire work — wrapped loops, head pins, or wire guardians — selecting the correct gauge is essential.
For most pearl jewelry, 22-gauge wire strikes the ideal balance: firm enough to hold its shape when forming loops, yet fine enough to pass through most pearl drill holes twice (as required for wrapped loops).
Twenty-gauge wire is sturdier and appropriate for heavier pendants, while 24-gauge is better suited for delicate work with smaller beads.
Half-hard temper wire is the standard choice for jewelry making. It holds its shape during wrapping but remains malleable enough to work without marring your pearls.
Essential Findings
Findings are the small metal components that finish a piece of jewelry. For a basic pearl necklace, you will need:
- Clasps: A lobster clasp with a split ring on one side and a jump ring on the other is the most secure and user-friendly option for a beginner. For a more refined look, consider a toggle clasp or a magnetic clasp (though magnets are not recommended for heavy necklaces).
- Crimp beads: These tiny metal tubes (2mm or 3mm) are flattened onto the beading wire to secure the clasp. Use a single crimp bead on each end of the wire for security.
- Crimp covers: Optional but recommended — these cup-shaped findings snap over the flattened crimp bead to create a polished, bead-like finish.
- Wire guardians: A small U-shaped wire piece that protects the beading wire from abrasion where it meets the clasp. Especially valuable for pearl necklaces that will be worn frequently.
- Head pins and eye pins: For adding pendant drops or dangles. A head pin has a flat head at one end; an eye pin has a small loop.
Specialty Tools
Your toolkit for a beaded pearl necklace is modest but precise. You will need:
- Chain-nose pliers for gripping wire and opening jump rings
- Round-nose pliers for forming consistent loops on head and eye pins
- Flush cutters for trimming wire and thread cleanly
- Crimping pliers (optional but transformative) for forming perfectly rounded crimp beads
- A bead mat — a felt-lined mat that prevents beads from rolling off your work surface
- A bead reamer for gently smoothing the interior of pearl drill holes if they are rough
Invest in tools with comfortable handles and sharp cutting edges. A single good pair of chain-nose pliers will serve you through dozens of projects.
Step-by-Step: Crafting Your Pearl Necklace
Step 1: Plan Your Design
Lay out your pearls on your bead mat in the arrangement you intend to string.
This is your chance to examine each pearl, rotate it to its most flattering orientation, and make decisions about spacing and color progression.
If you are using graduated pearls — smaller at the back of the neck, larger at the front — arrange them in a curve on your mat to visualize the finished drape.
Measure your desired necklace length with a flexible tape measure. Common lengths are 16 inches (choker), 18 inches (princess, the most versatile length for beginners), and 20 inches (matinee). Mark the starting and ending points on your bead mat with small pieces of tape.
Step 2: String the Pearls
Cut a length of beading wire approximately 8 to 10 inches longer than your finished necklace length.
This extra length gives you room to attach the clasp and make adjustments. String a wire guardian onto one end of the wire, then a crimp bead, then pass the wire back through the wire guardian to form a small loop.
Do not crimp yet — leave the loop open so you can adjust the tension.
Begin stringing your pearls in the order you arranged. Work slowly and deliberately. If you are using silk thread, use a beading needle (a long, flexible needle designed for bead stringing) to guide the thread through each pearl.
For beading wire, the wire itself is stiff enough to pass through most pearls without a needle.
As you work, check periodically that the pearls are lying in the orientation you intended. It is far easier to correct a flipped pearl now than to disassemble a finished strand.
Step 3: Knotting Between Pearls (Optional but Recommended)
Knotting between pearls elevates a simple string of beads into a piece of heirloom-quality jewelry. The knots serve two purposes: they prevent all the pearls from sliding off if the string breaks, and they create gentle spacing that allows each pearl to catch light individually.
If you are using silk thread, knotting is the traditional method. After stringing each pearl, take the end of the thread (still attached to your needle) and tie a simple overhand knot snug against the pearl.
Use a pair of fine-tipped tweezers or a knot-pusher tool to slide the knot into position directly against the pearl before tightening fully.
This takes practice — expect your first few knots to be looser than you would like.
Persist. After five or six pearls, your fingers will find the rhythm.
If you are using beading wire, knotting is not possible with standard techniques. Instead, consider using small spacer beads (2mm silver or gold beads) between your pearls to achieve a similar visual separation. This is a perfectly acceptable aesthetic choice and has its own clean, modern character.
Step 4: Attach the Clasp
Once all your pearls are strung, pass the wire through a second wire guardian on the other end, then through a crimp bead, and then through the jump ring of your clasp.
Pull the wire taut, adjusting the tension so the necklace lies flat without sagging or pulling tight.
The pearls should have a slight, natural drape with no gaping between beads.
Using your crimping pliers, flatten the crimp bead securely. If you are using a single-crimp technique, squeeze the crimp bead firmly with the back notch of your crimping pliers to create a U-shape, then rotate 90 degrees and squeeze with the front notch to fold the U closed.
Test the crimp by tugging gently on the clasp — it should not move.
Snap a crimp cover over each flattened crimp bead for a professional finish. Trim any excess wire flush against the crimp cover using your flush cutters.
Step 5: Final Adjustments
Lay the finished necklace on your bead mat and check the overall drape. Rotate the necklace to ensure the clasp sits at the back and the most attractive pearls are centered at the front.
If you knotted between pearls, gently roll the necklace between your palms to settle the knots evenly.
Before wearing or gifting the necklace, run your fingers along the full length to check for any sharp edges on crimp covers or wire ends.
File down any roughness with a fine nail file or emery board — this is a small step that makes a significant difference in wearing comfort.
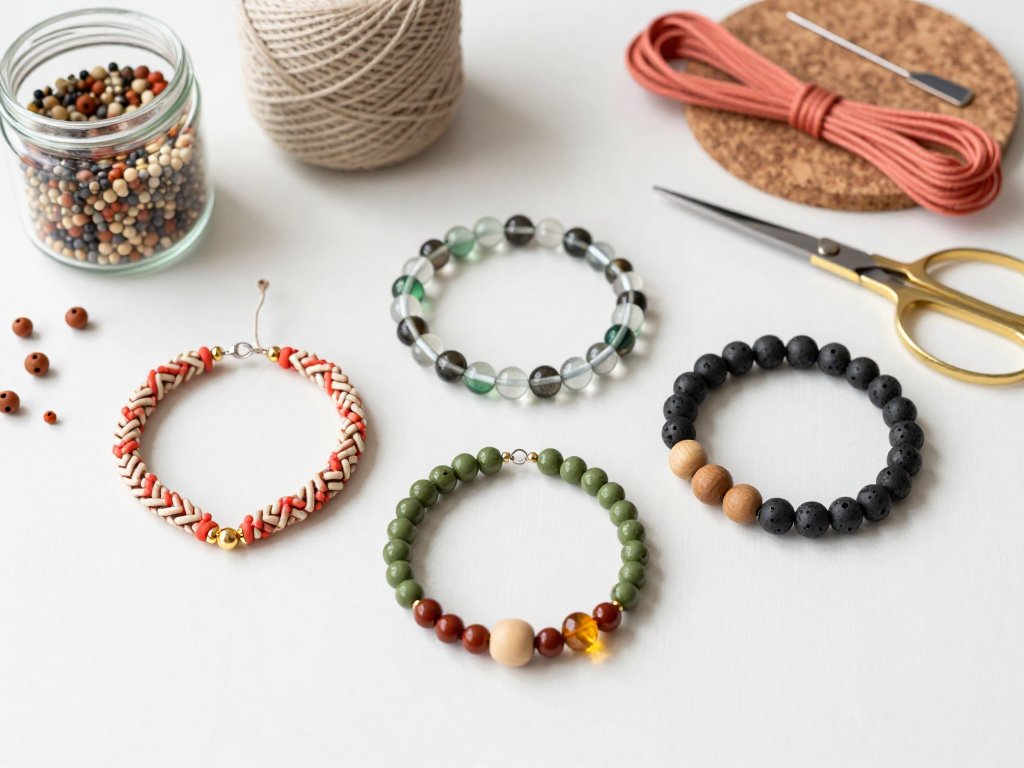
Design Variations to Explore
Once you have mastered the basic necklace, a world of creative possibility opens. Here are three variations that build on the same foundational skills.
Multi-Strand Pearl Necklace
A two- or three-strand necklace creates a lush, dramatic look that is surprisingly simple to achieve.
String each strand independently, making each one slightly shorter than the last (for example, 16, 17, and 18 inches).
Use a multi-strand clasp or attach all strands to a single large jump ring on each end.
The trickiest part is matching the tension across strands — take time to adjust each strand so they hang in parallel harmony without one sagging beneath the others.
Pearl and Gemstone Mix
Intermingle your pearls with semi-precious gemstone beads — small faceted garnets, smooth howlite rounds, or pale rose quartz chips.
The contrast between organic pearl luster and the crystalline sparkle of gemstones creates texture and visual depth.
Try a repeating pattern (pearl, gemstone, pearl, gemstone) or a clustered arrangement where small groups of gemstones appear at irregular intervals along the strand.
Pendant Pearl Necklace
Instead of stringing pearls the full length of the necklace, string a simple chain or cord and add a single pearl pendant as a focal point.
Use a head pin to create a wrapped loop above a large pearl (10-12mm is ideal), then attach the loop to a chain.
This minimalist approach lets a single exceptional pearl take center stage and is one of the fastest projects in the jewelry maker's repertoire.
Caring for Your Handmade Pearl Jewelry
Pearls are organic gems, softer and more delicate than most other materials you will work with. They require thoughtful care to maintain their luster over years of wear.
Wear your pearls often. This may sound counterintuitive, but the natural oils from your skin help maintain the moisture balance of the nacre, preventing it from drying and cracking. Pearls stored in a dark box for decades fare worse than those worn weekly.
Apply pearls last. When dressing, put on your pearl necklace after applying perfume, hairspray, and lotion.
These chemicals can dull the luster of genuine nacre and degrade the finish on faux pearls over time.
A gentle wipe with a soft, damp cloth after each wearing removes residue before it has a chance to build up.
Store flat, not hanging. Silk thread can stretch under the weight of pearls, so store your necklaces flat in a lined jewelry box or a soft pouch.
Keep them separate from harder gemstones and metal jewelry that could scratch the pearl surface.
A dedicated pearl compartment or a fabric-lined tray is ideal.
Restring periodically. If you have knotted on silk thread, plan to restring your necklace every two to three years if worn regularly. Silk degrades over time, especially in humid environments. A restringing service or a confident DIY restringing project will give your necklace another long life.
Conclusion
There is a particular satisfaction in fastening a clasp you attached yourself, around a necklace you designed bead by bead.
The pearls catch the light differently than they did in the store or on the bead mat — they have become yours, animated by your choices and your hands.
This is the quiet magic of jewelry making: the transformation of raw materials into something that carries meaning.
A hand-strung pearl necklace need not be perfect to be precious. The slight asymmetry of hand-tied knots, the subtle variation in pearl shape, the small decision to use a rose gold clasp instead of silver — these are not imperfections.
They are signatures. They mark the piece as unmistakably handmade, unmistakably yours.
So lay out your bead mat, select your pearls, and give yourself the gift of an afternoon spent creating. The skills you learn with this single project will serve you through countless designs to come — each one a new strand of possibility waiting to be threaded.