Introduction
A handmade paper box does something a plastic bag cannot. It tells the person receiving it that someone paused, measured, and folded.
This tutorial covers three boxes you can make in an evening: a classic lidded box, a pillow box with curved ends, and an origami masu box that needs no glue at all.
You will also find the paper weights that fold without cracking, the arithmetic behind a lid that fits, and the small decorations that make a plain box look finished.
Everything here uses paper, a ruler, and a bone folder. If you have made a greeting card before, you already own most of what you need.
Why a Handmade Box Does So Much Work
A gift is rarely judged by its price. It is judged by how much care seems to surround it, and a box is the first thing a person touches.
A plain box plus one decoration beats an expensive store box almost every time. One says "I bought this." The other says "I thought about this."
The budget side matters too. A single sheet of good cardstock costs less than a dollar. A store-bought gift box of the same size often costs four or five.
- A box turns an ordinary present — a bar of soap, a pair of earrings, a five-dollar gift card — into something that feels considered.
- It protects fragile items better than a gift bag, because the walls hold their shape.
- It is reusable. Most people keep a nice small box in a drawer for years.
- It costs a fraction of a store box and uses supplies you may already have.
None of this requires perfection. A slightly uneven fold reads as handmade, which is the point. The goal is a box that closes, holds its contents, and looks tidy on a table.
Paper and Measurement Basics
Paper choice decides whether a box feels sturdy or flimsy. It also decides whether your folds are clean or cracked. Two weights cover almost every project on this page.
For the base, use cardstock of about 200 to 250 gsm. This is the weight of a good greeting card or a light scrapbook sheet. It holds a crease, stands up on its own, and does not slump when you pick the box up by one corner.
For the lid, use something lighter — about 160 to 200 gsm. A lighter lid folds more crisply and sits down over the base without fighting it. Two heavy layers tend to bind.
If you only have one weight, use it for both parts and simply make the lid a touch larger. The box will still work. It will just feel a little chunkier.
Avoid printer paper for bases. At roughly 80 to 100 gsm it folds easily but collapses under its own contents. Avoid thick book board too, which creases badly by hand and needs a knife and a straightedge for every fold.
Why the lid is 1/8 inch larger
The lid has to slide over the base. Paper has thickness, and a fold consumes a little of the measurement, so a lid cut to exactly the same size will not go on.
The fix is simple. Make the lid 1/8 inch (about 3 mm) larger on both dimensions than the base. Not on one side — on both length and width.
That small allowance gives you a lid that drops on easily and lifts off with one hand. Any more than 1/8 inch and the lid slides around. Any less and you will be forcing it.
If your cardstock is unusually thick, go to 3/16 inch. If it is thin and you want a snug fit, 1/16 inch is enough.
The one piece of arithmetic you need
For any tray-style box, the paper square is the finished box size plus twice the depth. That is the whole formula.
Written plainly: paper square = box size + (2 × depth).
- A 4-inch box with 1 1/2-inch walls needs a 4 + 3 = 7-inch square.
- A 6-inch box with 2-inch walls needs a 6 + 4 = 10-inch square.
- An 8-inch box with 2 1/2-inch walls needs an 8 + 5 = 13-inch square.
The lid follows the same rule, starting from the slightly larger lid size. For a 6-inch box, the lid blank is 6 1/8 inches, and with 1 3/4-inch walls the paper is 6 1/8 + 3 1/2 = 9 5/8 inches.
Measuring and marking a template square
Start from one corner that you know is square. Measure along one edge and mark the distance with a pencil dot, not a line.
Measure the same distance along the adjacent edge and mark it. Then use the ruler to draw the two remaining sides through those marks.
Check your work before cutting. Both diagonals of a true square are equal. Measure them; if they differ by more than 1/16 inch, your corner is off and you should re-mark.
Tools That Earn Their Place
You can make all three boxes with four tools and a cutting mat. None of them is expensive, and three will last for decades.
A metal ruler. Not plastic. A plastic ruler will be nicked by the knife and will eventually let the blade wander. A 12-inch metal ruler with a cork back grips the paper and stays put.
A bone folder. This is the tool that separates a crisp fold from a soft one. It is a smooth, tapered plastic or bone stick, usually under ten dollars. Run it along a scored line and the paper bends exactly where you told it to.
A craft knife with a fresh blade. A dull blade tears cardstock and drags the fibres. Change the blade at the start of a project, not halfway through.
A scoring board, if you have one. A board with printed measurement grooves lets you score in seconds and keeps lines parallel. It is a convenience, not a requirement.
Scoring without a scoring board
Lay the metal ruler along your measurement line. Hold it firmly with your non-dominant hand, fingers spread and well away from the edge.
Draw the tip of the bone folder along the ruler once, with light and even pressure. One pass is enough. Two passes on the same line can cut through the surface.
Then fold along the score and press the crease flat with the bone folder's flat side.
For very stiff cardstock, score both sides of the fold line. This halves the stress on any single face and is the single best defence against cracking.
Double-sided tape, glue stick, or PVA
Each adhesive has a job. Using the wrong one is the most common reason a beginner's box looks messy.
- Double-sided tape wins for assembling walls and attaching liners. It is dry from the first second, so nothing slides, and it does not warp paper at all. Keep a narrow 1/4-inch roll for small boxes.
- A glue stick is fine for lightweight decorative paper and for tacking a template down while you cut. It is weak on coated or textured cardstock and will let go in humidity.
- PVA or craft glue is the strongest bond and the right choice for boxes that will be handled a lot. It is also the only one that needs clamping or weighting while it dries.
Wet glue warps thin paper because it adds water to one side only. The fibres swell on the glued face, and as they dry they shrink and pull the sheet into a curve. On 160 gsm paper this happens within a minute.
If you want PVA's strength without warping, apply a thin line and press the join under a book for ten minutes. Thin coats warp far less.
Box One: The Classic Lidded Box
This is the box most people picture when they hear "gift box." It has straight walls, a separate lid, and it can be any size you like.
Make the small version first. A 4-inch box with 1 1/2-inch walls is forgiving and finishes in about twenty minutes.
You need one 7-inch square for the base and one 7 1/8-inch square for the lid.
Small version: 4-inch box
- Cut a 7-inch square for the base and a 7 1/8-inch square for the lid. Mark both on the inside face.
- On the base square, measure 1 1/2 inches in from each edge and score a line all the way across. You are scoring a grid that leaves a 4-inch square in the centre.
- Score the same grid on the lid square, also at 1 1/2 inches. Use the bone folder along the metal ruler, one firm pass per line.
- Fold every scored line toward the inside of the box and crease it flat with the bone folder. All four walls should stand up on their own.
- Cut away the four small corner squares. Cut just inside the pencil line so the corner does not leave a sliver of paper behind.
- Snip a 1/8-inch diagonal off each corner of the remaining flaps. This stops the corner of a flap from poking through the wall.
- Run a strip of 1/4-inch double-sided tape along the outside of each corner flap. Fold the flaps in and press them against the inside of the adjacent wall.
- Reach inside and press each join firmly for a few seconds. Corners should meet at a clean right angle with no gap at the base.
- Repeat steps 5 to 8 for the lid. Its corners will overlap the base by the 1/8-inch allowance, which is exactly what you want.
- Set the lid on and check the fit. It should drop on with light pressure and lift off without tugging. If it binds, see the troubleshooting section below.
Medium version: 6-inch box
For a box that holds a scarf or a small jar, use 2-inch walls. Cut a 10-inch square for the base and a 10 1/8-inch square for the lid.
Score both at 2 inches from every edge. Everything else in the sequence is identical.
Two-inch walls need slightly more support at the corners. Use 1/2-inch tape rather than 1/4-inch, and run a thin line of PVA down the inside of each join for extra hold.
Box Two: The Pillow Box
A pillow box has two curved ends and a soft bulge in the middle. It is made from a single rectangle, it folds flat for storage, and it suits small gifts beautifully.
The curved ends are what make it look bought rather than made. They take one extra cut and about thirty seconds.
Small version: 3 by 4 1/2 inches
Cut a rectangle 3 1/4 inches wide and 9 inches long. Score a line 1 inch in from each short end.
- Lay the rectangle pattern-side down. Score 1 inch from each short edge, straight across the 3 1/4-inch width.
- Fold both scored lines toward the inside and crease them firmly with the bone folder.
- Fold the whole rectangle in half, bringing the two short edges together, and crease the centre. Unfold.
- Draw a shallow curve on each short end: start 1/2 inch in from each corner and rise to about 3/4 inch at the centre of the edge.
- Cut along both curves with the craft knife, keeping the blade vertical. Cut both ends at once by stacking the folded layers if you prefer symmetry.
- Fold the box in half again along the centre crease. The two curved ends should meet and line up.
- Apply a strip of 1/4-inch double-sided tape inside one curved end, press the two ends together, and hold for ten seconds.
- Squeeze the sides gently to open the box into its pillow shape. The centre should bow outward.
The result is a box roughly 3 inches wide, 4 1/2 inches long, and 1 inch deep. It holds a bracelet, a lip balm, or a small bar of soap.
Medium version: 3 3/4 by 5 1/2 inches
Cut a rectangle 4 inches wide and 11 inches long. Score 1 1/4 inches from each short end and make the end curves slightly deeper, about 1 inch at the centre.
The finished box is about 3 3/4 inches wide, 5 1/2 inches long, and 1 1/4 inches deep. It takes a folded scarf or a pair of small candles comfortably.
Box Three: The Origami Masu Box
The masu box is a Japanese folded box made from two squares with no glue, no tape, and no cutting. Every join locks itself.
It is the fastest of the three once you have made one, and it is the one children can learn. The finished box is roughly one third the width of the starting square.
Small version: 6-inch squares
Use two 6-inch squares of cardstock. The base should be 200 to 220 gsm, and the lid can be lighter or a patterned sheet.
- Place the first square pattern-side down. Fold it in half side to side, unfold, then top to bottom and unfold.
- Fold both diagonals, corner to corner, and unfold. You now have eight creases crossing at the centre.
- Fold each of the four corners to the centre point. Crease sharply and unfold.
- Fold the top and bottom edges in to the centre line. Crease and unfold. Repeat with the left and right edges.
- Unfold everything flat. You should see a grid of squares with diagonal creases running through the corner squares.
- Fold the left and right edges in to the centre line and leave them folded. These two panels become opposite walls.
- At the top edge, pinch the two corner squares along their diagonal creases so they collapse inward into triangles. Repeat at the bottom edge.
- Stand the four walls up. The triangular flaps fold over the rim and down against the inside wall, where the creases hold them.
- Press each corner from the inside with a fingertip so the walls sit square. The base is done and holds its shape without any adhesive.
- Repeat steps 1 to 9 with the second square for the lid, using a square 1/2 inch larger and folding the corner creases 1/8 inch shallower.
A 6-inch square gives a box about 2 inches across and 1 inch deep. That is the right size for two truffles or a pair of earrings.
Medium version: 8-inch squares
Two 8-inch squares give a box about 2 3/4 inches across and 1 1/4 inches deep. That size holds a small jar of jam or a folded baby hat.
For the lid, cut an 8 1/2-inch square. The extra half inch is what lets the lid sit over the base rather than inside it.
Decoration That Travels Well
Decoration is where a handmade box either looks intentional or looks busy. One decision carried through beats three competing ideas.
Patterned lid, plain base. This is the simplest and most reliable choice. Use a patterned sheet for the lid and a solid cardstock for the base in a colour pulled from the pattern.
Washi tape bands. Run a strip around the lid's side wall, just below the top edge. It covers a slightly uneven fold line and takes ten seconds.
A paper band or belly band. Cut a strip of paper about 1 1/2 inches wide and long enough to wrap around the box with a 1-inch overlap. Wrap it, crease the corners, and tape the join at the back.
A belly band is also the answer to a lid that fits less snugly than you would like. It holds the two halves together.
A stamped or punched tag. A 2-inch tag tied to the band with baker's twine adds a focal point without covering the paper. Keep the tag plain or use a single stamped shape.
Ribbon around the whole box. Cross two lengths under the base, bring them up the sides, and tie at the top. This works best on square boxes; on a pillow box, tie a single band around the middle instead.
Keeping closures from tearing
The weakest point on any paper box is the fold that opens and closes. Paper fibres break down a little each time.
Reinforce the inside of that fold with a sliver of tape — about 3/4 inch wide and the full length of the fold. Press it down smooth so it does not catch on the contents.
On a pillow box, put the reinforcement inside the curved end, where the paper bends most. On a masu box, the corners take the strain, so press them firmly rather than adding tape.
Filling the Box: What It Can Hold
A paper box is stronger than it looks, but it has a limit. Knowing that limit keeps a gift from ending up on the floor.
Comfortable contents for a 200 to 250 gsm base with taped corners:
- Jewellery, including a small necklace box or a pair of earrings.
- Soap, bath salts in a sealed bag, or a small bottle of oil.
- Sweets, chocolates, or a small wrapped cake.
- Small knitwear — a baby hat, a pair of mittens, a rolled scarf.
- Seed packets, which are light and lie flat.
- Stationery, washi tape rolls, or a set of pens.
Keep a single box under about 1 pound (roughly 450 g). Beyond that, the base begins to bow when lifted from one corner.
Heavy items — a jar, a ceramic mug, a stack of coins — need the sturdier base sheet and a double thickness at the bottom. Cut a second square the size of the box floor and glue it in.
Loose contents rattle, and rattling reads as emptiness. Crumple a little tissue paper into the corners and lay a sheet over the top before closing the lid.
Shredded paper works for a fuller look but settles as the box is carried. Use it for boxes that will be opened on a table, not transported.
Leave a small gap at the top. Contents pressing on the lid will bow it and make the box hard to open.
Troubleshooting
Most first boxes have one small flaw. Almost all of them are fixable, and none of them ruin the gift.
Cracking along a scored fold. The score was too shallow, or the cardstock is stiff and dry. Score the line again with slightly more pressure, and score the reverse side too. Folding both directions once before the final crease also helps.
The lid is too tight. The allowance was too small for the paper's thickness. Re-cut the lid sheet with an extra 1/16 inch on both dimensions, or trim 1/16 inch off each wall of the base.
The lid is too loose. Re-cut the lid sheet with a smaller seam — that is, score it closer to the edge so the walls sit tighter. A belly band will hold a loose lid in place while you decide whether to remake it.
Paper sliding while you cut. Tape the template down at two opposite corners with low-tack tape. Tape the paper to the cutting mat as well if the sheet is large.
The box looks store-bought rather than handmade. Usually the paper is too plain and too uniform. Vary the lid pattern against a solid base, add a belly band, and let one fold sit slightly imperfect. Handmade reads through texture and contrast, not through flaws.
A Note on Time and Order
The classic box takes about twenty-five minutes the first time and ten the second. The pillow box takes fifteen. The masu box takes five once you have the sequence in your hands.
If you are making several, cut all your sheets at once, score them in a batch, then assemble. Setup takes longer than the folding, so batching saves real time.
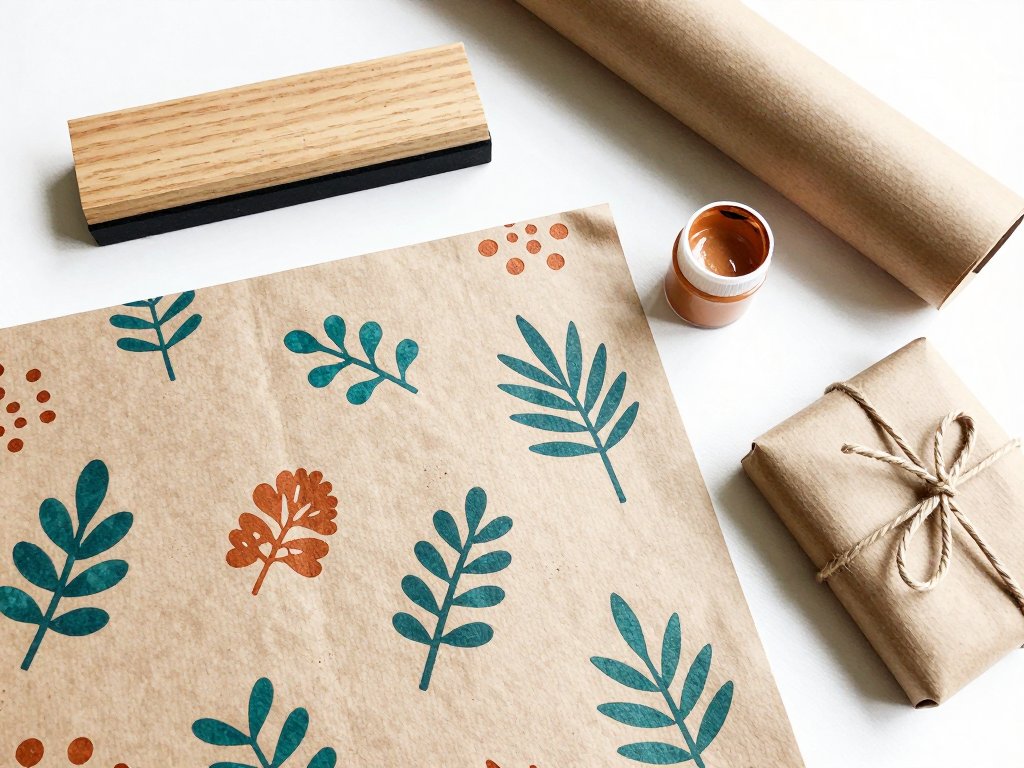
And if the first attempt is crooked, that is normal. The second will be square. Pair a finished box with stamped and stencilled gift wrap and the parcel looks like it came from a small shop.