Introduction
There is a small moment that turns a stack of folded paper into a book. It happens the first time you open the finished thing and the pages fall open flat.
No fighting it. No pressing down with one hand while you try to write with the other. Just a page, lying still, showing you everything at once.
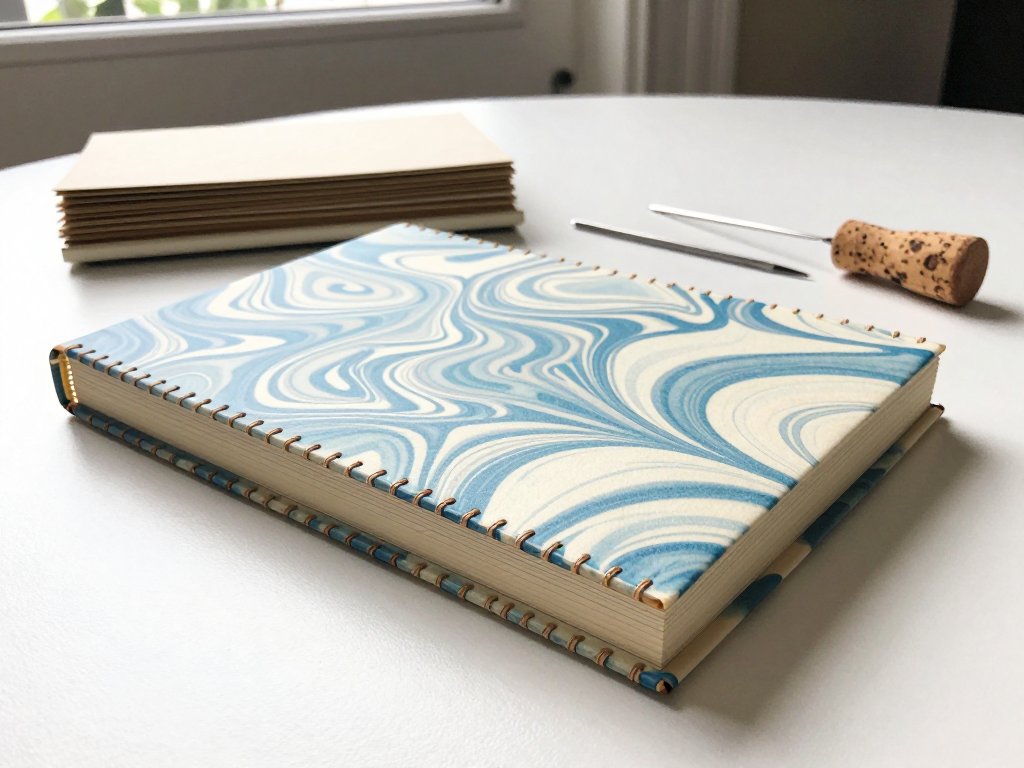
That is what coptic binding gives you. It is a hand-sewn book structure where the pages are stitched together and through the cover, with no glue anywhere in the spine.
Because there is no glue, the spine has nothing to fight against. The book opens all the way, every time.
Coptic binding is also one of the most forgiving ways to start bookbinding. You need folded paper, thread, a needle, and something to poke holes with.
You do not need a press, a sewing frame, or a workshop. A kitchen table and one quiet afternoon will do.
This guide walks you through making a small lay-flat journal from start to finish. You will learn the supplies, how to fold and punch signatures, how to sew the chain stitch, and how to fix the parts that go wrong the first time.
Your first book will be a little lumpy. That is normal, and honestly it is part of the charm.
What Makes Coptic Binding Special
Most modern books are bound with glue. The pages are stacked, the spine edge is coated, and a cover is wrapped around the whole block.
Glue binding works beautifully in a factory. At home, with a brush and a bottle of PVA, it is fussier than it looks.
A glued spine sets stiff. When you open the book, the pages resist. Force it and the spine cracks, and pages start dropping out months later.
Coptic binding replaces that glue with thread. Each group of folded pages — a signature — is sewn to the one next to it, and the whole stack is sewn to the cover boards.
The stitches form a chain along the spine. Each new link passes under the thread of the link below it, so the sewing holds itself under gentle tension.
That chain is the reason the book lies flat. Nothing is glued, so nothing is stiff. Every signature can rotate freely on its own thread.
It also means the sewing is visible. Coptic books have an exposed spine, with neat rows of stitches running down the back.
Given a choice between a hidden spine and a pretty visible one, I will take the visible one every time.
A Little History, Because It Makes the Stitch Make Sense
Coptic binding is old. It is one of the earliest book structures we know of, developed in Egypt in the first centuries of the common era.
Before it, most writing lived on scrolls. A scroll is a single long sheet, rolled up and read by unrolling.
Codices — books with pages — slowly took over, and early Christian communities in Egypt were among the first to sew folded sheets into covers.
The Nag Hammadi codices, buried in the fourth century and found in 1945, were bound this way. So were countless books that did not survive.
The technique spread because it worked. It held up in a dry climate, it allowed flat reading, and a worn book could be repaired by re-sewing rather than rebuilding.
Bookbinders still use variations of it today for sketchbooks, journals, and artists' books.
So when you sit down to sew, you are using a method that is roughly seventeen hundred years old. No pressure.
What You Need (and What You Can Skip)
Here is exactly what you need. Most of it you probably already own, and the rest costs about as much as one nice notebook.
- Text paper. Twenty to thirty sheets of 80 to 100 gsm paper. Copy paper works. So does drawing paper, as long as it folds cleanly. Avoid glossy or heavily coated sheets.
- Cover board. Two pieces of 2 mm greyboard or mat board, cut slightly larger than your folded pages. Cereal-box cardboard is too flimsy on its own; a pad backing board is about right.
- Thread. Waxed linen thread, size 18, is the classic choice. Unwaxed linen, carpet thread, or six strands of embroidery floss all work. Wax it yourself with a candle stub if needed.
- Needle. A blunt tapestry needle with a large eye. A curved needle is nicer for the spine, but a straight one is completely fine.
- Awl. A bookbinder's awl, or a large embroidery needle pushed into a cork. This is what makes the sewing holes.
- Bone folder. For creasing folds. A clean fingernail or the back of a spoon will do in a pinch.
- Cover material. Decorative paper, book cloth, or a scrap of fabric you love.
- PVA glue. Only for covering the boards. Not for the spine — the spine stays glue-free.
- Cutting mat, metal ruler, craft knife, clips or clothespins, pencil.
If you already craft, you likely have eight of those nine things sitting in a drawer right now.
Understanding Signatures and Paper Grain
A signature is a small group of folded sheets nested inside each other. Four to six sheets per signature is a comfortable size for a beginner.
Six signatures of four sheets gives you forty-eight leaves, or ninety-six pages. That is a real journal, not a sample.
Before you fold anything, check the paper's grain direction. Grain is the direction the fibers run, and paper folds cleanly only along the grain.
To find it, lay a sheet flat and bend it gently one way, then the other. One direction feels smooth and springy. The other resists and looks slightly bumpy.
The smooth direction is the grain, and your fold should run parallel to it.
If you fold across the grain, the paper cracks along the crease and the signature never sits flat. You will notice immediately, and it cannot be undone.
Most copy paper is long-grain, meaning the fibers run parallel to the long side of the sheet. So for a portrait journal, fold the sheet in half the short way, which puts your fold along the grain.
Step 1: Fold and Nest Your Signatures
Take your paper and fold each sheet in half on its own. Do not fold the whole stack at once — the inner sheets wrinkle at the fold.
Press each crease with a bone folder, running from the center out to both edges. Sharp creases make a sharp, even spine.
Then nest the sheets: slip one folded sheet inside another until you have four together, and tap the fold edge on the table to even it out.
Repeat until you have six signatures. Stack them in order and clip the set together so it does not wander while you work.
Step 2: Make the Cover
Your cover is three pieces: two boards and a spine piece. The boards should be about 5 mm taller and 5 mm wider than your folded signatures.
The spine piece is as tall as the boards and roughly as wide as your stack of signatures is thick, plus a few millimetres of breathing room.
If you would rather skip the gluing entirely, use one piece of stiff paper folded in half as a wrap-around cover. It is less sturdy, and it works fine.
Cut your decorative paper about 2 cm larger than each board on all sides. Glue it to the board, fold the corners in neatly, and wrap the edges around to the back.
Let the covered boards dry under a heavy book for twenty minutes. Damp board bends; pressed board stays flat.
Step 3: Punch the Holes
Before you punch anything, plan your stations. Stations are the holes the thread passes through, and they must line up across every signature and both boards.
Measure down the fold of one signature and mark four to six evenly spaced points. For a 15 cm tall journal, five stations about 2.5 cm apart works well.
Keep the first and last stations about 1.5 cm in from the head and tail, so the ends do not tear under tension.
Make a punching jig: fold a strip of card to the same height as your signatures, mark the stations on it, and punch through it with the awl.
Now open each signature to its center and punch the holes from the inside out, using the jig as a guide. Work on a soft surface — a foam mat or a stack of newspaper.
Punch the cover boards too, along the spine edge, using the same jig. Set those holes about 8 mm in from the edge of the board.
Line the jig up carefully every single time. A station that drifts by two millimetres pulls the whole spine crooked.
Step 4: Thread the Needle and Learn the Chain
Cut a length of thread about three times the height of your spine, plus a little extra. Longer than you think is correct.
Thread the needle and tie a small knot at the other end. Waxed thread holds knots, and that is half the reason to use it.
Open the first signature to the middle. Push the needle down through the center hole from the inside, so the knot stays hidden inside the fold.
Then work outward. Come up through the next station, over the spine edge to the cover board, and down through the matching hole in the board.
Now bring the needle back into the signature at the next station, and link it: before pulling tight, pass the needle under the thread you just laid along the spine.
That loop is the chain. Pull gently until it seats, but do not strangle it. The thread should sit relaxed and even.
Continue along the signature station by station. Then turn around and come back the other way, linking each stitch again as you go.
Step 5: Sew Signature by Signature
When you reach the end of the first signature, slide the second one underneath and keep going. Do not cut the thread.
At each station, pass the needle through the new signature, then link it through the stitch of the signature before it before pulling tight.
This is the part that feels like a puzzle. Your fingers will want to hold the thread in three places at once, and the signatures will try to slide.
Clip the sewn signatures together, or weight them with something small, to keep the block from shifting while you work.
Keep your tension consistent rather than tight. A spine sewn with even, medium tension lies flat and looks handmade. One sewn too tight ripples.
Add signatures one at a time until all six are attached. By the third one the rhythm clicks, and you stop thinking about the steps.
Step 6: Tie Off and Finish
When the last signature is sewn, take one final stitch, then tie the working thread to the tail you left at the very beginning.
Knot it inside the fold of the first signature, where nobody will see it, and trim the ends to about a centimeter.
Open and close the book a few times. It should fall open easily, and the spine should look like a braided column of thread.
If the boards feel loose, they are not. The chain is holding them. Give the book a day or two of light use before you decide anything is wrong.
Optional finishing touches: line the inside boards with decorative paper, add a ribbon bookmark tucked under a stitch, or write your name and the date on the last page.
Troubleshooting the First Book
The pages feel loose. Your tension is too slack at the chain links. Re-sew with the thread pulled snugger at each link, not tighter overall.
The spine ripples. That is the opposite problem. Loosen your pull, and check that the signatures were not over-punched, which lets thread wander.
The holes are tearing. The awl was too thin or the paper too brittle. Use a slightly thicker awl and punch on a soft pad so the fibers move instead of splitting.
The boards are crooked. The station holes did not line up. Re-punch using a proper jig, and tape the jig in place while you work.
The book will not close flat. Usually the spine piece is too wide, leaving a gap between the boards. Trim it to match the real thickness of your sewn stack.
Ways to Make It Yours
Once the basic structure is in your hands, the variations are where the fun lives.
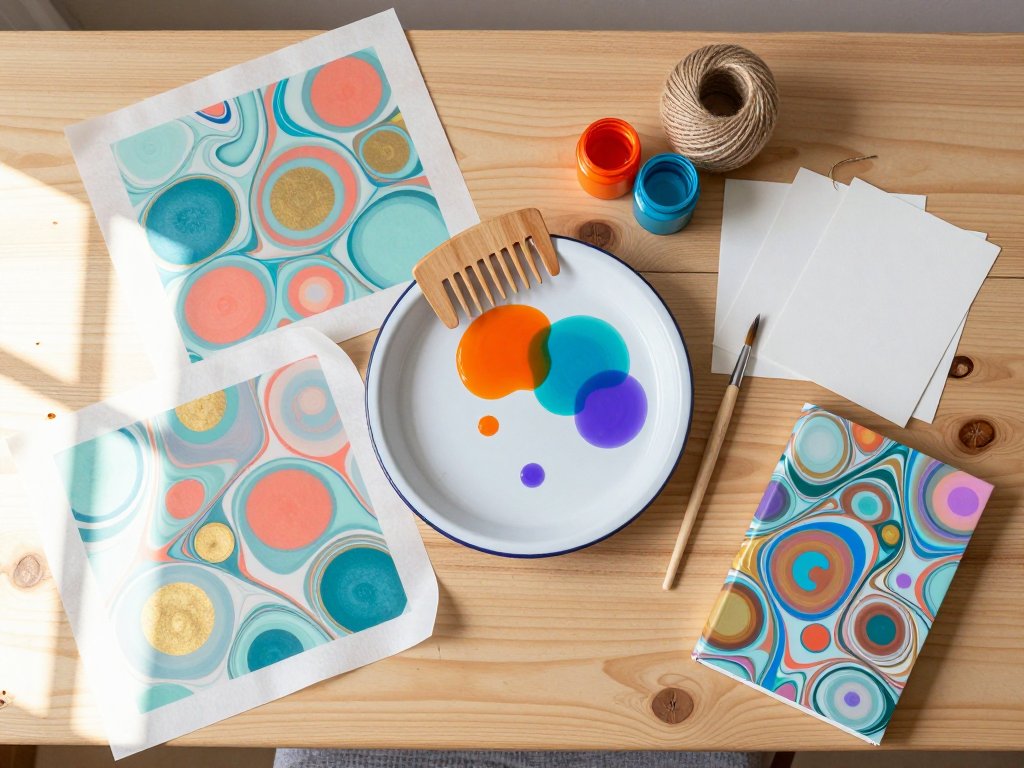
Swap the plain cover for hand-marbled paper. Marbling gives you swirling colour that suits a book cover beautifully, and it is far easier than it looks. Our guide to Paper Marbling: Marble Book Edges and Stationery walks through the whole process at a kitchen sink.
Mix paper weights inside a single book. Heavier stock for drawings, lighter sheets for writing, textured scraps for collage.
Add pockets by folding a sheet into a small envelope and sewing it in as its own signature.
Size matters too. A6 books are lovely for lists, A5 is the comfortable everyday size, and a square book feels like an art object.
Small journals also make excellent gifts. A stack of five tied with twine feels like something from a shop rather than a craft table.
Final Thoughts
Coptic binding looks impressive and is genuinely approachable. You fold paper, you punch holes, and you sew.
The chain stitch is the only new skill, and it is one you can learn in an afternoon. Your hands figure it out faster than your head does.
The first book takes two hours. The second takes forty minutes. The fifth takes twenty, and by then you are thinking about what to cover it with.
If your first spine comes out uneven, keep the book on the shelf anyway. In a year you will be glad you did.
Pick your paper. Wax your thread. Sit down at the table, and make your first book.