Introduction
There is a quiet magic in embroidering your own clothes. You hold a needle, choose a thread, and slowly turn plain fabric into something personal.
No two stitches are ever quite the same. Each one carries a little of your attention, your mood, your afternoon.
This is the heart of clothing embroidery. It is wearable art, made by hand, meant to be lived in.
And there is no better place to begin than the denim jacket waiting in your closet.
Denim is sturdy, forgiving, and stylish. A few flowers across a pocket can change the whole feel of a garment.
In this article, I will walk you through a little history, a simple supply list, and five stitches for beautiful flowers.
Grab a cup of tea. We will take this slowly, as good handwork deserves.
A Stitch Through History
Embroidery is one of the oldest arts of the needle. For centuries, across nearly every culture, people have decorated fabric with thread.
What we often forget is how practical it once was. In eighteenth-century Europe, working people wore embroidered clothing that was made to last.
English smocks were stitched with decorative honeycomb patterns. The embroidery did more than please the eye; it gathered fabric so it moved easily with the body.
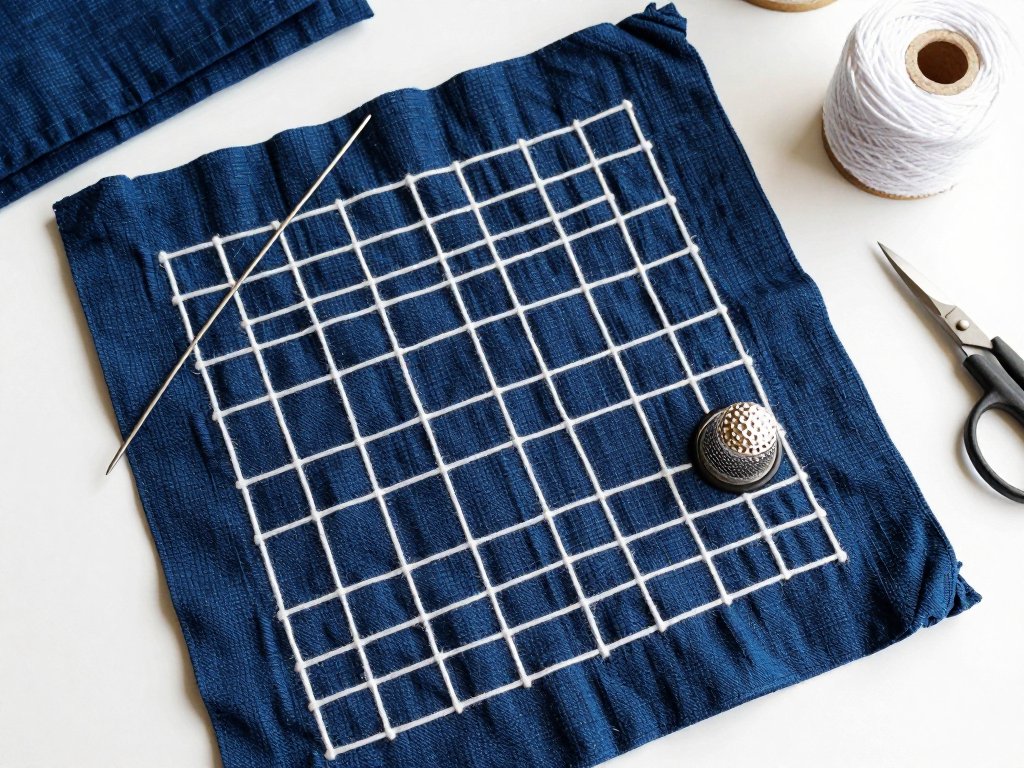
In Japan, sashiko used rows of running stitches to strengthen and mend worn cloth. A torn work jacket, patched with careful white stitches, became more beautiful than before.
Mexican blouses bloomed with colorful floral motifs, each region with its own flowers.
For generations these were everyday clothes. Embroidery marked a garment as loved, repaired, and valued.
Then fashion took notice. In the twentieth century, designers carried folk embroidery onto the runway.
Stitched flowers became a statement of style, not just heritage.
Today the circle has closed. We embroider denim jackets at kitchen tables, as grandmothers once worked by lamplight.
Now we do it because we want to, not because we must. That freedom is part of the pleasure.
Why Denim Is the Perfect Beginner Fabric
If you are new to embroidery, denim is the canvas I recommend first. It is forgiving in ways delicate fabric never is.
Denim is sturdy. The tight cotton weave holds stitches firmly, so your flowers will not sag or shift as you work.
It is also thick enough to hide small mistakes. A wayward stitch that would ruin silk simply disappears into the weave of a good pair of jeans.
You need no fancy frame or setup. A jacket laid flat on your lap works beautifully.
And denim is modern. It shrugs off the fussiness that intimidates beginners; imperfect stitches still look charming.
Best of all, denim is everywhere. An old jacket, jeans, a tote, a child's dungarees — you almost certainly own a piece already.
That means your first project costs nothing but thread and time.
What You Will Need
You do not need a big budget. Most supplies are small and inexpensive.
An embroidery hoop keeps your fabric smooth. A wooden hoop of six to eight inches is comfortable for denim.
You will want sharp needles. Embroidery, or crewel, needles have a large eye and a sharp point.
For denim, choose sizes 7 to 9. They are sturdy enough to pierce the weave without bending.
Stranded cotton floss is the classic choice. It comes in six strands; you will usually use two or three.
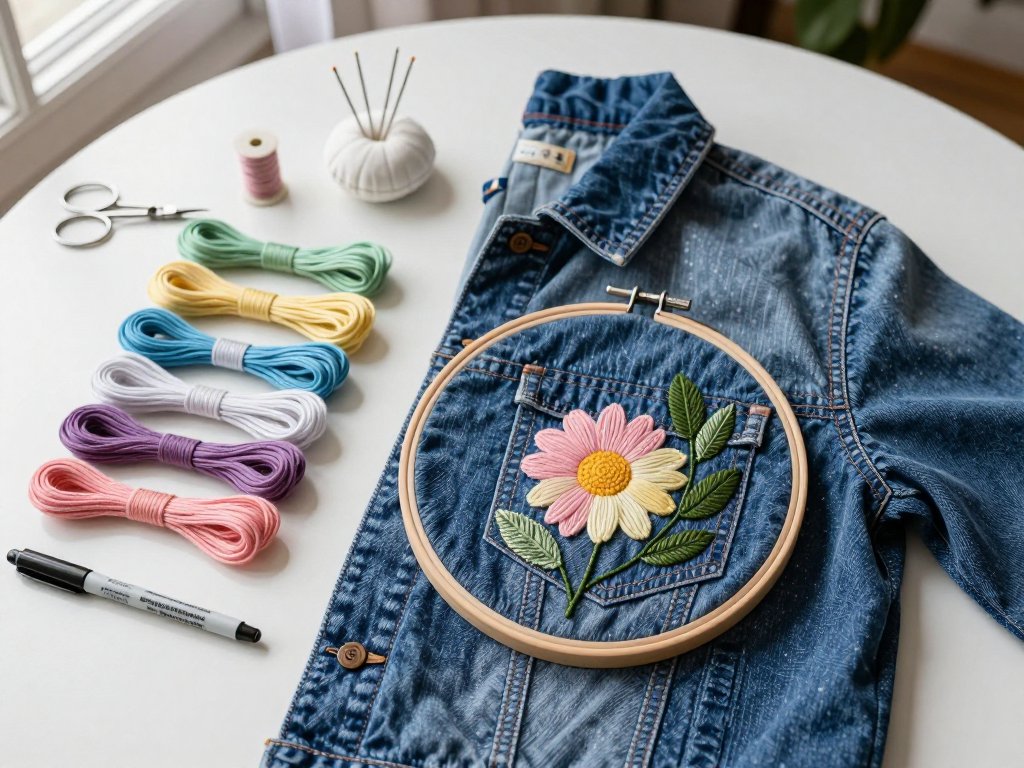
Buy a few colors you love. A soft pink, a buttery yellow, and two greens will take you surprisingly far.
A water-soluble pen lets you draw your design on the denim. The marks vanish with a drop of water.
Small, sharp scissors are worth every penny. You will reach for them constantly.
Then you need the garment itself. A jacket, jeans, or a denim tote will do.
Two optional items make life easier. A stabilizer supports your stitches from behind.
A needle-punch tool, or awl, pre-punches holes in the toughest spots. More later.
Finally, keep a thimble nearby, even if you have never used one. Denim is stubborn, and your fingers will thank you.
Preparing Your Denim
Wash and dry your denim first. New denim shrinks and carries a stiff finish that fights the needle.
A gentle machine wash, or a hand wash, softens the fabric and makes stitching a pleasure.
This first wash also releases loose indigo dye, which can bleed onto pale threads later.
Iron the garment flat. Wrinkles become puckers once you stitch, so smooth fabric is worth the time.
Now decide where your flowers will live. The classic spots are a jacket pocket, a collar, or the back yoke.
On jeans, the back pocket and the hem above the shoe are lovely places for a small bloom.
Hold the garment up in a mirror. Move your imagined flowers around until the placement feels right.
Remember your body will wear this art. A design perfect on a hanger may sit oddly when worn.
Test your pen on an inside seam first, to be sure the marks wash away.
Transferring Your Pattern
There are several ways to get your design onto denim. Choose whichever feels most natural to you.
The simplest is the water-soluble pen. Draw your flowers directly on the fabric, freehand or copied.
Do not worry about artistic skill. Simple daisies and leaves are enough, and the pen washes out afterward.
Tailor's chalk is another gentle option. It works well on dark denim, though it rubs off as you work.
If you prefer to trace, use dressmaker's tracing paper and a tracing wheel. Slip the paper under your pattern and roll over the lines.
For a more ambitious design, try wash-away stabilizer. Draw your pattern on the stabilizer, stick it to the denim, and stitch through both.
When you finish, run the garment under water and the stabilizer dissolves, leaving only your stitches.
Whichever method you choose, keep the design simple at first. A few blossoms and stems will teach you more than an elaborate bouquet.
Place your hoop over the area you will stitch, smoothing the denim as you go.
The Five Stitches You Need
Every embroidered flower is built from a handful of simple stitches. Master these five, and you can stitch almost anything.
Take your time with each one. Practice on a spare piece of denim until the motion feels easy.
Backstitch for Stems
The backstitch is the workhorse of embroidery. It makes a solid, unbroken line, perfect for stems and outlines.
Bring the needle up at the start of your line. Take a small stitch backward through the fabric.
Come up again a little ahead of where you began, then go back down into the end of your previous stitch.
Each new stitch meets the last, so the line looks continuous, almost machine-made.
Keep your stitches small and even. A quarter of an inch is a good length to aim for.
Use backstitch for flower stems, leaf outlines, and any line that needs to be crisp.
Lazy Daisy for Petals
The lazy daisy, or detached chain stitch, is the happiest stitch in embroidery. One loop becomes one petal.
Bring the needle up where the petal begins. Hold the thread in a loop with your thumb, and re-enter close to the same point.
Come up inside the loop, at the far end of the petal, keeping the thread loose beneath the needle.
Pull gently, then take a tiny stitch over the loop's end to anchor it.
Five or six loops around a center make a classic daisy. The stitch is quick and forgiving.
Practice until your loops are even, and you will feel like a magician.
French Knot for Flower Centers
The French knot is the tiny bead of thread at a flower's heart. It looks intricate, but it is simple.
Bring the needle up where you want the knot. Wrap the thread around the needle two or three times.
Hold the wraps with your thumb, then push the needle back down beside the exit point.
Pull through slowly, keeping tension on the wraps until they settle into a tidy knot.
The secret is not to pull too hard. A gentle, even pull makes a round knot instead of a flat one.
Use French knots for flower centers, for little berries, or to fill a space with texture.
If your first knots look loose, keep trying. Within an hour, they will sit like tiny pearls.
Stem Stitch for Curving Stems
When a stem curves, the stem stitch follows it like a ribbon. It is my favorite for climbing vines.
Bring the needle up and take a small stitch forward along your line.
Now come up halfway back and take another forward stitch, keeping the thread on the same side of your needle.
That consistent habit makes the stem twist gently around curves instead of breaking.
Work from left to right if you are right-handed, with the thread below the needle for a classic twist.
Stem stitch also makes lovely curling tendrils beside your flowers.
Satin Stitch for Filled Petals and Leaves
For solid petals and leaves, the satin stitch fills shapes with smooth, parallel stitches.
Bring the needle up at one edge of your shape and down at the other, laying the thread flat.
Repeat, placing each stitch snugly beside the last, until the shape is full.
Keep the stitches parallel and the tension even. Do not pull tight; let the thread lie softly.
Satin stitch rewards patience. Wide shapes are harder, so begin with narrow petals and slim leaves.
With these five stitches, a single afternoon will produce a flower that looks far harder than it was.
Choosing Your Colors
Color is where your flowers become yours. There is no wrong choice, only your taste.
For a soft vintage feel, stitch in faded pinks, dusty blues, and cream.
For cheer, pick bright coral, sunny yellow, and leaf green. White flowers on dark denim are striking and simple.
Gather your floss before you begin. Laying the skeins side by side shows how they work together.
Stitching Through Thick Seams and Pockets
Sooner or later, your design will reach a seam or pocket edge. Denim there is thick, and the needle will resist.
This is where the thimble earns its place. Wear it on your middle finger and push gently.
If the needle will not pass, use a needle-punch tool to make a small hole. Then the needle glides through.
Needlework pliers, called needle pullers, can grip a stubborn needle and draw it through.
Work slowly. It is better to pre-punch five holes than to bend three needles.
You can also stitch around a pocket rather than through it. A border of leaves looks deliberate and lovely.
Thick spots sit inside the garment, where no one will see a little extra thread.
With patience, even the toughest denim seam will yield to your needle.
Avoiding Puckering
Puckering happens when stitches pull the fabric tighter than it wants. The good news is, it is easy to prevent.
Keep your hoop tension moderate. Denim does not need to be drum-tight, only smooth.
Do not pull your stitches snug. Let each one lie gently on the surface, with even tension throughout.
Use a stabilizer behind your work if the fabric gathers. Tear-away is simple: stitch through it, then rip the excess away.
Wash-away stabilizer dissolves in water and is lovely for delicate areas.
Check the back as you go. If you see tight, puckered lines, loosen your tension.
When you finish, press the garment from the wrong side with a warm iron. Steam relaxes most small puckers.
An even, relaxed hand is the true secret of smooth embroidery.
Caring for Your Embroidered Denim
Embroidered clothes are not as fragile as they look. With a little care, your flowers will last for years.
Turn the garment inside out before washing. This protects the stitches from rubbing against other clothes.
Use cold water and a gentle cycle, or wash by hand in the sink. Harsh detergents and hot water are hard on floss.
Air dry your denim flat or on a line. A dryer's heat can dull the thread's shine.
If a spot needs attention, dab it with mild soap rather than scrubbing the embroidery.
Iron from the wrong side, with a cloth between iron and denim. Your flowers will stay plump and bright.
Treat your embroidered pieces with the same fondness you would a favorite sweater.
Fixing Mistakes
Every embroiderer makes mistakes. Even after decades with a needle, I still unpick stitches regularly.
The fix is simple. Slide the point of your small scissors or a seam ripper under the stitch and snip.
Pull the cut thread free, a stitch at a time, working slowly so you do not damage the denim.
Because denim is sturdy, it barely shows where stitches once were. Restitch the same spot immediately.
If the fabric has a faint hole from your needle, a fresh stitch will cover it.
When I make a mistake, I remind myself that handwork is a conversation, not a performance.
Unpick, breathe, and begin again. The second attempt is often your best work.
Simple Flower Designs to Try
If you are wondering where to start, here are a few designs that look lovely and stitch up quickly.
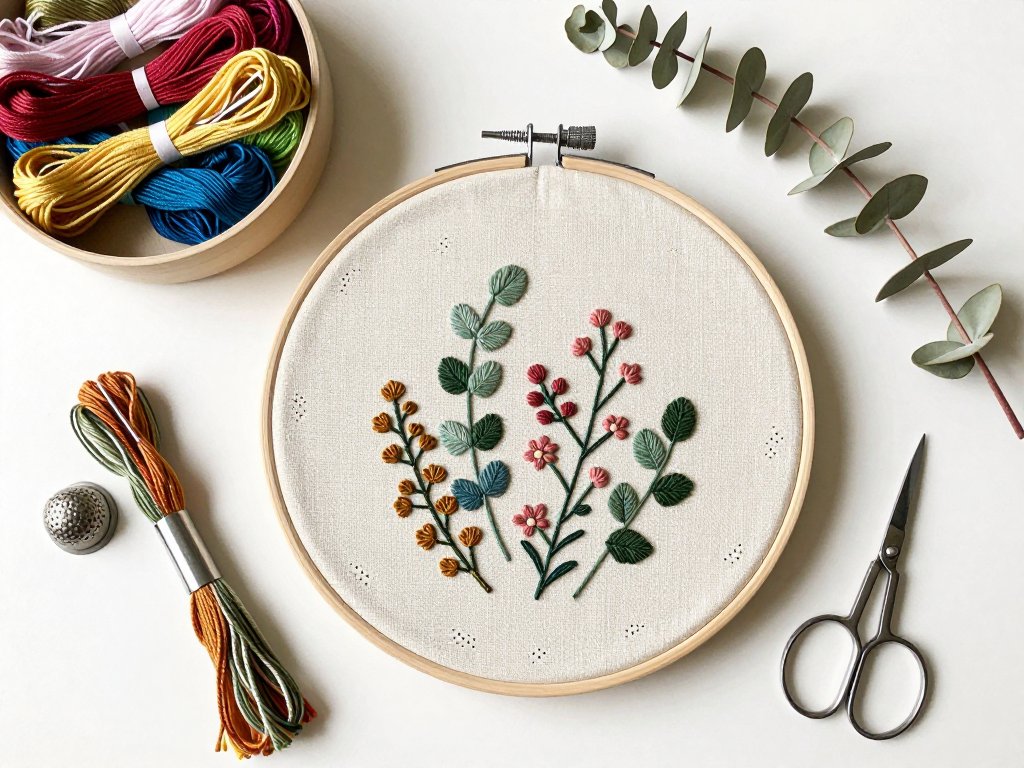
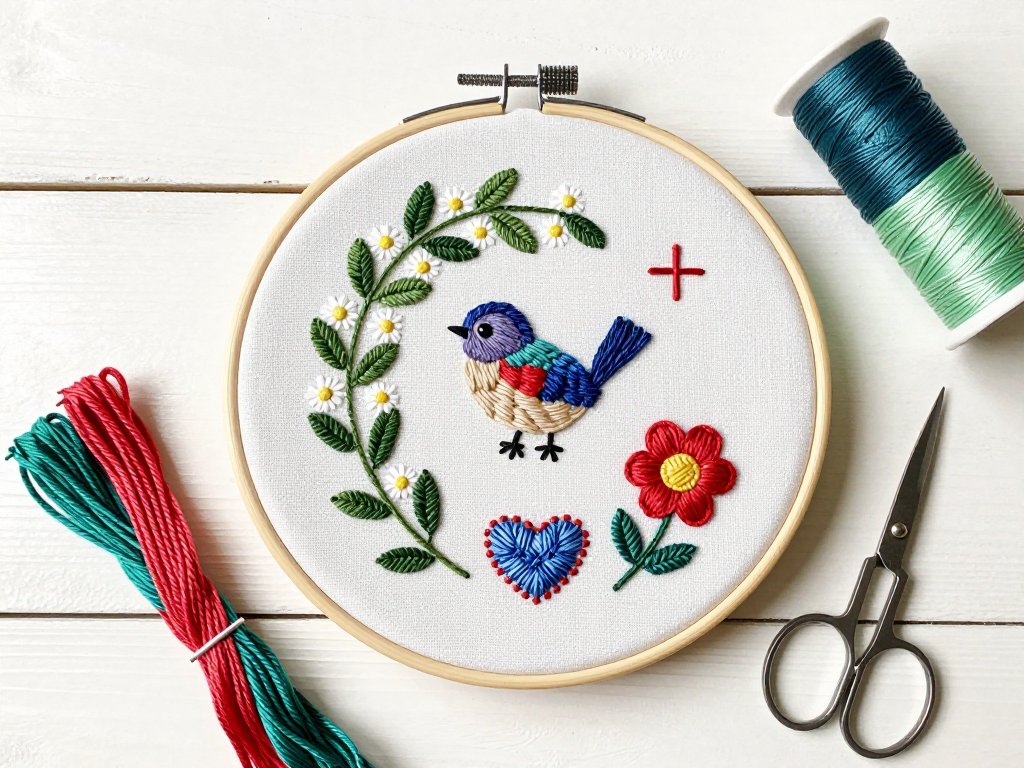
A cluster of three daisies on a jacket pocket is the classic first project: five lazy daisy petals, a French knot center, and a backstitch stem.
For a romantic look, stitch a single rose at the collar: satin stitch petals in soft pink, with a green stem stitch winding away.
A vine of stem stitch can climb along a cuff or up a side seam, with lazy daisy leaves and French knot berries.
On jeans, a single flower on the back pocket is charming and discreet. Add a tiny initial above it with backstitch.
For a child's jacket, scatter a few simple flowers across the back yoke. Children adore spotting them on the shoulder.
Start small, finish one flower completely, and let it teach you what to do next.
A Last Word
When you stitch flowers onto denim, you join a very old tradition. People have decorated their clothes with thread for centuries.
You are also doing something very new. The jacket in your lap is yours alone; no one else will ever wear those exact flowers.
That is the gift of clothing embroidery. It turns the ordinary into the personal, the mass-produced into the one-of-a-kind.
So choose your colors, thread your needle, and take the first stitch. The rest will follow, one flower at a time.
And years from now, when your daughter borrows that jacket, she will see your stitches and know they were made with love.
That is wearable art in its truest form.