Introduction
The first time I decided to try charcoal drawing, I walked into an art supply store and walked out thirty minutes later, sixty dollars poorer, clutching a bag full of things I did not know how to use. I had bought a set of twelve compressed charcoal sticks in varying hardnesses, a box of willow charcoal, a tortillon set in three sizes, a kneaded eraser that looked like gray putty, a spray fixative, a sandpaper sharpening block, and a pad of paper that the salesperson assured me was "professional grade." I had no idea what any of it was for.
Turns out, I had not wasted my money. I had just wasted it on the wrong things. I needed about four items, not twelve. Here is what I wish someone had told me before I walked into that store.
The Only Supplies You Actually Need
Charcoal drawing has a reputation for being messy and hard to control, and that reputation is earned when you use the wrong materials. The right materials make it one of the most forgiving and satisfying drawing media you will ever try. Here is the short list.
Charcoal: Two Types, That Is It
You need exactly two types of charcoal to create the full range of values from the lightest gray to deepest black.
Vine or willow charcoal is the soft, light, easily erasable kind. It comes in thin sticks that crumble easily. Use it for sketching, blocking in large areas, and creating light to medium values. A pack of assorted willow charcoal sticks costs about five dollars and will last you months. Willow is also great for fixing mistakes because it dusts off easily with a soft cloth.
Compressed charcoal comes in sticks or pencils and produces deep, rich blacks that are much harder to erase. Use it for dark shadows, strong lines, and finishing details. A set of three pencils (soft, medium, hard) costs around eight dollars. Between these two types you can create every value from pale gray to jet black. That is all you need.
That is it. Two types. Do not buy the twelve-piece set. You will not use half of them, and the ones you do use will wear down at the same rate no matter how many backups you have in the drawer.
Paper: The Surface Matters More Than You Think
Charcoal needs textured paper. Smooth surfaces will not hold the particles. Buy "charcoal paper" or "drawing paper" with visible tooth. A pad of Strathmore 400 Series costs about twelve dollars and will last through dozens of practice drawings. The texture makes all the difference in how your drawings look.
An Eraser That Actually Erases
A kneaded eraser is useful but it is a lifting tool, not a deleting tool. You press it onto charcoal to lift pigment, reshaping it as it gets dirty.
For actual erasing, buy a white plastic eraser or a battery-powered eraser (about eight dollars). These will remove charcoal cleanly down to the paper. A Tombow Mono Zero stick eraser (about five dollars) is perfect for precision highlights like catchlights in eyes or thin white lines. Between the kneaded eraser for softening and the plastic eraser for clean removal, you have every erasing need covered.
Fixative: Optional but Recommended
Charcoal smudges. A can of workable fixative (about ten dollars, lasts through dozens of drawings) seals the charcoal so it stops transferring. Spray in a well-ventilated area and apply two light coats rather than one heavy one.
The Three Techniques That Will Carry You through Your First Year
Technique One: Side Strokes for Quick Coverage
Break a piece of willow charcoal in half. Hold it on its side — not like a pencil but flat against the paper. Sweep it across the page in broad, loose strokes. This is your fast way to fill large areas with even, soft value. Use light pressure for pale gray, medium for mid-tone, and heavy for darker values. This single technique does about sixty percent of the work in every charcoal drawing I make.
Practice by filling a square with a gradient using only side strokes. If you can do this smoothly, you can already shade better than most beginners. The most common mistake beginners make is pressing too hard, which embeds the charcoal into the paper and makes it impossible to erase or blend. Light pressure is almost always the answer. You can always add more charcoal. Taking it away once it is pressed in is much harder.
Technique Two: Blending for Smooth Transitions
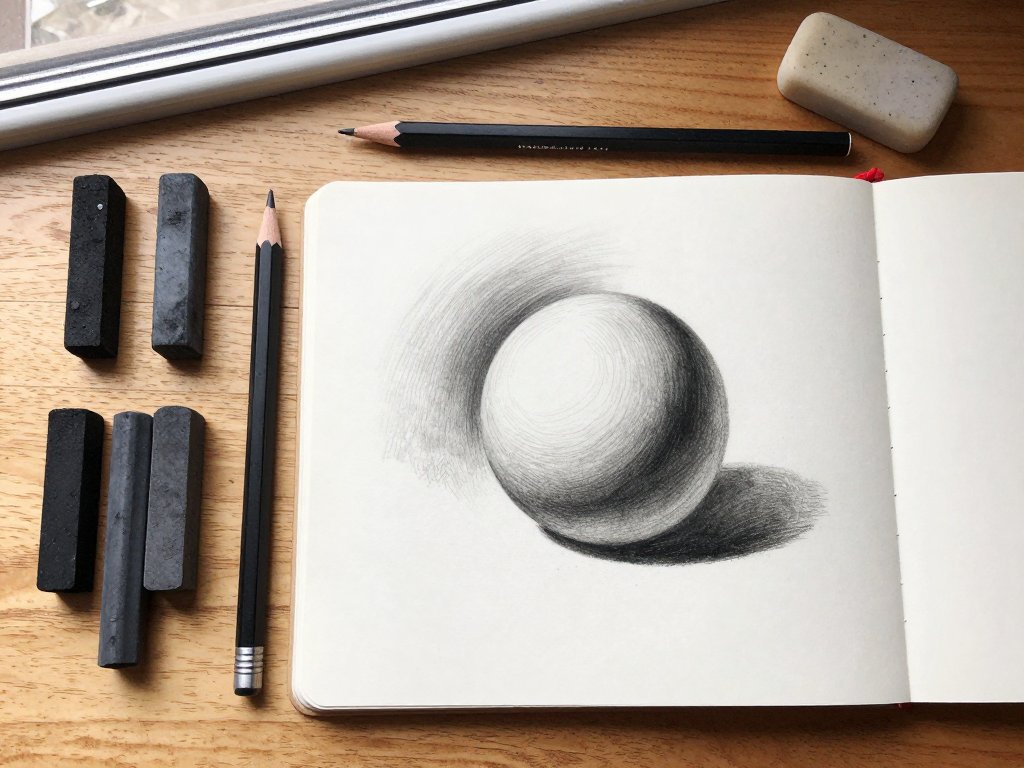
After you lay down a side stroke, take your fingertip and gently rub the charcoal in the direction you want the value to transition. A light touch moves pigment. A heavier touch lifts it. This is how you create the illusion of roundness — a sphere, a cheekbone, the curve of a vase.
The Value Exercise That Changed My Approach
Here is a fifteen-minute exercise that will improve your drawing more than any equipment upgrade. Take a piece of scrap charcoal paper and divide it into a row of five squares. In square one, leave it white. In square five, make it as black as you can using compressed charcoal. Now fill in squares two, three, and four with smooth gradients between these extremes. This is your value scale. Every charcoal drawing is just this scale applied to a subject — the darkest parts are five, the lightest are one, and everything else falls in between. When a drawing looks flat, the values are too close together. I keep a value scale taped above my desk. Before every mark I ask: is this a two, three, or four? The answer tells me which charcoal to use and how hard to press.
Technique Three: Lifting for Highlights
Take your kneaded eraser and shape it into a wedge or a point. Press it onto a charcoal-covered area and lift. The eraser pulls up the charcoal, revealing the white paper underneath. This is how you create highlights — the gleam on a glass surface, the bright edge of a cheekbone, the catchlight in an eye.
The kneaded eraser is unique because it does not leave eraser crumbs. It just absorbs the charcoal into itself. When the wedge gets dirty, knead it into a clean spot and reshape. A single kneaded eraser can last through months of daily drawing if you take care of it. A common trick is to press the eraser onto a textured area and lift — the paper texture stays visible while the charcoal lifts, creating a beautiful stippled highlight effect that looks nothing like a white plastic eraser mark.
The Drawing Process: From Blank Page to Finished Sketch
Here is the exact workflow I use for every charcoal drawing, whether it is a five-minute gesture sketch or a two-hour study. The key is following the order — every beginner I have taught tries to draw details first, but charcoal works best when you build from broad to specific.
- Light sketch with willow charcoal. Use a thin piece of willow charcoal held like a pencil. Outline the major shapes loosely. Do not press hard. This stage is about placement, not precision.
- Block in the darkest areas. Use the side of your willow charcoal to fill in the darkest shadows. Just mark where the blackest parts sit.
- Blend the mid-tones. Use your finger to pull charcoal from dark areas into mid-tones. Build the value structure.
- Add compressed charcoal for deep blacks. Switch to your compressed charcoal pencil or stick for the absolute darkest darks — deep shadows, pupils, dark crevices. Compressed charcoal is much blacker than willow and will not lift easily, so place it carefully.
- Lift highlights with the kneaded eraser. Shape your eraser and lift charcoal where you want bright spots. This is where the drawing gains dimension.
- Refine edges and details. Use compressed charcoal for crisp lines and your kneaded eraser to clean up edges. Spray with fixative when done.
Conclusion: Spend Ten Dollars, Not Sixty
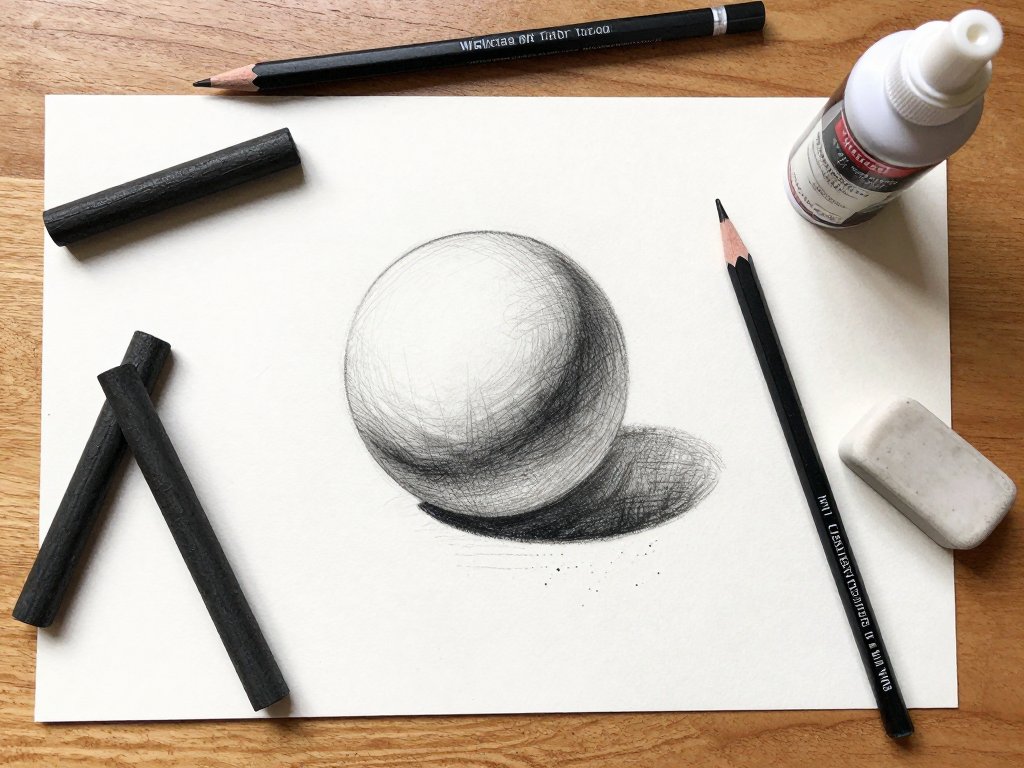
Charcoal drawing does not require expensive gear. It requires the right four items — willow charcoal, compressed charcoal, textured paper, and a kneaded eraser — plus a white plastic eraser for cleanup and a can of fixative if you plan to keep your finished work. Total cost: under twenty dollars. I spent triple that on my first trip and had a worse experience because I had too many options and not enough understanding.
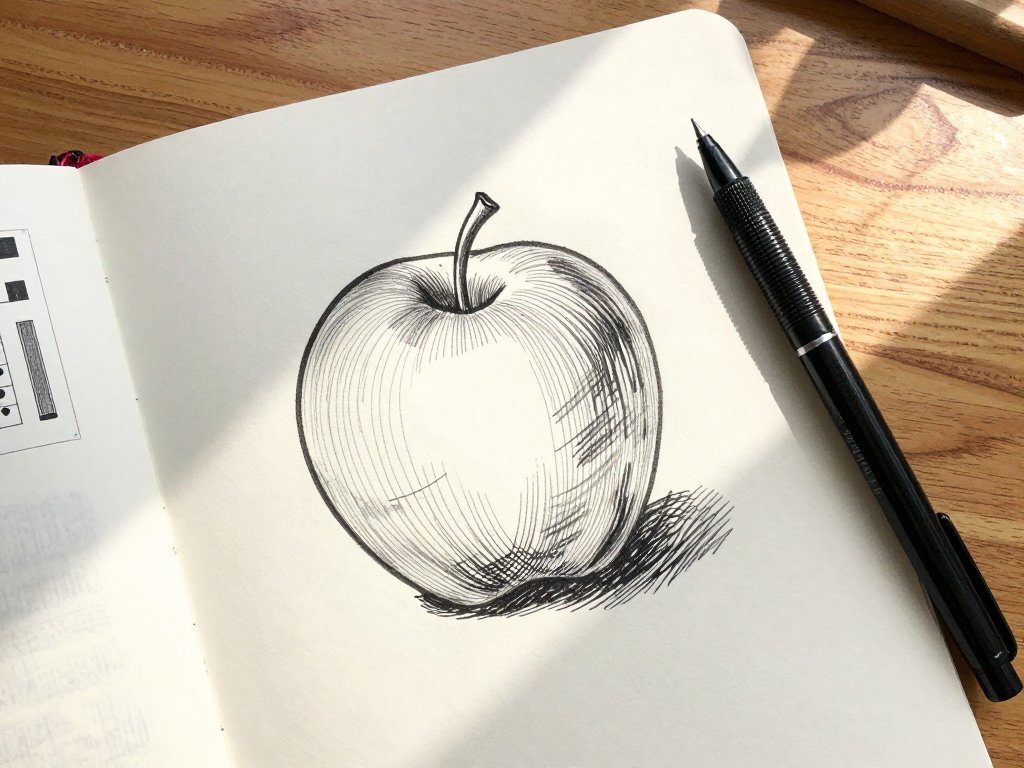
Start with the three techniques: side strokes, blending, and lifting. Practice your value scale. Draw something simple — an apple, a coffee cup, your own hand. Do not worry about making it look like a photograph. Charcoal is a medium of suggestion and atmosphere. A few well-placed darks, a soft blend, and a lifted highlight can communicate more than a thousand precise pencil lines. The goal is not photorealism. The goal is to capture the feeling of light falling across a form — and charcoal, more than any other medium, excels at that.