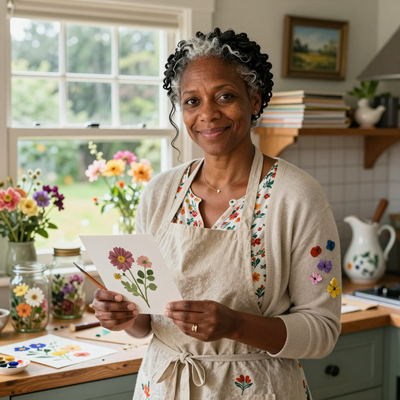
A Mother's Day Gift Made with Tiny Hands and Big Love
There's something about a gift made by a child that makes a mom's heart do a little flip. It doesn't matter if the beads are a little crooked, the knot is a bit bulky, or the charm is hanging upside down. What matters is the thought, the time, and the little hands that put it all together.
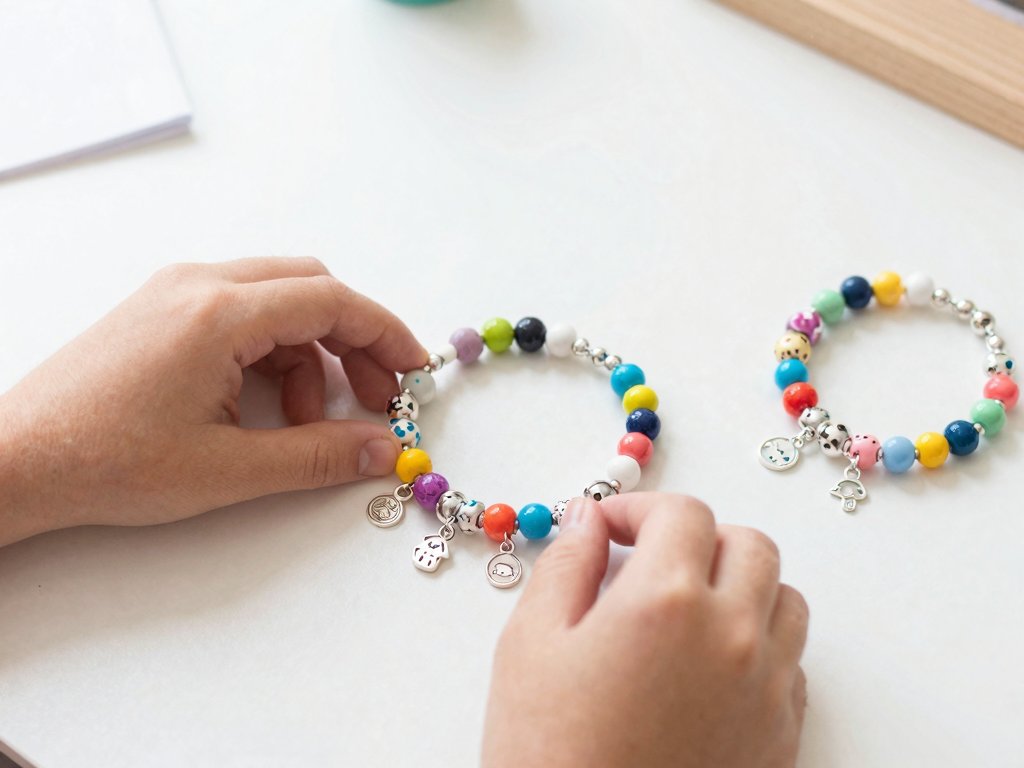
If you're looking for a Mother's Day gift your kids can make themselves — something special, heartfelt, and actually wearable — a charm bracelet is one of the sweetest options out there. It's simple enough for little fingers, creative enough to feel "real," and personal enough to bring a tear to Mom's eye (the good kind).
The best part? You don't need a jewelry studio, fancy pliers, or expensive supplies. With a few basic materials from a craft store or even a dollar bin, your child can create a one-of-a-kind bracelet that Mom will treasure forever.
Why Charm Bracelets Are Perfect for Kids
Charm bracelets hit that magical sweet spot for children's crafts. They're:
- Low-pressure — there's no "right way" to arrange beads and charms, so kids can't really mess it up
- Fine-motor friendly — stringing beads is great practice for little fingers, building coordination without feeling like "work"
- Customizable — every bracelet reflects the child's personality, favorite colors, and special memories
- Quick wins — even a 5-year-old can see progress after just a few beads, which keeps enthusiasm high
- Budget-friendly — you can make a beautiful bracelet for under $10 using basic materials
And let's be honest: when Mom opens that little box and sees a bracelet her child made with their own hands? That's worth more than any store-bought jewelry.
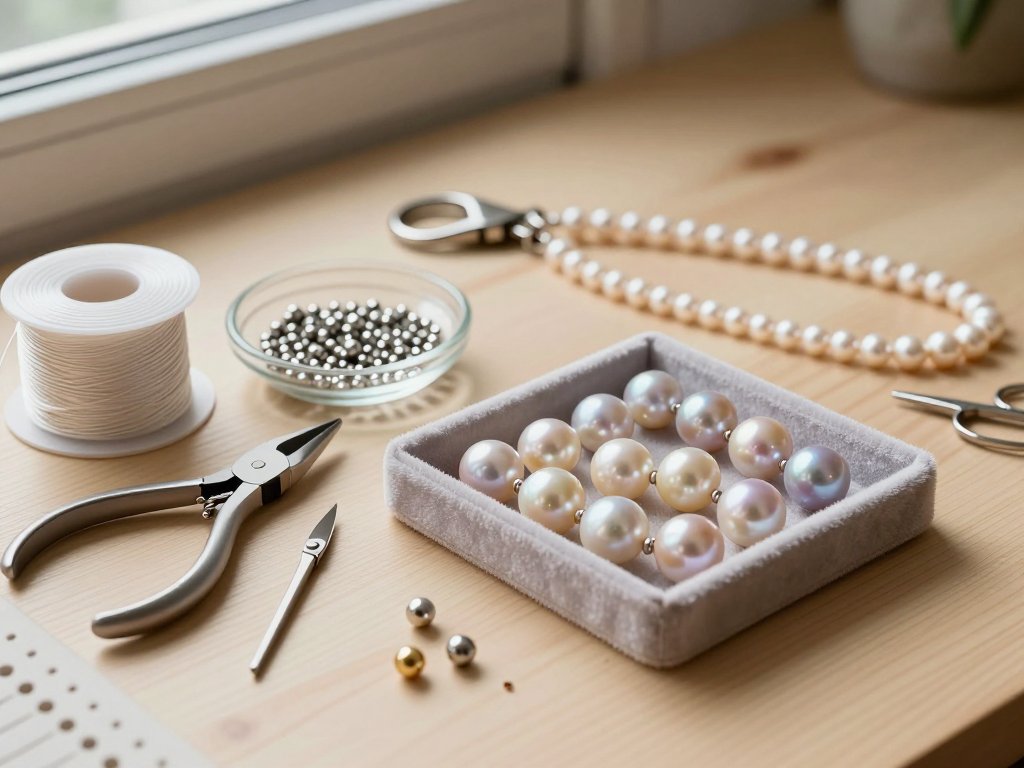
What You'll Need (Short Supply List)
Here's the beautiful thing — you probably have half this stuff already, and the rest is one quick craft store run:
The Basics:
- Elastic cord or stretch magic string — look for 0.5mm to 0.7mm thickness. It's easy for kids to handle and doesn't require clasps or fancy knotting.
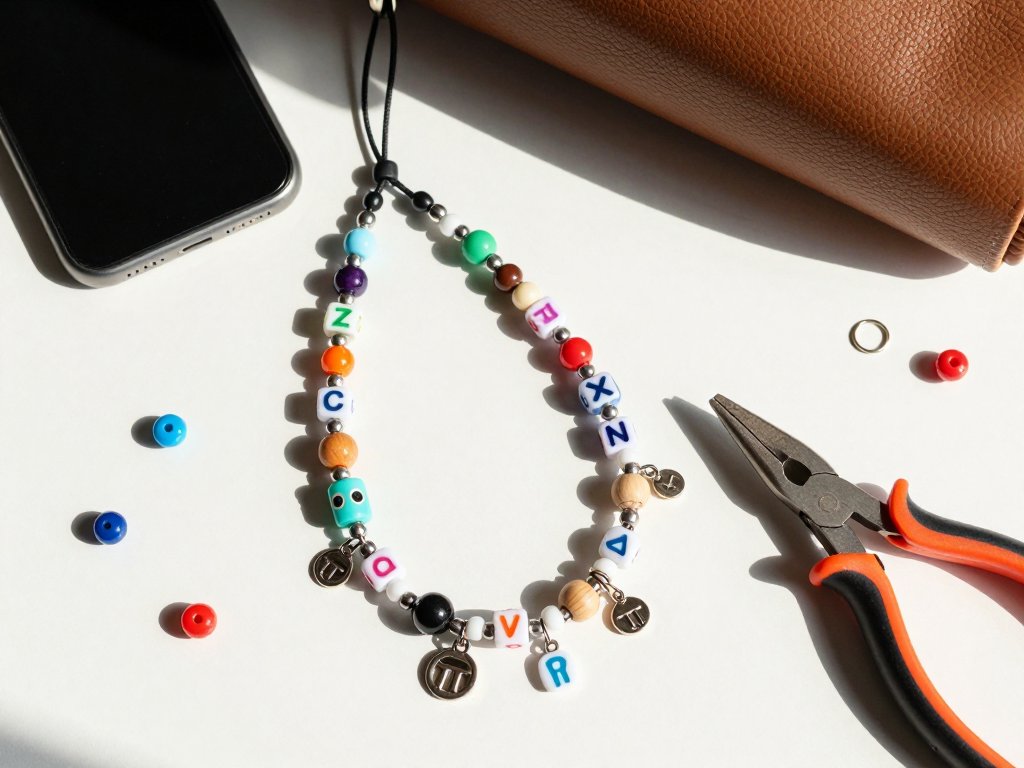
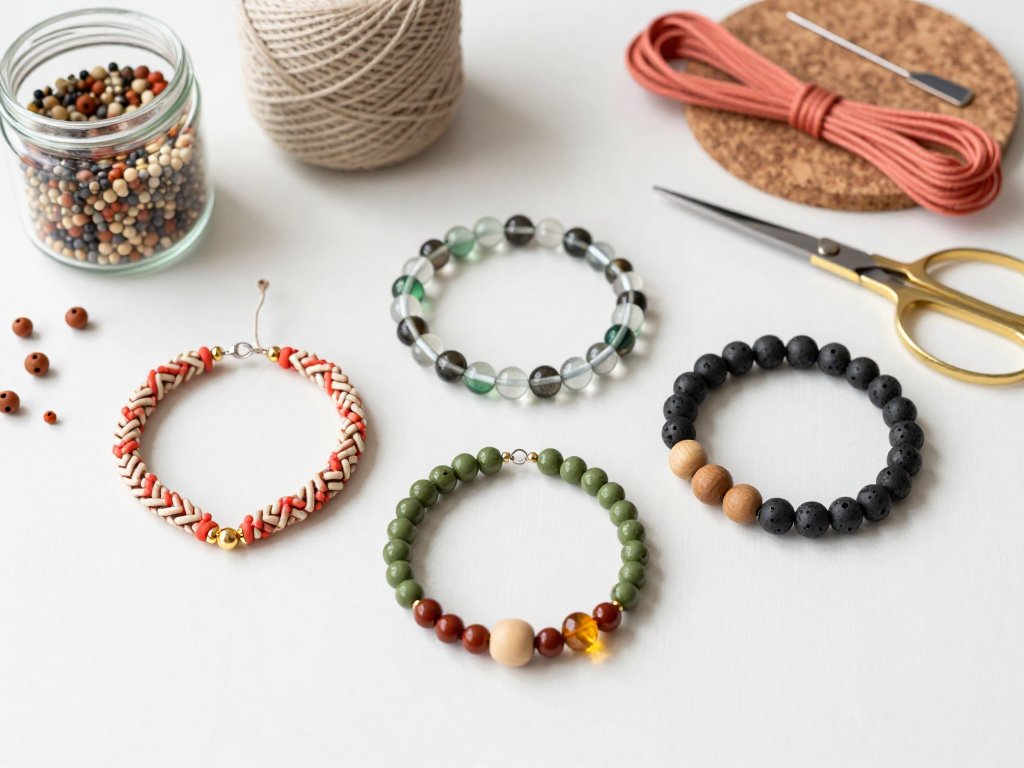
- Beads! — pony beads, letter beads, glass rounds, wooden beads. Mix sizes and textures. Let your child pick their favorites.
- Charms — hearts, flowers, butterflies, letters (to spell "MOM" or the child's name), or themed charms that represent shared memories.
- Scissors — just a regular pair is fine.
Nice-to-Haves (but optional):
- Crimp beads or glue — to secure the knot so it stays put through years of wear
- Small pliers — only if you're using metal clasps (skip these for elastic cord)
- A bead board or small bowl — keeps beads from rolling onto the floor (because we know they will)
Budget tip: Check the $1 section at Target, Michaels, or Walmart. They often have bead packs and charm assortments that are perfect for this project.
Choosing Charms That Tell a Story
This is where the magic happens. Instead of randomly picking charms, help your child choose ones that mean something:
For the "All About Mom" bracelet:
- A heart charm (because she's full of love)
- The first letter of each child's name
- A star (because she's your star)
- A flower (for her garden, or just because she's lovely)
For the "Our Favorite Things" bracelet:
- A tiny book (for bedtime stories)
- A musical note (for car karaoke sessions)
- A tiny shoe or soccer ball (for sports mom cheers at)
- An animal charm that matches a beloved pet
For the "Handmade with Love" bracelet:
- Letter beads that spell "MOM," "LOVE," or the child's name
- Beads in Mom's favorite colors
- A charm that represents a special memory (a beach ball if you went to the ocean together, a tree if you love hiking)
When kids choose charms with intention, the bracelet becomes a little story of their relationship with Mom. That's what makes it irreplaceable.
Step-by-Step: Making the Bracelet
Step 1: Measure the Wrist
Take a piece of string (any string!) and wrap it around Mom's wrist while she's not looking (or measure your own if you're similar size). Add about an inch for comfort and knot-tying room. Cut your elastic cord to that length.
Step 2: Lay Out the Design
Before stringing anything, have your child arrange their beads and charms on a table or in a small dish. This is the "planning phase" — they can move things around, try different color patterns, and decide what feels right. No glue, no pressure, just playing with the design.
Step 3: Start Stringing
Tie one charm or bead to the end of the string (this acts as a stopper so nothing falls off while working). Then start adding beads and charms in the chosen order. For elastic cord, a simple overhand knot works great as the stopper.
Tip for little hands: If the elastic is hard to hold, tape one end to the table. It gives kids something stable to pull against while they thread beads with their other hand.
Step 4: Check the Fit (Midway)
Once about half the beads are on, have your child wrap the string around their own wrist (or a stuffed animal's). Does it feel like enough? Too crowded? This is a good moment to adjust — add more beads, take some off, or decide it's just right.
Step 5: Finish and Knot
When all beads are on, tie the two ends together with a secure double knot. Pull tight! Then add a tiny dot of glue or clear nail polish to the knot for extra security. Let it dry for 10 minutes.
Step 6: The Big Reveal
Help your child write a little note: "Made for you, Mom, with love from [name]." Put the bracelet in a small box, a tiny pouch, or even just cupped in their hands for the big moment on Mother's Day morning.
Age-Appropriate Tips
Not all kids craft the same way. Here's how to adapt this project for different ages:
Ages 4–6: Focus on large pony beads and chunky charms. Skip the tiny letter beads — they're frustrating at this age. An adult should handle the final knot and glue. Let them lead the design choices but assist with the "tricky bits."
Ages 7–9: This is the sweet spot! They can handle most of it independently. Introduce letter beads to spell simple words. They can tie the knot with a little guidance. Let them arrange and rearrange until it's perfect to them.
Ages 10+: They can do the whole thing start to finish. Introduce more delicate beads, multiple charms with jump rings (you may need small pliers for this), and even layering two strands for a fuller bracelet.
For all ages: The goal isn't perfection — it's the act of making something for Mom. If a bead falls off halfway through, laugh and restring it. If the pattern looks "weird," it's still beautiful because they made it.
Making It Extra Special
Want to elevate this from "sweet craft" to "tear-jerker"? Try these simple additions:
Add a photo charm: Many craft stores sell clear locket-style charms where you can slip in a tiny printed photo of the child. It's a bracelet and a locket in one.
Include a handwritten tag: Have your child write "I love you to the moon and back" or draw a little picture on a gift tag that goes with the bracelet.
Make it a sibling project: If there are multiple kids, each can make a charm or section of a larger bracelet. When Mom wears it, she's wearing a piece of each of them.
Create a "coupon" charm: Make a tiny paper scroll (rolled tiny!) that says "Good for one hug" or "Clean my room — free pass." Tuck it into a small locket charm.
What If It Doesn't Look "Perfect"?
Here's a secret: Moms don't care about perfect. We really don't.
If the beads are wonky, the knot is bulky, or the charms are clustered on one side — that's not a flaw, that's a fingerprint of your child's creativity. Those "imperfections" are what make handmade gifts so deeply precious. Years from now, when the elastic has stretched and a charm or two has gone missing, Mom won't remember that it wasn't symmetrical. She'll remember the afternoon her child sat at the kitchen table, carefully choosing beads, and making something just for her.
So encourage your child to make it their way. If they want hot pink next to neon green next to brown — that's their artistic vision! If they want to spell "MOM" but put the O's on backward — that's creative spelling! Let them own it.
The Real Gift
A charm bracelet takes maybe 30 minutes to make. The materials cost less than a greeting card. But what it represents — a child setting aside time to think about someone they love, choosing colors and charms that remind them of that person, and working with their own hands to create something beautiful — that's priceless.
This Mother's Day, skip the mall. Sit down at the kitchen table with a bowl of beads, some elastic string, and your favorite little person. Make something messy and wonderful and full of heart. Mom will wear that bracelet every day — not because it's expensive or flawless, but because it came from them.
And honestly? That's the best kind of jewelry there is.